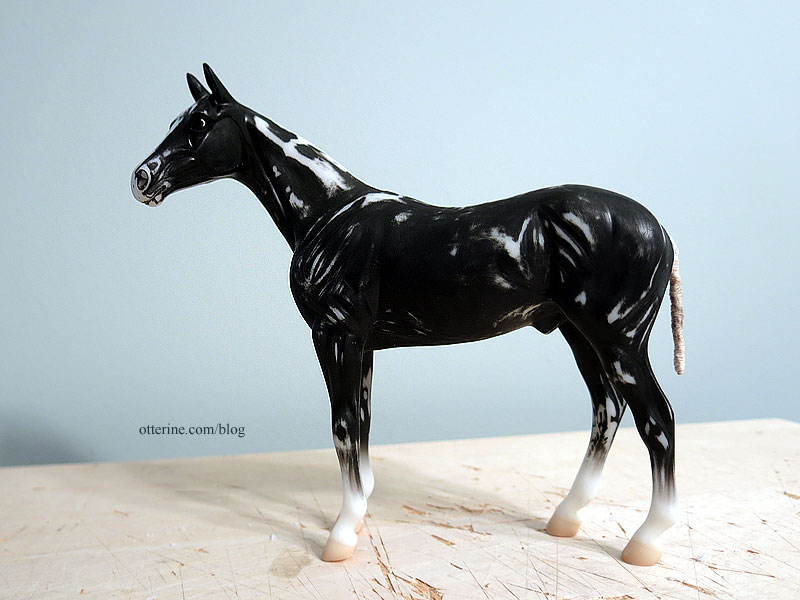
Continuing work on the 1/12 scale model horse. I found a great tutorial about removing the tail and building up with Apoxie Sculpt, though this technique ends with a sculpted tail instead of fiber. This site directed me to two additional tutorials on Rio Rondo – one for adding a tail and one for hairing (these links are no longer active as of 2024). The hairing for this example does not drill holes for the mane, so I will be on my own for that, but it is good to see the prep work involved.
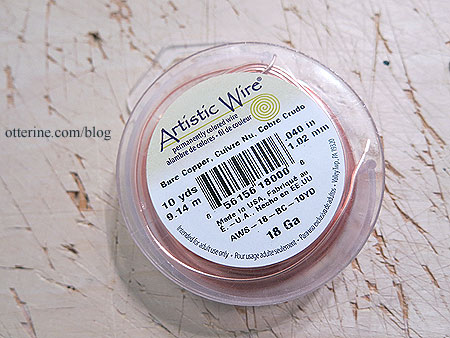
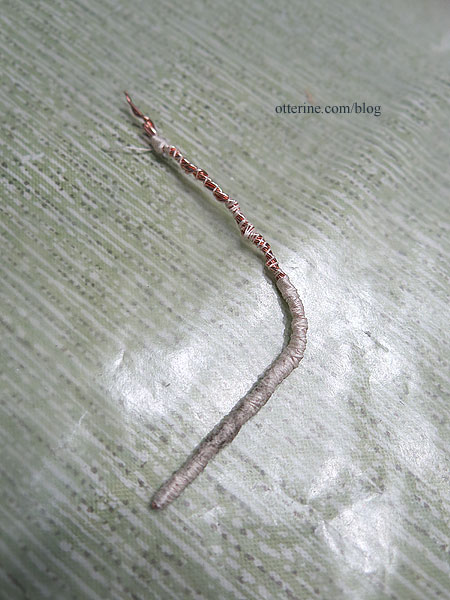
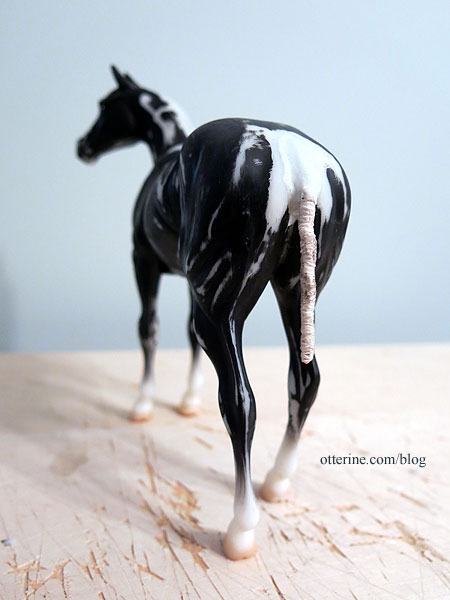
I ended up going with the wrapped wire tail from the second tutorial using 18 gauge copper wire.
I followed the tutorial, but mine ended up looking a little different.
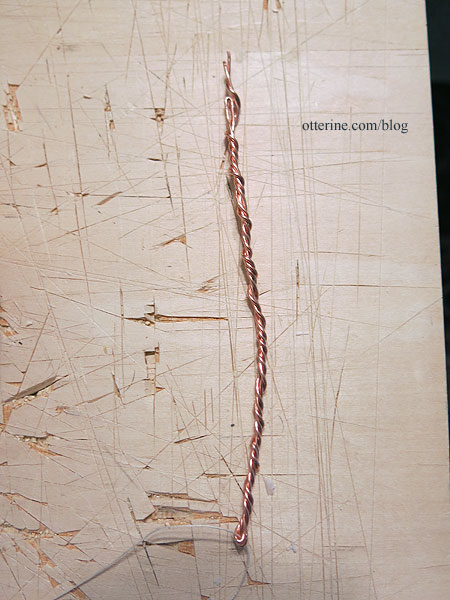
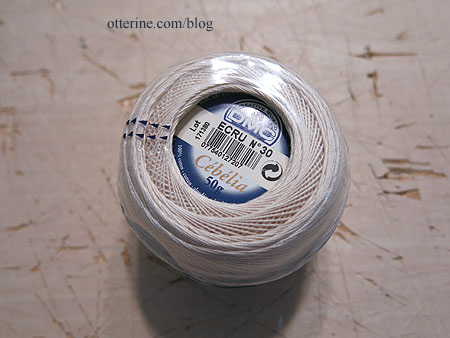
I wrapped the wire with DMC cotton using Weldbond adhesive.
I left it long since the horse body is partially hollow, and I thought the added length would be good for stability. When I inserted the wire, I added Weldbond and super glue gel to the top since it would likely come in contact with the body inside. Every bit helps.
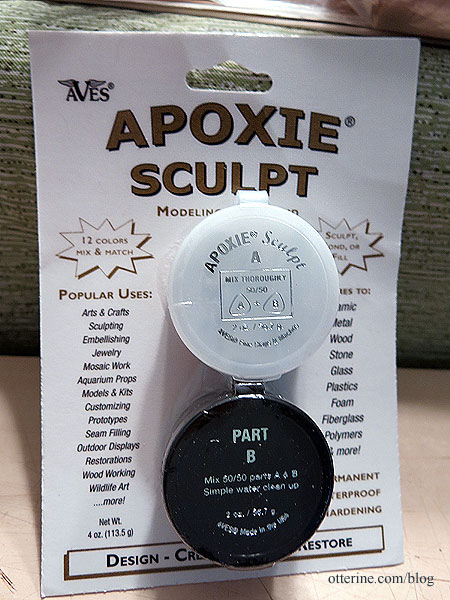
I used Apoxie Sculpt for the next part.
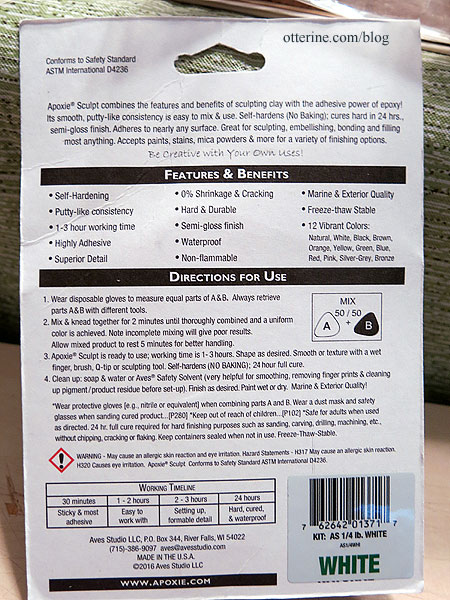
Some of the attributes listed on the back are promising: highly adhesive, 0% shrinkage and cracking, 1-3 hour working time, and 24-hour full cure. There’s a nifty table showing how the putty changes over the working time. It also comes in colors, which is less of an issue for me since I plan to paint the whole horse anyway. I’m using white putty.
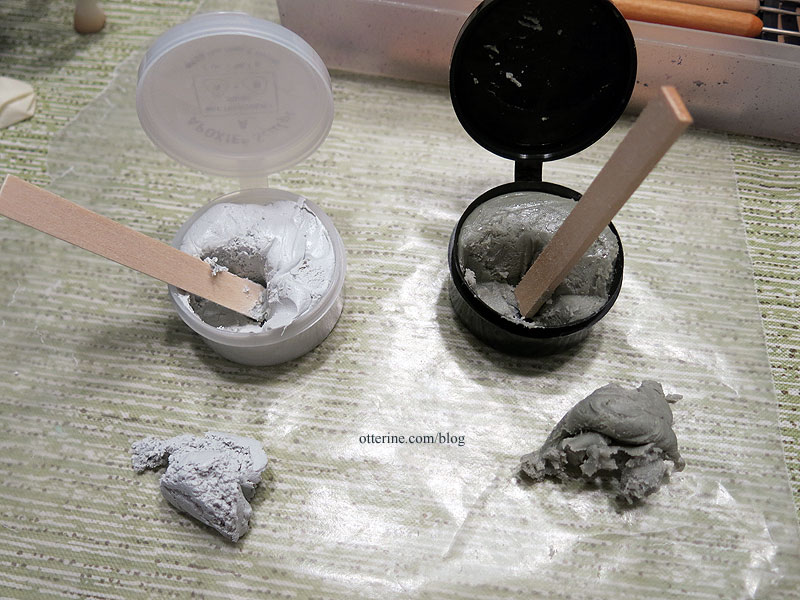
Part B was very stiff and sticky coming out of the cup, but it mixed easily. (Yes, I made way more than I needed, but I didn’t want to have to start over if I needed more.) I did use latex gloves while mixing but used my bare hands when working the putty into place. You can use water to smooth it, and the website recommends freezing unused portions to extend the life.
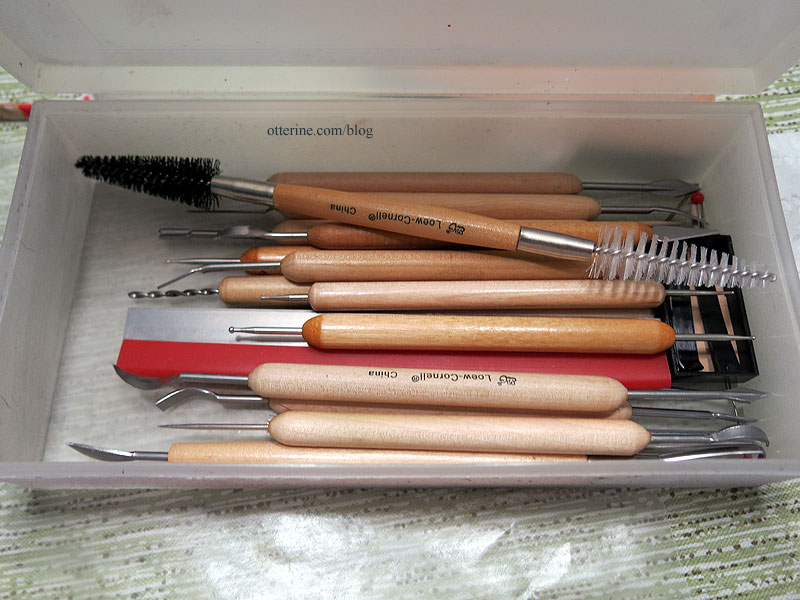
I also have a good set of sculpting tools from way back in my art days. :]
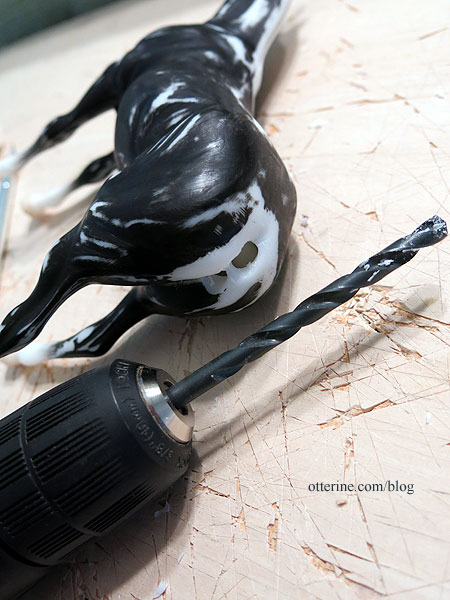
Using a 1/4″ drill bit, I drilled a hole for the wire, making it large enough to also add the putty. As you can see, I got the first hole too low. The drill bit wanted to slip on the smooth plastic.
I sculpted the tail definition from the body to the wire and plugged the extra hole. Mine looks different from the tutorial, but I think it will work just fine. You can sand the putty once it’s cured, so I will smooth it out even more later.
I used the same putty to fine tune the slit along the neck at the withers…
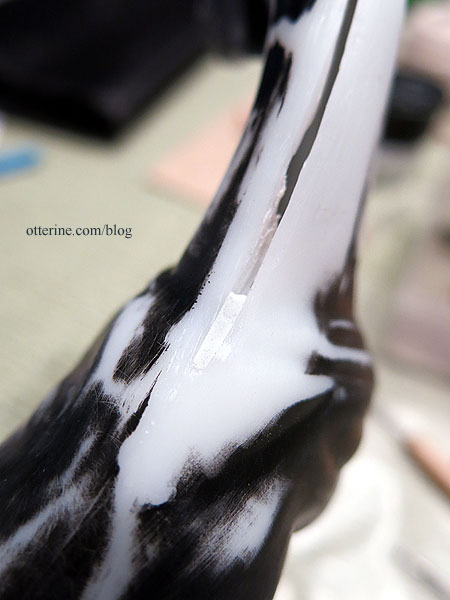
…and at the forehead.
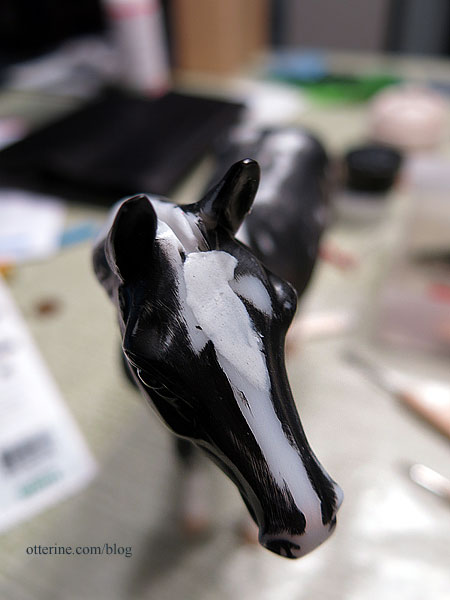
Now, I leave the putty to set.