
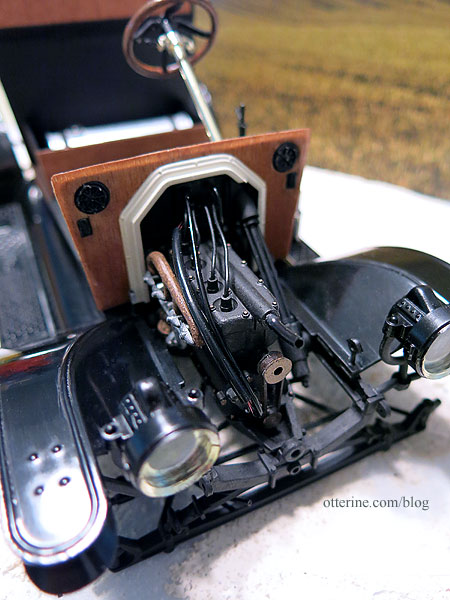
Continuing work on the Model T Van. The kit comes with tubing and wires to add realistic detailing to the engine compartment. The thin tubing is rather stiff, so in just about every instance it has broken off the tiny plastic rod that’s supposed to hold it in place. =rolls eyes and mutters a swear= Instead of fighting a losing battle, I just snapped off the rods and drilled holes instead. :D Now the tubes and wires are secure with super glue and there are no parts to snap off under pressure.

They do add so much, no?
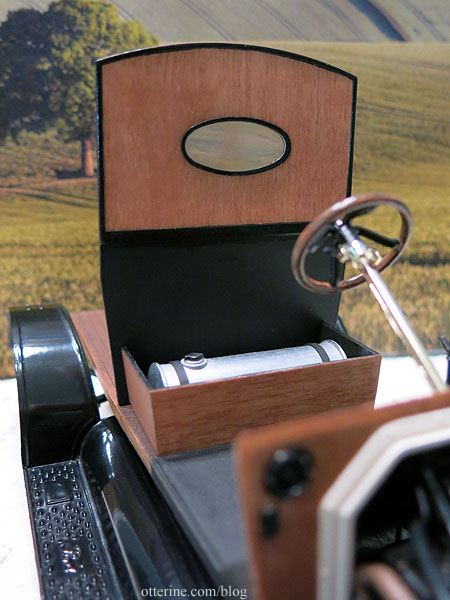
I’ve got the body panels in process behind the scenes and I am up to that point in the instructions, so it’s time to jump around a bit while those are finished. The front and rear cabins are separated by a wall with an oval window. Since the pre-cut micro wood panel didn’t fit well, I cut a new one instead. Since I knew I would never match the wood grain on the frame, I painted it black. I’ve stained all the micro wood with Minwax Cherry sealed with Delta Ceramcoat gloss varnish.
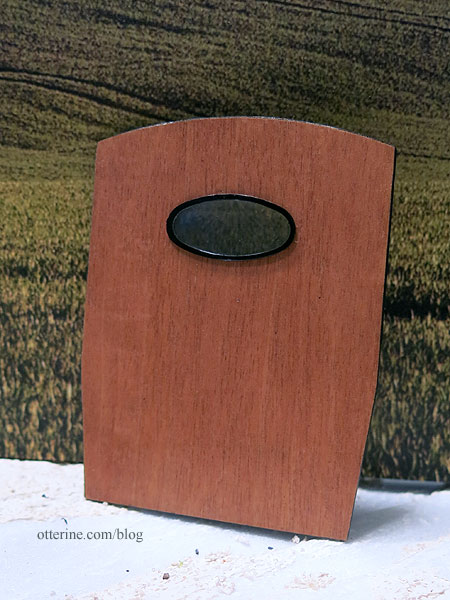
The back of the panel was to be left bare except for the very top, so I cut a piece of micro wood to finish it as well. I might have to do some trimming later in case this throws off the fit, but the wood is very thin and shouldn’t cause too many issues. The oval window is meant to be installed from the back, but it looked unfinished to me without a frame on both sides. Since I have two kits, I was able to use both windows and have a frame on each side.
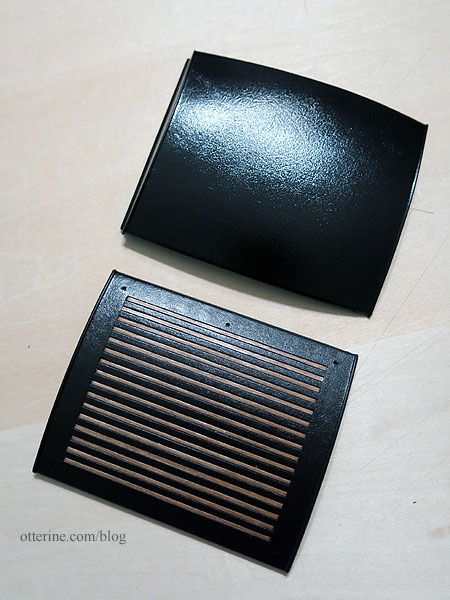
The black roof portions were sprayed flat black to even out the tone followed by Rust-Oleum Painter’s Touch 2X Ultra Cover sealer in semi-gloss clear.
On the inside of the front roof, there’s an included wood piece cut to fit. It’s stained and sealed to match the rest of the wood.

I prepped the radiator, which will be needed in the steps to come. It might need a few flies. :D

Oh, and it’s National Cat Day. :D Hooray for furry friends!


