
Continuing work on the Model T Van. The past couple of steps have used the “brass” finish parts that are factory painted in high gloss. While having the brass parts modeled in shiny color is great, sometimes they are not attached to the sprue in the best locations. When you separate them, you can end up with bare plastic showing in spots. Additionally, sometimes the kit manufacturer will put parts on the “brass” sprue that weren’t brass on the original automobile.
I want a reasonably accurate model, though I am willing to fudge for the sake of sanity and aesthetics in many places. For parts that are supposed to be brass but end up with bare plastic showing, my fix is to paint black accents. Accurate? It’s questionable. Does it look better on the model? Definitely. For parts that aren’t supposed to be brass but come with that finish, you can just repaint them the proper color.
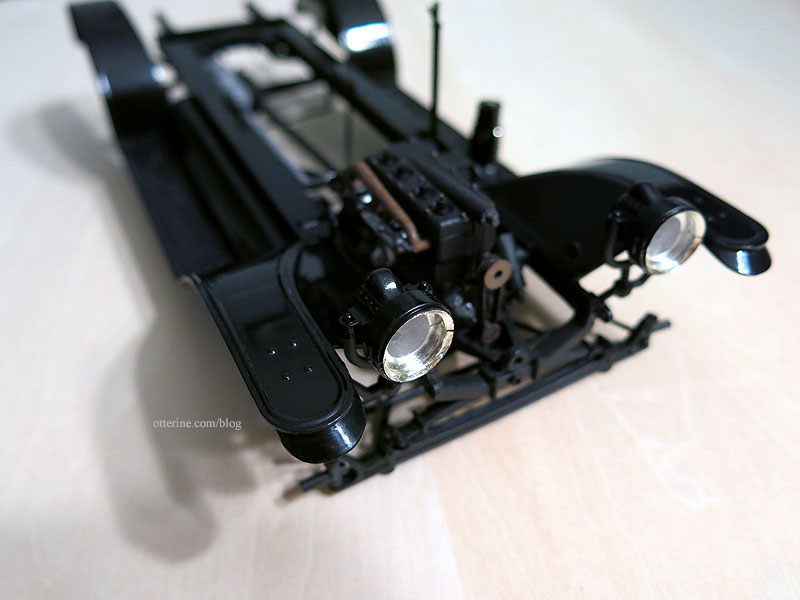
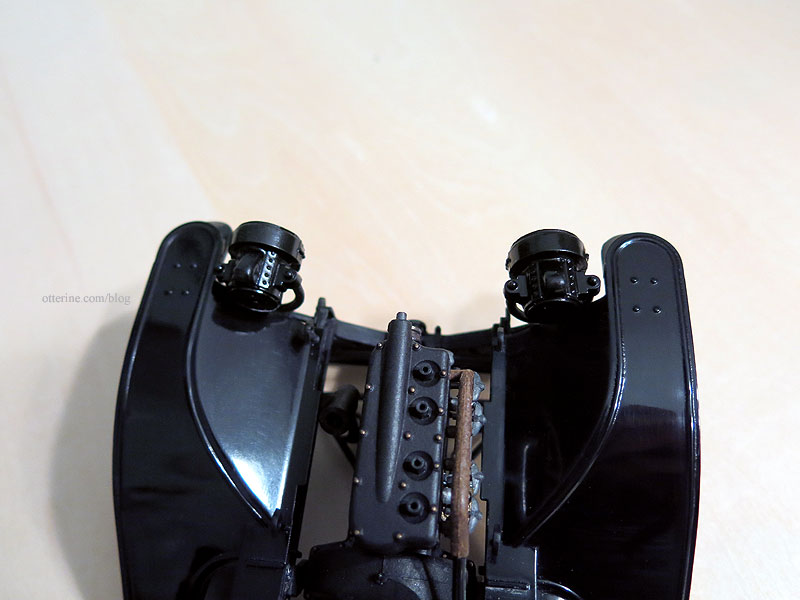
The lamps and acetylene generator are made from multiple pieces, so you end up with seams and bare spots from the sprue connections. I briefly read about the lights here, but I am certainly no expert and didn’t do exhaustive research. I have seen some lamps in partial black and some in all black. The same applies to the acetylene generator. This seems dependent on year of manufacture. So, I am using some artistic license and going with black housings accented in brass. This will allow me to make the seams less noticeable and cover the bare spots as needed. I’ll sacrifice complete accuracy for a model that looks more polished and realistic.
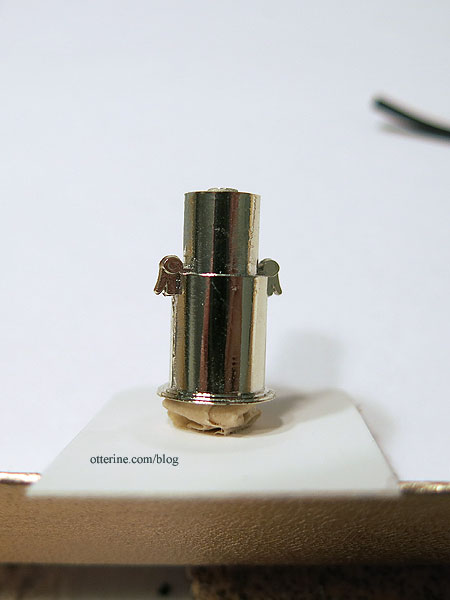
The original acetylene generator looks cheap and plastic in the factory brass finish.
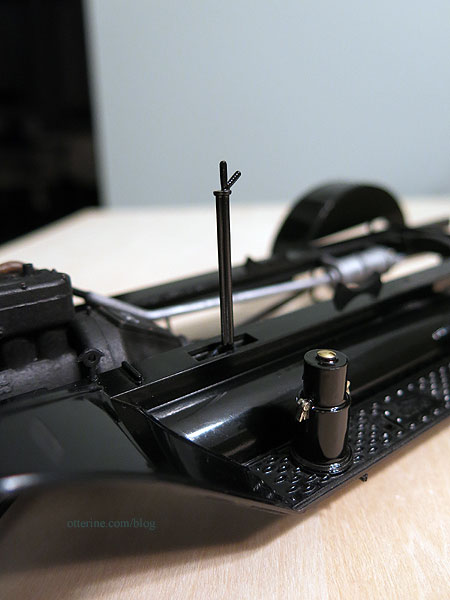
After two coats of Testors semi-gloss black, it looks more like a metal canister (I masked the side clips to leave them brass). The emergency brake and clutch lever as shown in this informative video on how to drive a Model T is black but the kit part was brass. I painted it Testors semi-gloss black.
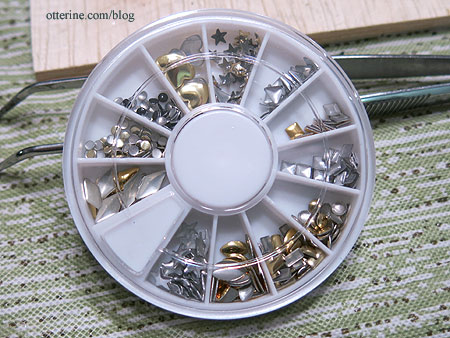
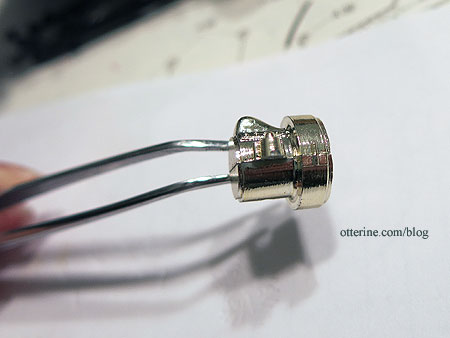
I added a jewelry finding to the top of the generator since there was no way to paint a topper to match the side clips. I bought this box of bits at one of the local mini shows.
Here’s one headlight with some of the brass finish missing after cutting from the sprue.
I painted the inside of the housings silver to add realism and reflective surface. I also added punched metal circles to the backs to make the seam less obvious. I had to sand the edges of the glass inserts to get the right fit then carefully glued the housings together. I primed them in flat black and painted gloss black.
I then glued the housings to the lamp brackets already attached to the chassis in an earlier step. I’m thinking brass jewelry findings can be added to the front to clean up the frame and make for a more convincing lamp, but for now this will work. One of the lenses fogged from the glue, but it’s not terrible. We’ll just say that it’s dusty. :D
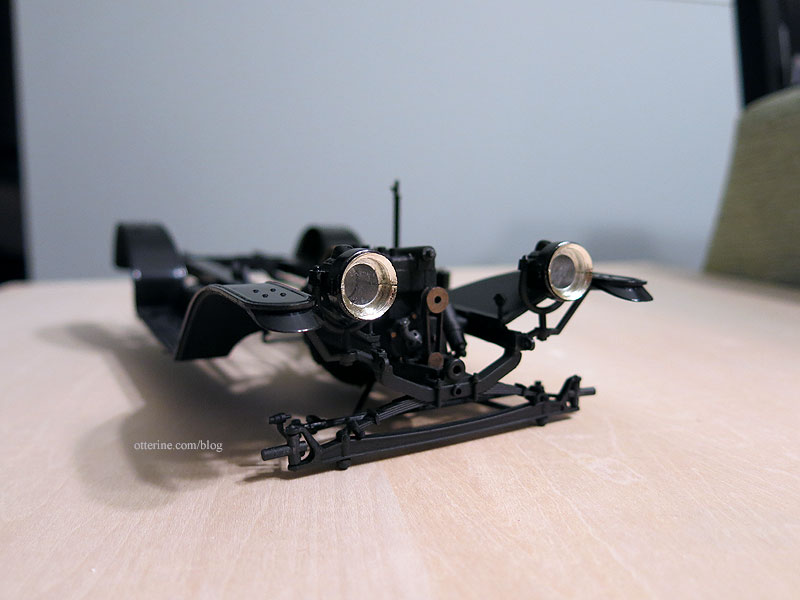
I like the black, though the light body color should make them stand out a bit more than they do right now.
Once the glue sets overnight I’ll add the gas lines. The kit comes with thin tubing to simulate these.
Next up, some front cabin work.


