
Continuing work on the Model T Van. A dry fit of the body panels shows that the back doors do not open fully.

This is partly due to the outer raised hinge detail, the hinge brackets not being wide enough to clear the body panel and my heavy-handed paint job. I’ve seen one other model with the doors open wide, so this is also likely operator error on my part. :D

Had I known this earlier, I would have removed the hinge detail altogether before painting. If you didn’t know it was supposed to be there, would you miss it? I took an X-Acto blade and scraped off some of the paint. I’ll touch it up with paint later.

The rear cabin has molded rack detailing on the inside walls. You are to add pre-cut micro wood strips as accent. Since there will be such limited visibility, I opted for the easy way out and painted the interior black, leaving the one forward wood wall I did as is. I won’t open the cabin often, just to change the battery, so seeing inside is irrelevant. I’ve added the remaining micro wood pieces to the interior as well as the side seat padding and the oval window.

I drilled a hole in the floor board so I could run all the wiring into the rear cabin. Why such a large hole? I didn’t want to have to do this more than once! :D

Jasper offering moral support while stealing my chair….

To limit the wear and tear on the rear door hinges, I installed a remote control from Evan Designs for the lights.

It will even dim the lights.

The sensor is installed on the rear frame for ease of access while blending in with the undercarriage.

The taillights had solid brackets, so there was no way to just feed wires as is. Since I have two kits, I had spare parts to see what I could come up with. I modified the lamps using custom cut and bent 1/16″ diameter aluminum tubing to hold the wires.

I kept the plate that attaches the lamp to the bumper, drilling a hole adequate for the tubing. The left shows the original bracket; the right shows my modified plate before painting.

At this point, I needed to glue on some of the body panels. I had a problem with the driver’s side, so I ended up prying those off. More on that later. I needed one side on to glue on the back piece, so I used the other side instead. The door is meant to open, but I have no idea how these parts were supposed to snap together without breaking the hinges. I tried with the spares and the tiny pieces snapped off as expected. So, I cut the tab on the interior and glued the door in place. Considering just how many parts have broken during assembly, opening and closing the door is not a priority.

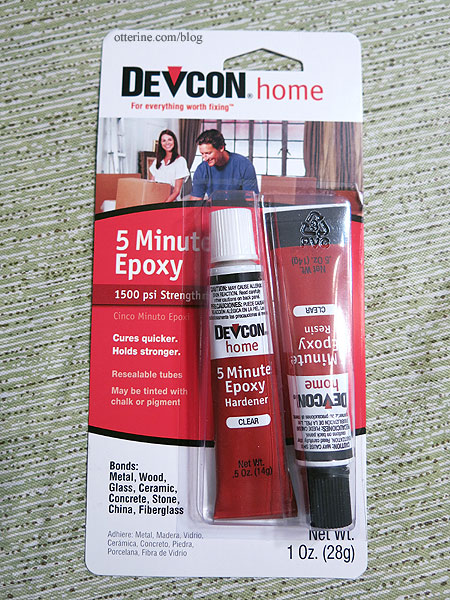
I used Devcon 5 Minute Epoxy on the taillights to get a firm hold since I was using mixed materials. This stuff stinks to high heaven with the hardener smelling like rancid, rotten eggs, but it is as advertised.
I painted the lamps black to disguise the sprue marks and to blend the aluminum.

The red is Testors Metallic Red paint. Using a tip from the guys at Hobby Town USA, I didn’t shake the bottle to mix the paint but used the clear tint from the top of the bottle. It colors while remaining transparent, though it takes a few passes. I touched up any bare spots with a red Sharpie.

The tube runs long under the bed for stability and connects to the same type of flexible tubing I had used for the headlights. I’ll do touch-ups later.

All the tubing and wires enter through the hole in the floorboard. The electrical work is all enclosed in the rear cabin. The door hinges are very delicate. If one breaks after assembly, I don’t think there’s a way to repair it. As it is, one broke as I assembled the hinge holders, so I had to glue one door closed. I am not hopeful for its longevity. With this system, I will need to open the door only every once in awhile to change or remove the battery. The wire length allows me to work outside of the van for battery replacement. As for accessing the wires in the cabin, if one goes out, it will be out for good.

I dabbed a bit of amber glass paint on the LEDs to tone down the whiteness for the rear lights.

The license plate further disguises the sensor. It’s pretty sensitive; you don’t need to aim the remote directly at the sensor for the lights to work.

Testing…okay, so now we can be seen coming and going. :D
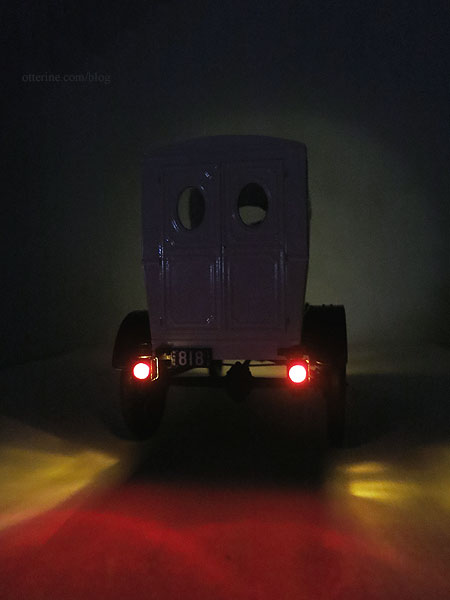
They might look a little rigged if studied closely, but at least the taillights work. :]

I will let the epoxy gas out for awhile before adding the clear side glass pieces to the taillights.


