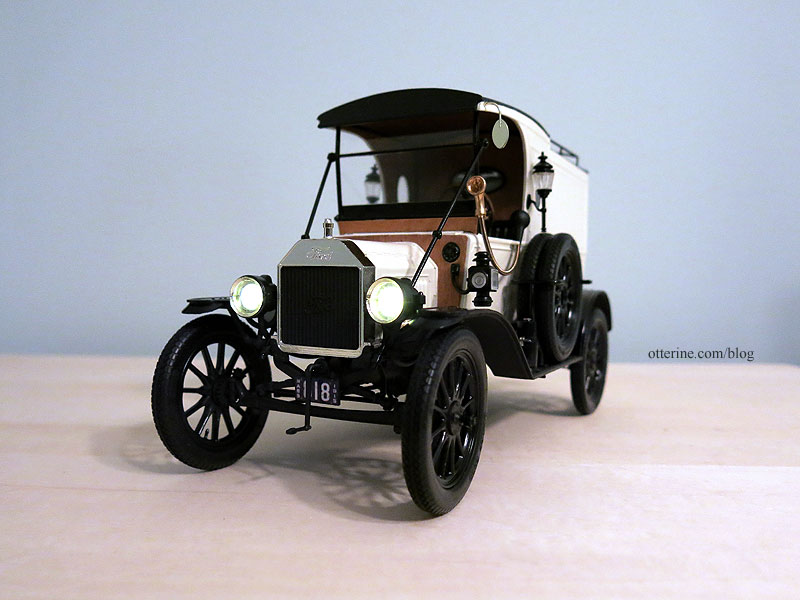
I have finished the 1/16 scale 1913 Model T Van! In this post are the final photos and links back to the individual posts along the way for easier reference.
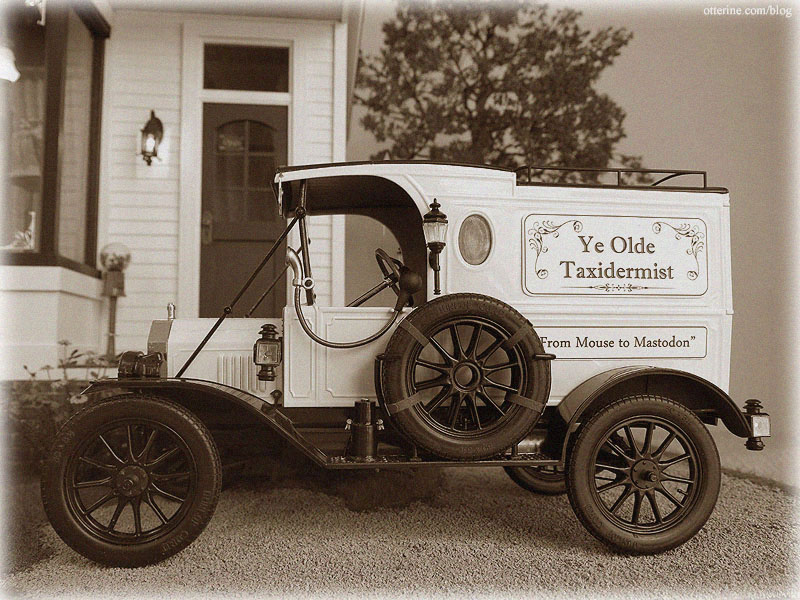
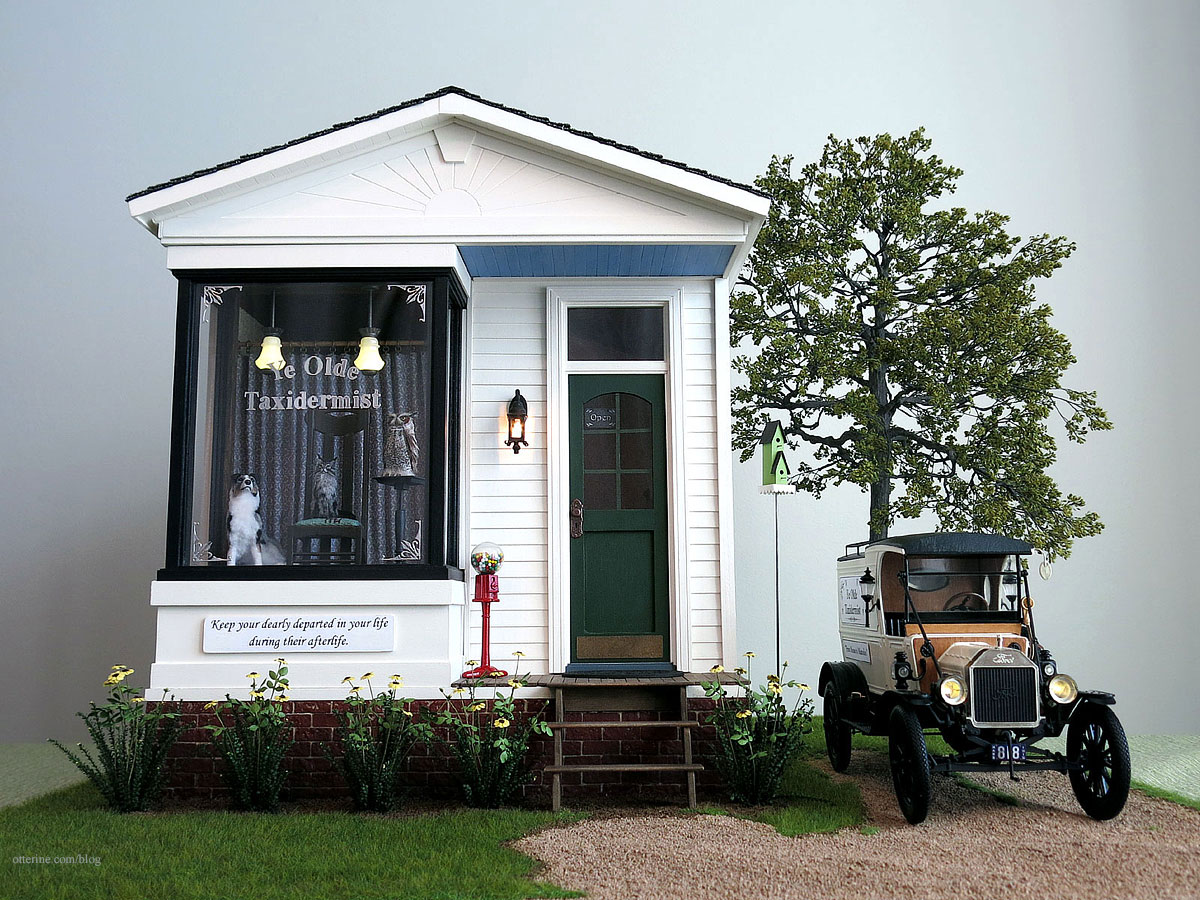
It fits relatively well for scale in my final project, but I do love it even on its own.
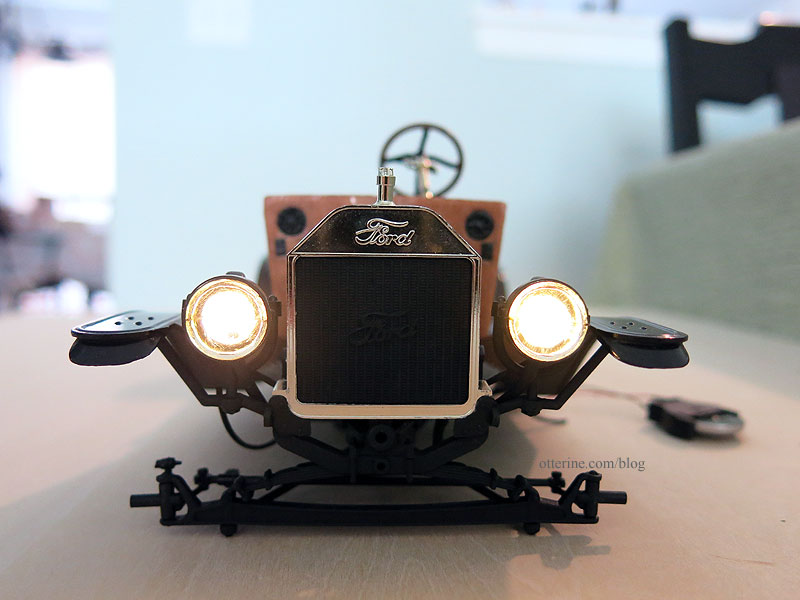
This was not an easy or forgiving kit. So many parts broke during assembly, and a few were even broken from the start. I had two kits, and even with that, I ended up having to glue the suspension so the front wheels would not turn and the van would not roll. But, I was able to add LED headlights and taillights. Overall, I’m glad I took on the task and I’m pleased with the look of the final model. :]
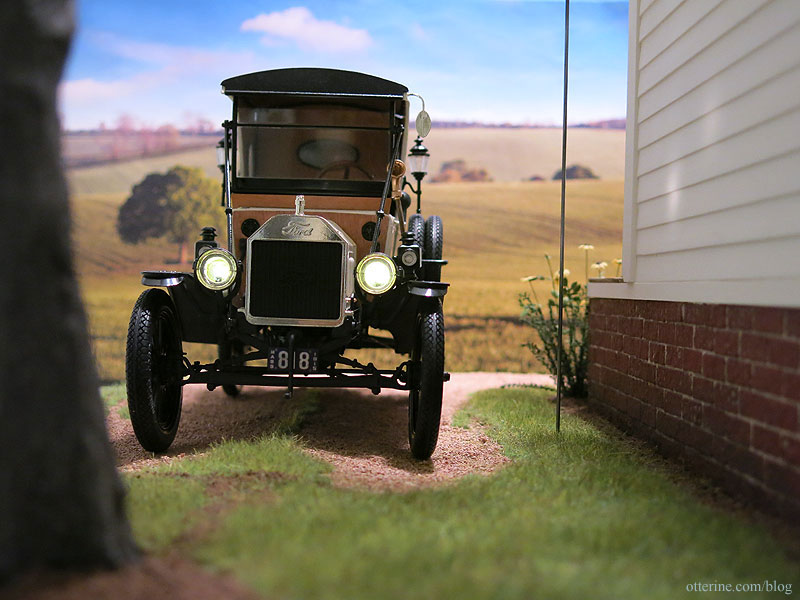
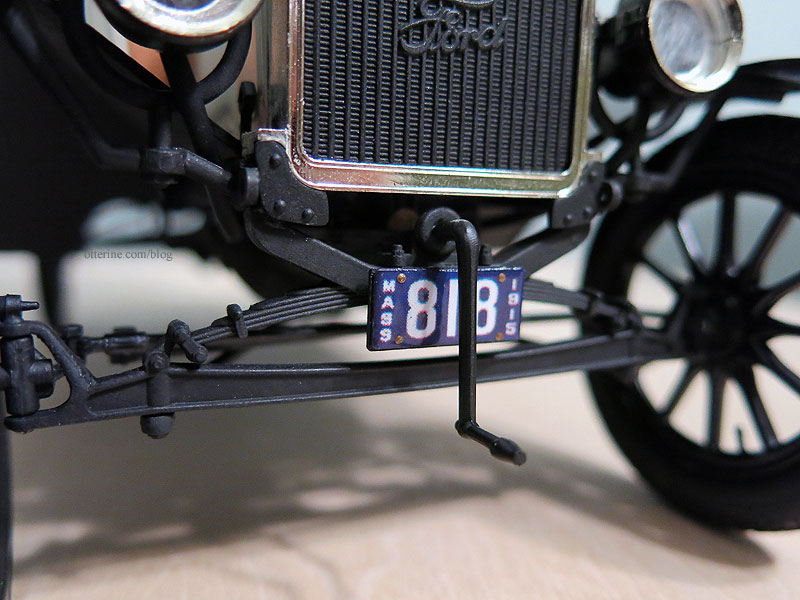
Only one back door opens due to broken hinge parts, but the back cabin contains all the LED wiring so it doesn’t matter much. The headlights and taillights work by remote control, so I won’t need access to the back cabin all that often. There are mock porcelain plates dated 1915.
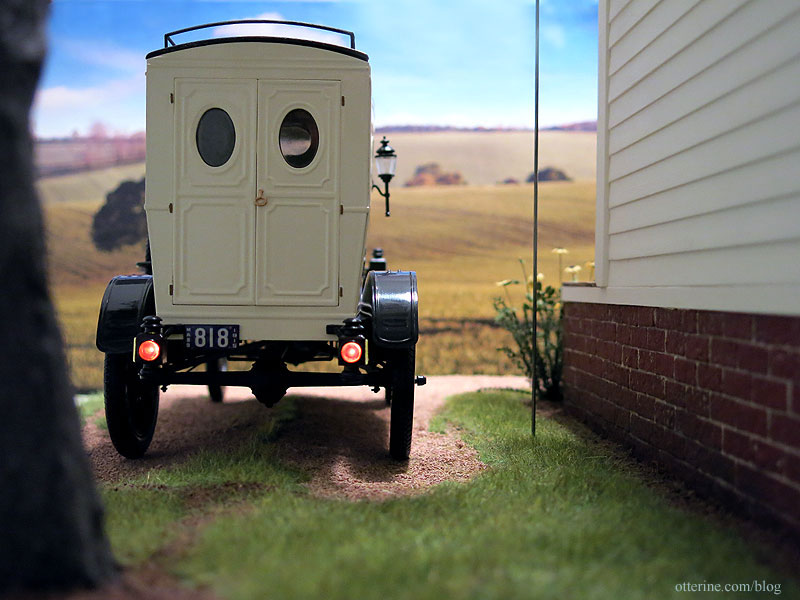
I knew I would never be able to make this 1913 van showroom new, so setting it in 1915 gave me two years of road wear and weather exposure to work with in detailing. Just enough dirt, wear and grime to make it realistic.
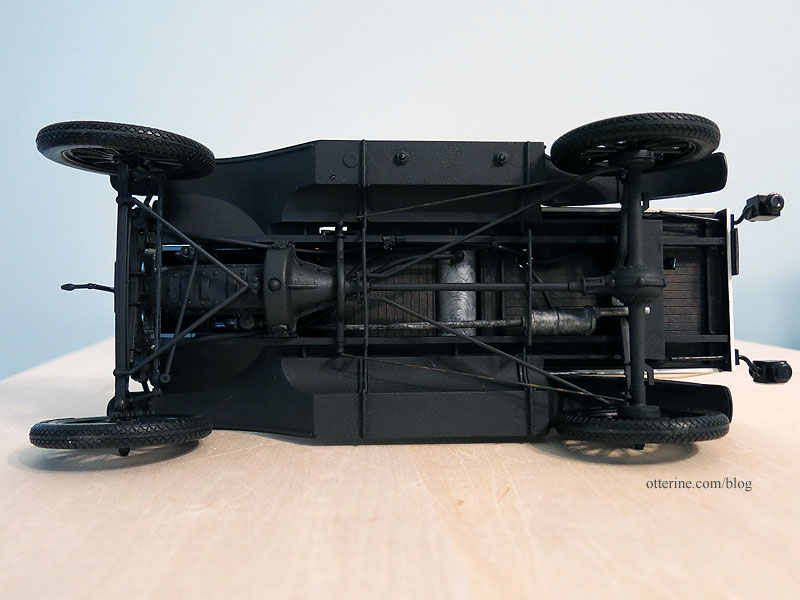
Still looks pretty clean, though. :D
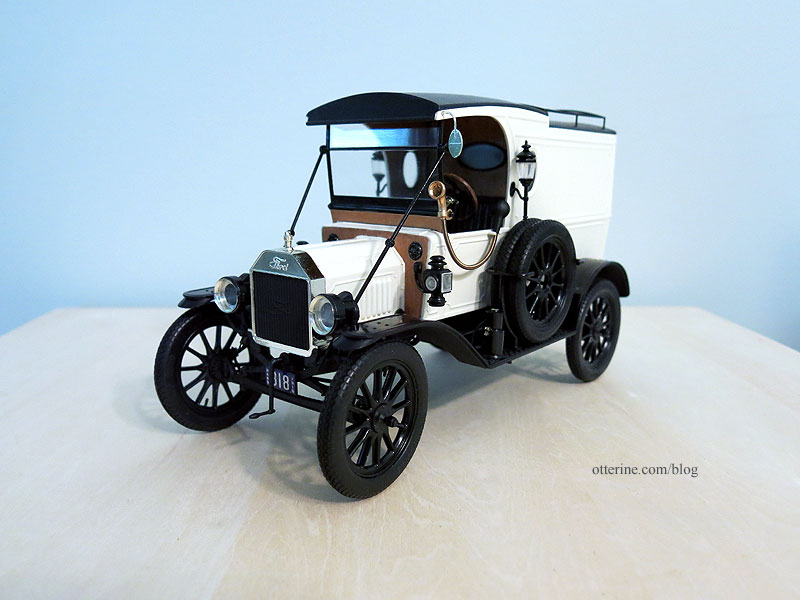
The hood lifts off, whereas the real life van would have had hinged access to the engine compartment.
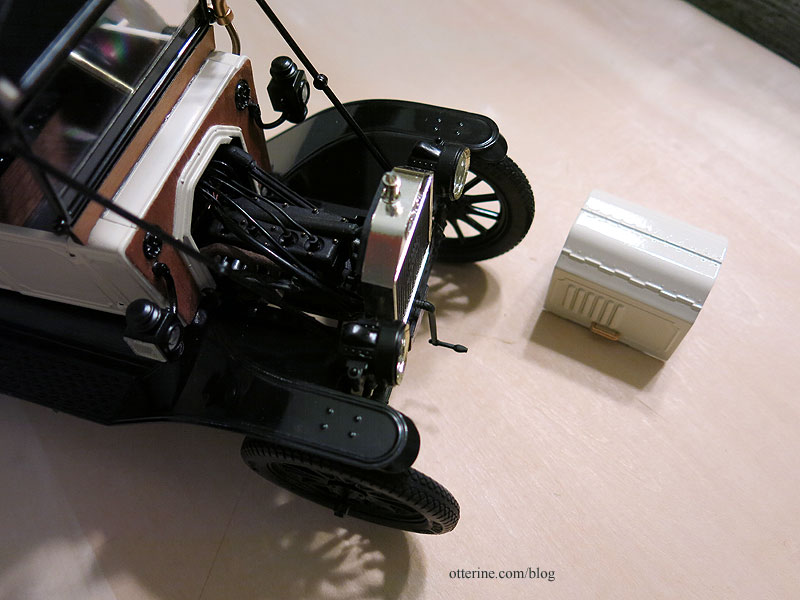
The door is glued shut due to delicate hinges, but I did split the seat in two so I could lift out the lower part to see the detail I put into the gas tank. :D I keep the lower part in place with mini hold wax.
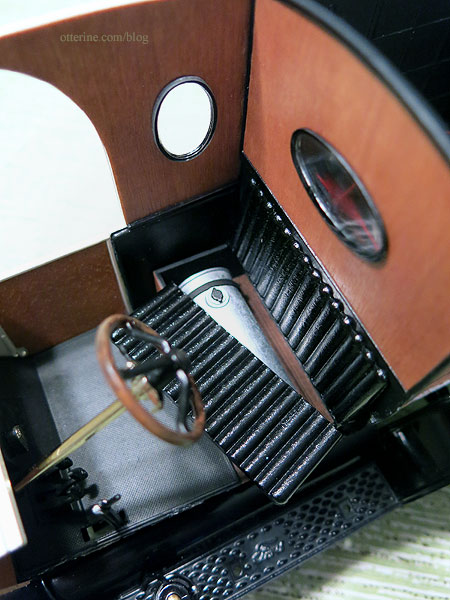
The interior is not easily photographed in the final model, but you can see the detailing in person.
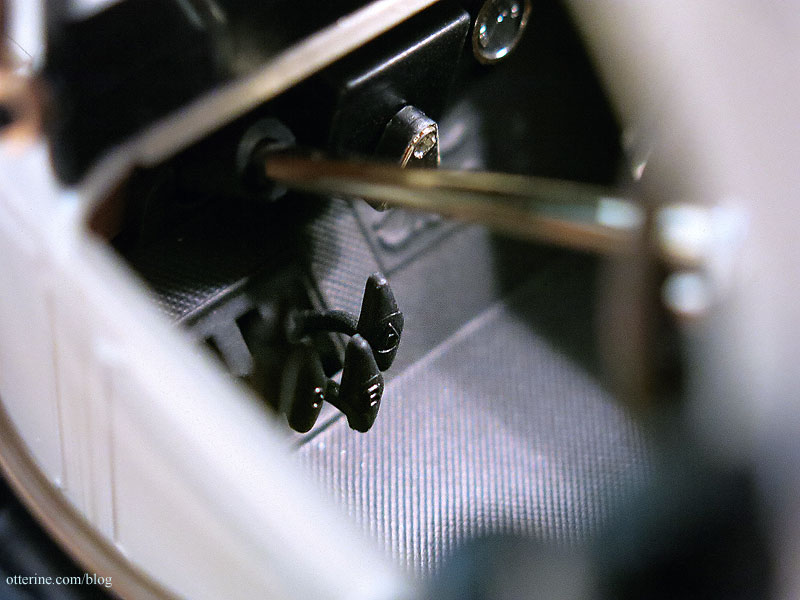
A lot of the kit “brass” ended up painted black to disguise the glued joining lines and bare spots from removing from the sprue.
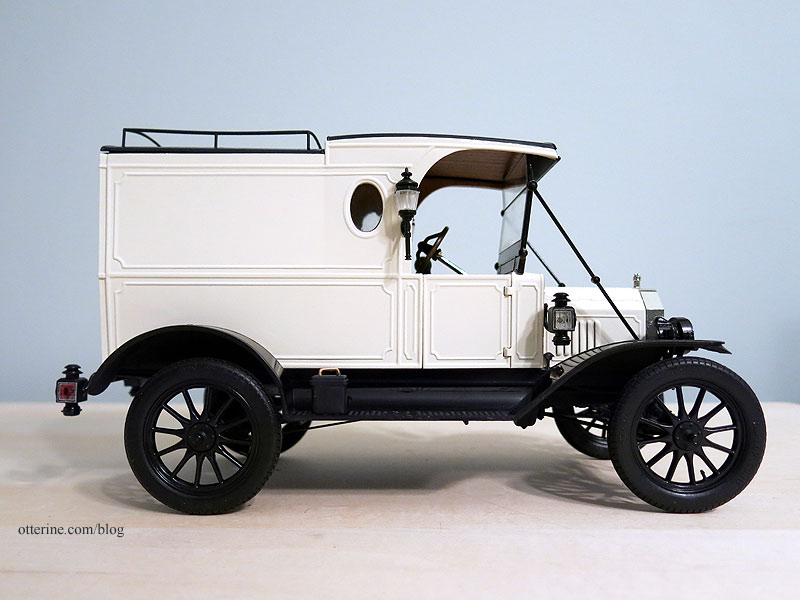
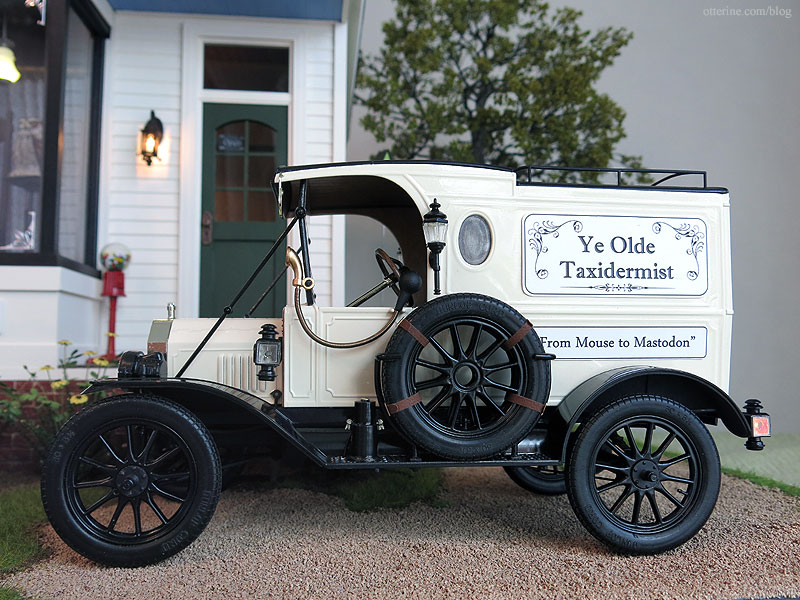
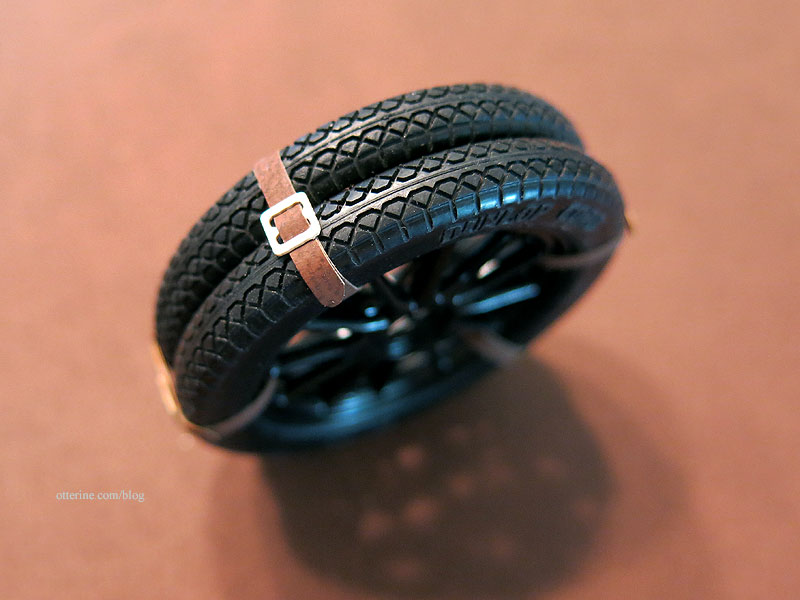
The spare tires were supposed to be solid parts to mimic covers. These had belt detailing that I knew would be impossible for me to paint to my satisfaction, so I used two of the spare tires I had from the second kit. I find it much more realistic, and the tires hide the main flaw I had when putting this side together. I didn’t put any permanent decals on the van for reasons soon to be revealed. The main reason is I might want to use this for other builds, and removable signs seemed the right way to go.
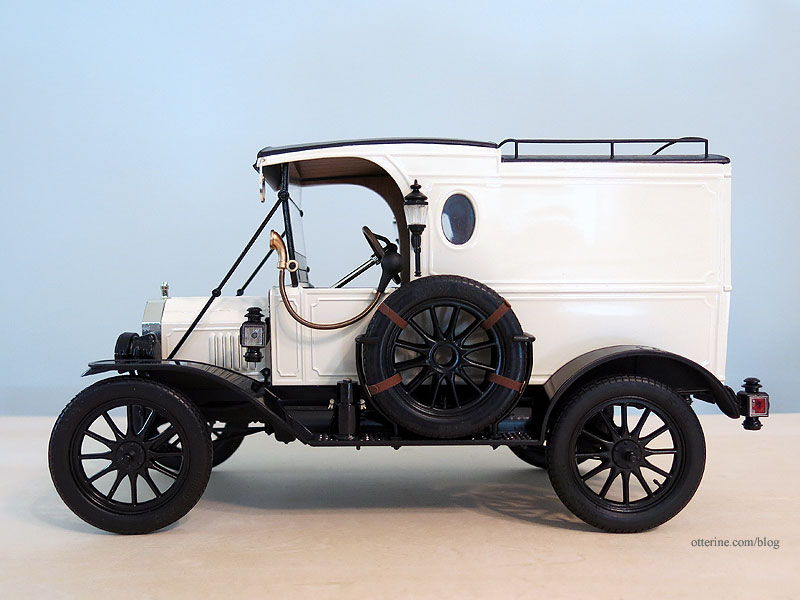
I went through many ideas before finally stopping on a vintage taxidermy shop set c. 1915 where the van would sit.
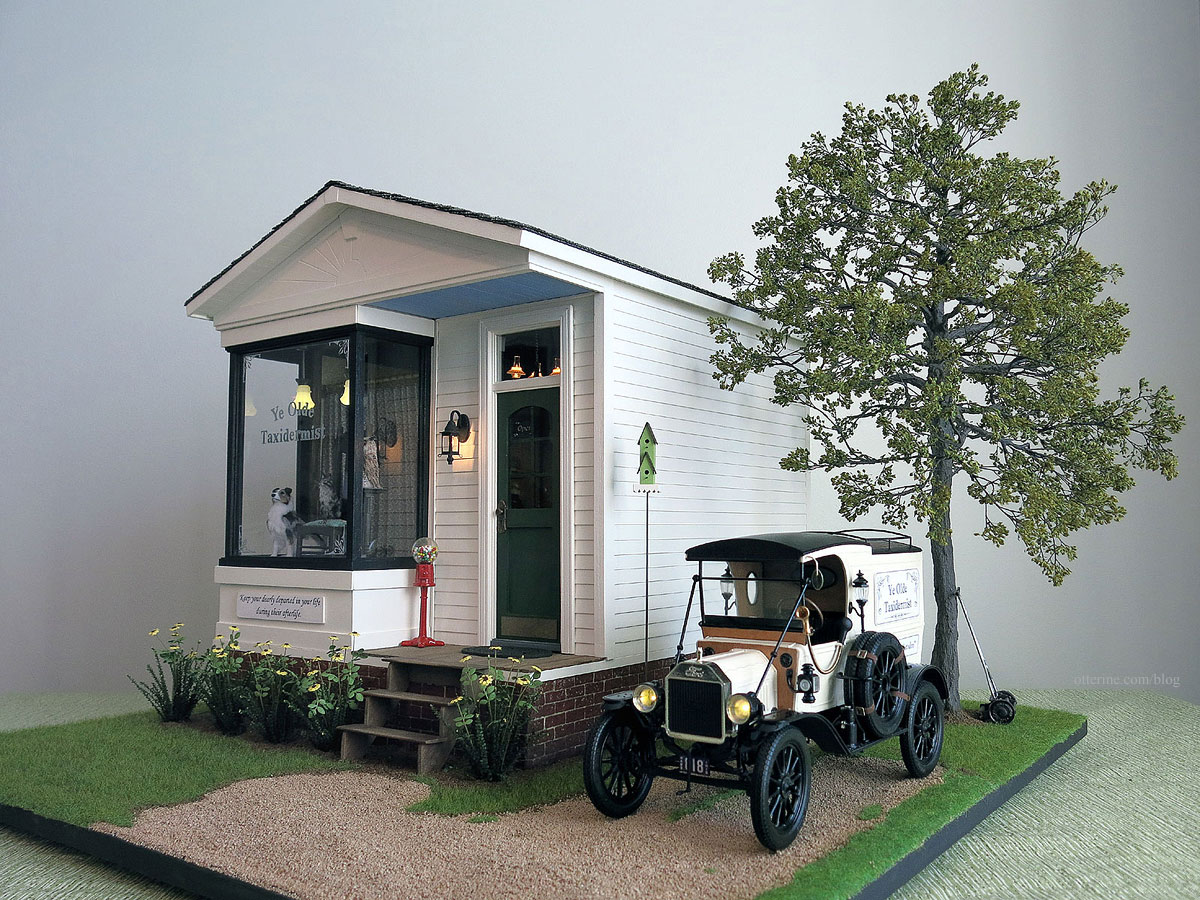
The other ideas were sound, but it was all decided once I found the 1:16 scale 1913 Model T Van kit by Entex that included decals for a taxidermist. From Mouse to Mastodon. I love it! :D
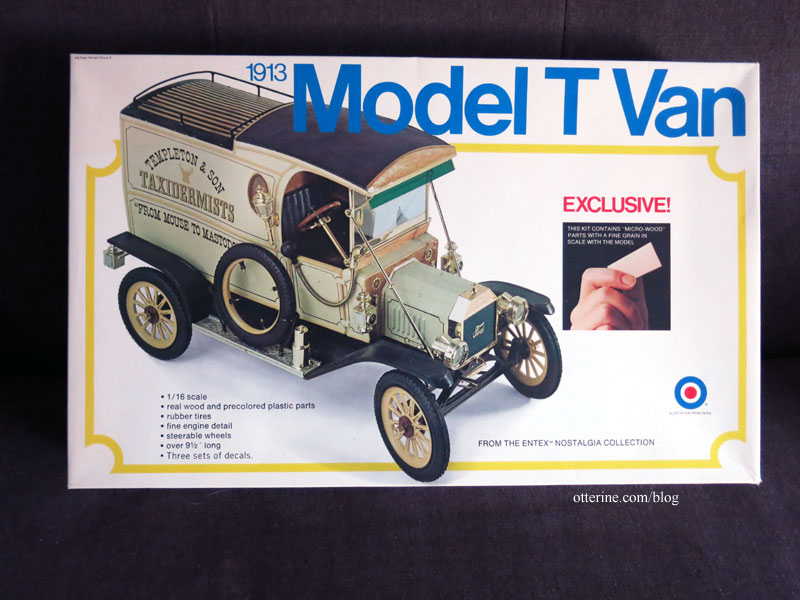
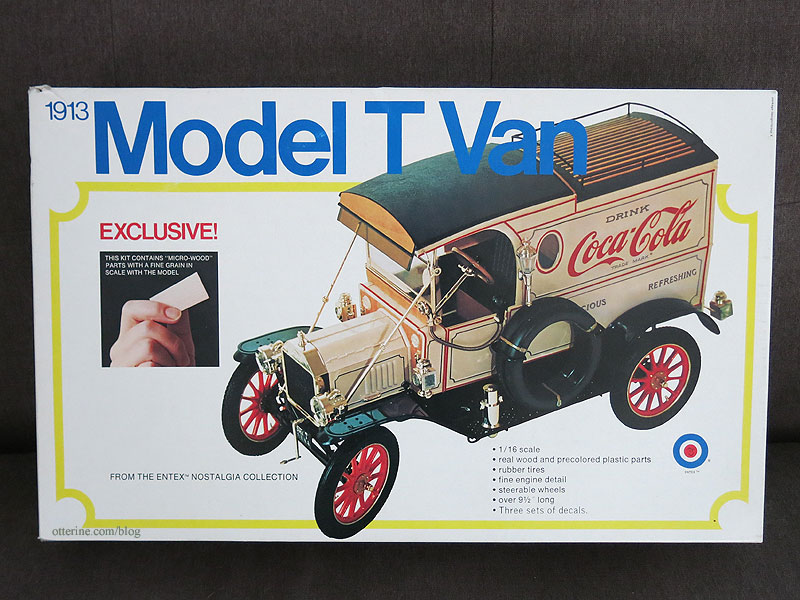
Yes, that’s a different image on the box cover than what I’ve been showing. There was more than one kit release over time, but even though I had two kits with different front images, the parts were identical for both. Interestingly, this one is shown built with the driver’s side opposite but with the use of a spare tire instead of the plastic covers. That would not have been possible with the parts molded as they were. Four different sets of decals were included: Carnation Milk, Coca Cola, The Texas Company and Templeton & Son Taxidermists.
I ended up making my own removable sign boards for the van for a few reasons. I wasn’t keen on using the name on the included decals, and I wasn’t sure about my success in applying large decals either. And, I might want to use the van for something else in the future, so I can just swap out the boards. :] These are printed on regular paper and mounted to bristol paper for added weight. Mini hold wax keeps them in place without marring the paint finish.
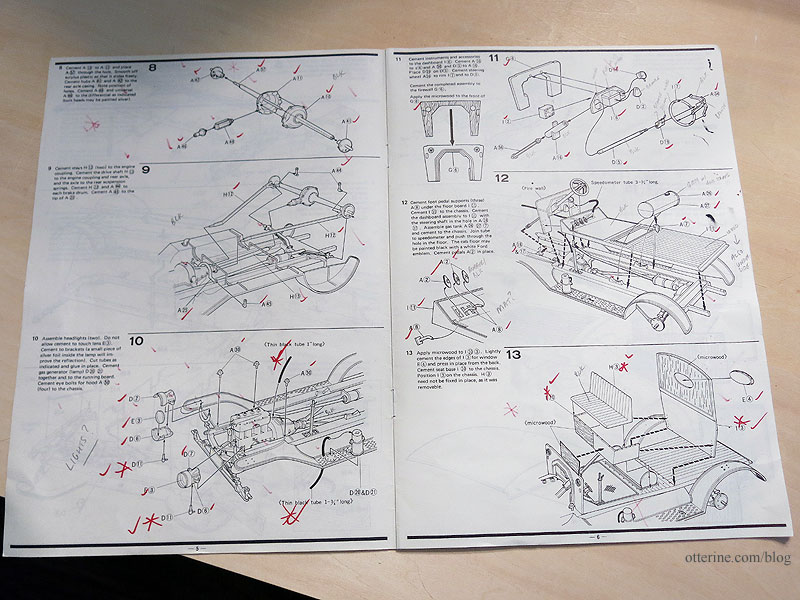
My instruction sheet showing my markup along the way….
I learned a lot about Model T Fords and early motorized transportation during the build, and here are a few of the references I sited along the way:
- A video on learning to drive a Model T at the Henry Ford Museum along with some excellent vintage off-road footage
- A video that takes you for a ride in a Model T
- An awesome video showing the fabulous articulation of a Model T
- Article on Model T lights
- Article on porcelain license plates
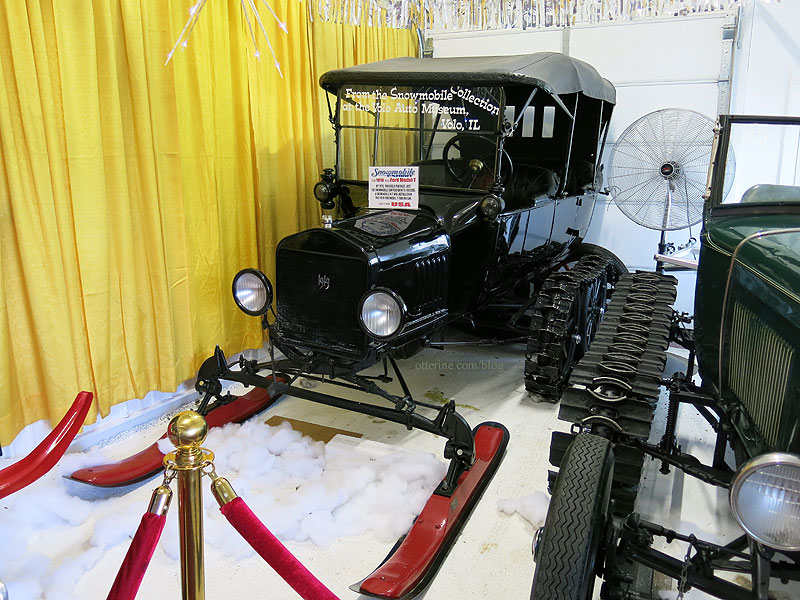
Here’s an interesting contraption I photographed at the local Volo Auto Museum. Many a Chicago winter would call for such a beast. :D
——————–
Here is the Entex kit photo to kick off the recap. I’ve listed the links in reverse order from newest to oldest.
Part 13 – body assembly, final detailing, belts for the spare tires
Part 12 – taillights, micro wood and body assembly
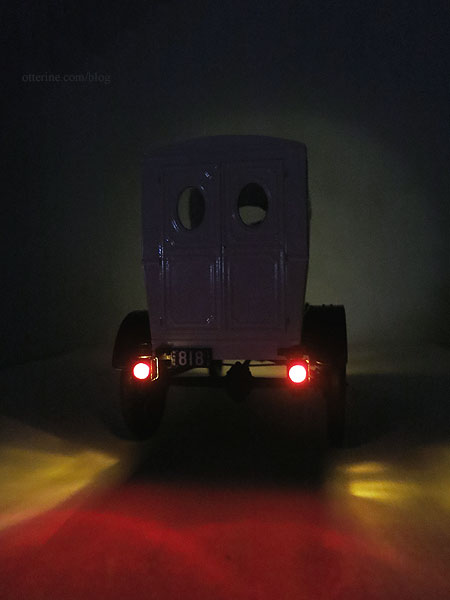
Part 11 – tags for the devil wagon
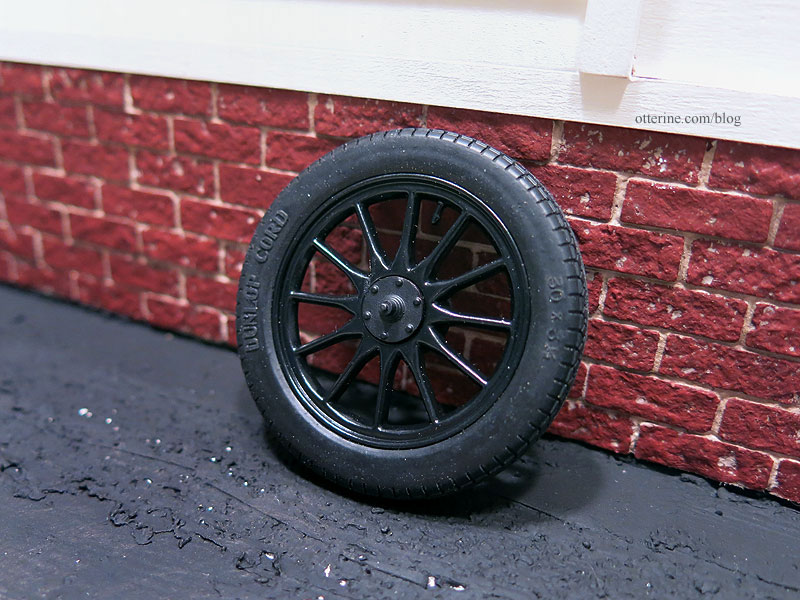
Part 10 – wheels and tires
Part 9 – headlights!
Part 8 – painting the body panels
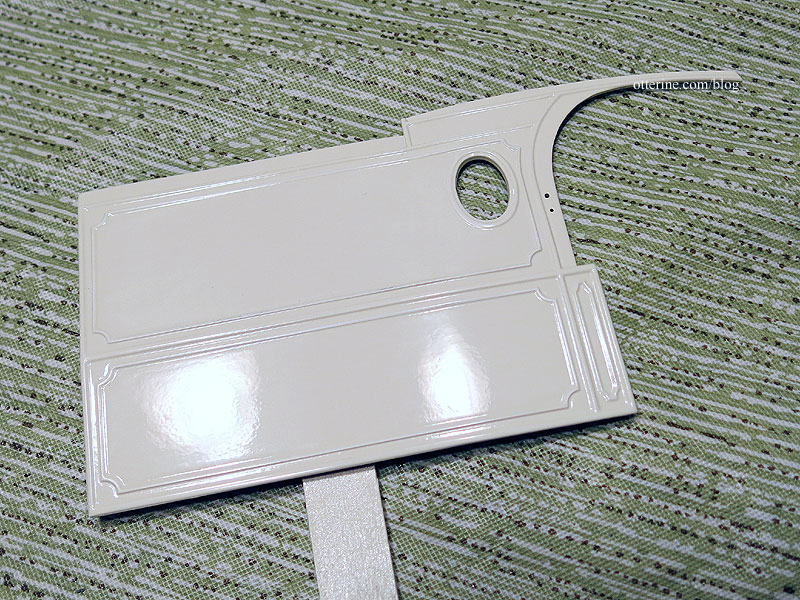
Part 7 – wiring details and more wood finishes
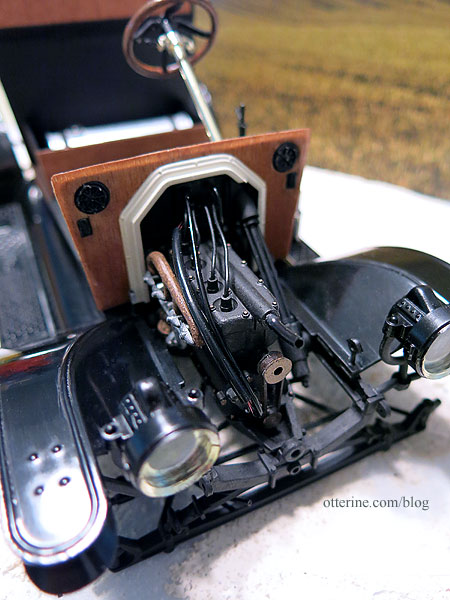
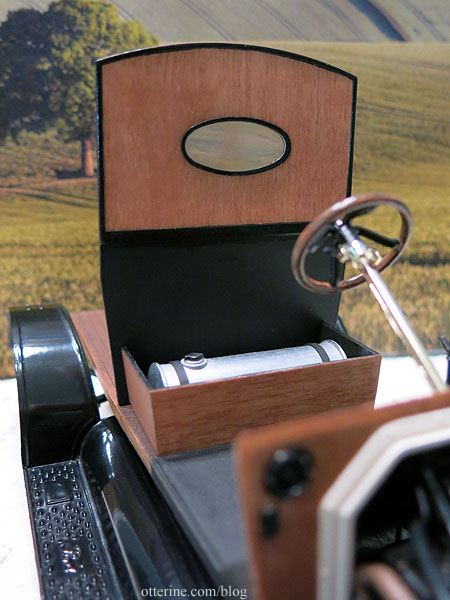
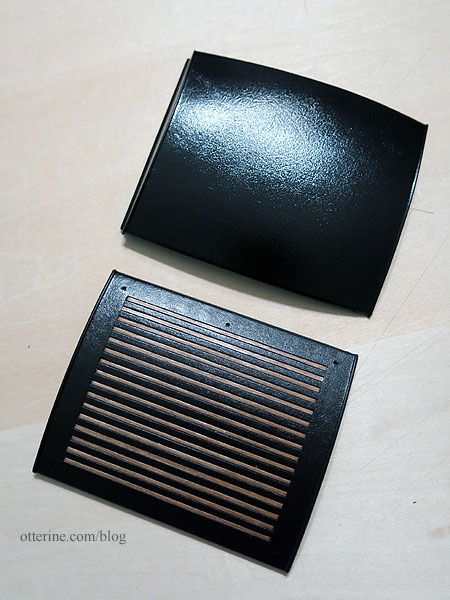
Part 6 – wood finishes, front cabin and installing the floor board
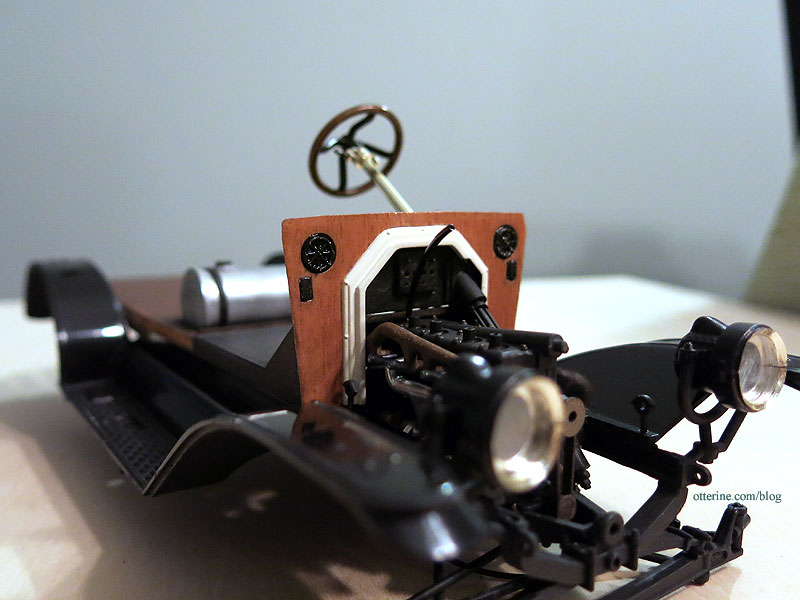
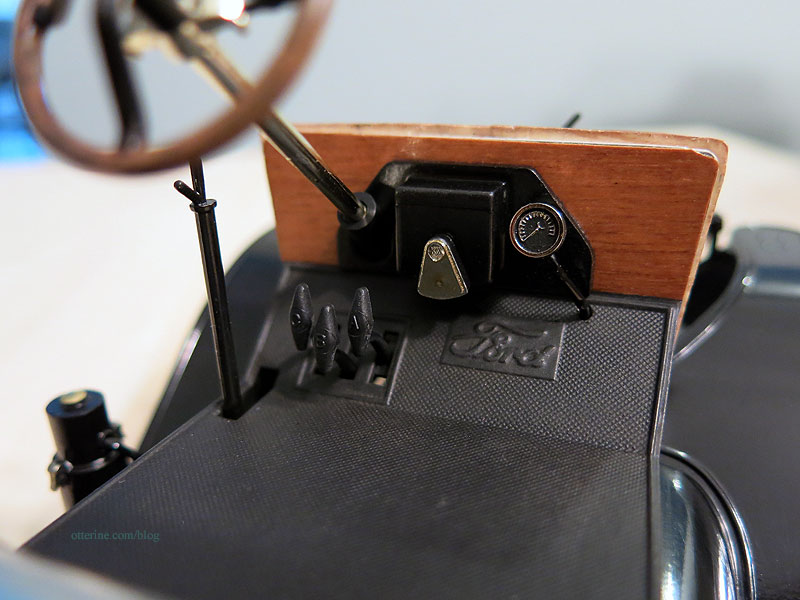
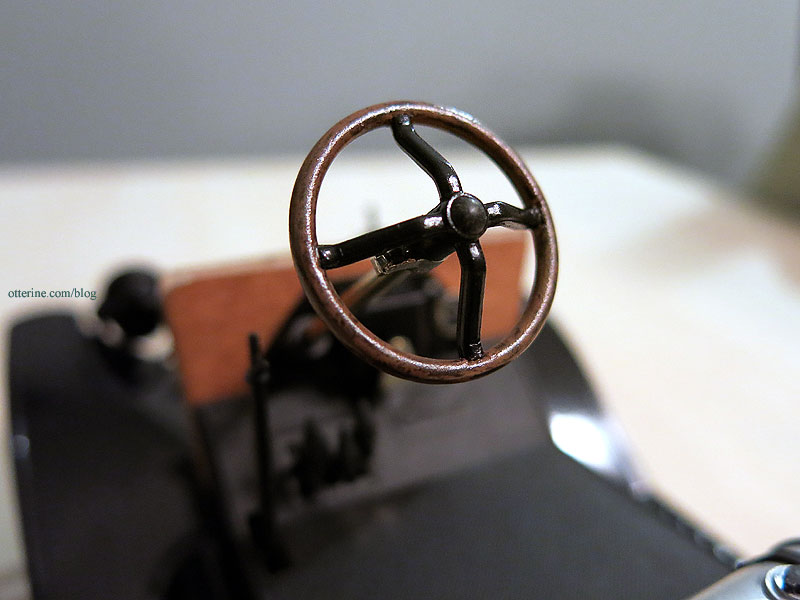
Part 5 – acetylene generator and headlamps
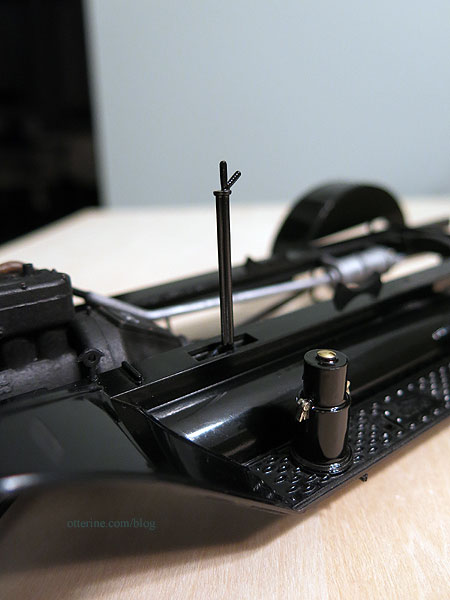
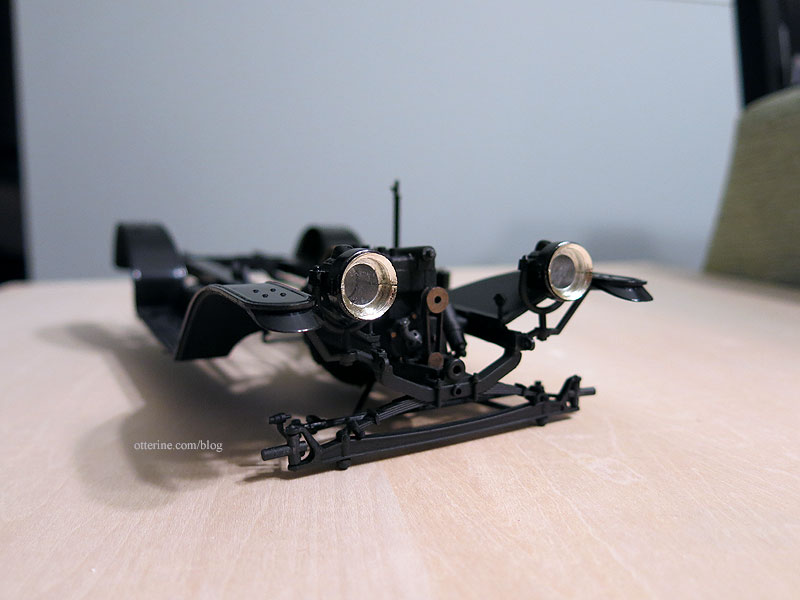
Part 4 – installing the engine and assembling the frame
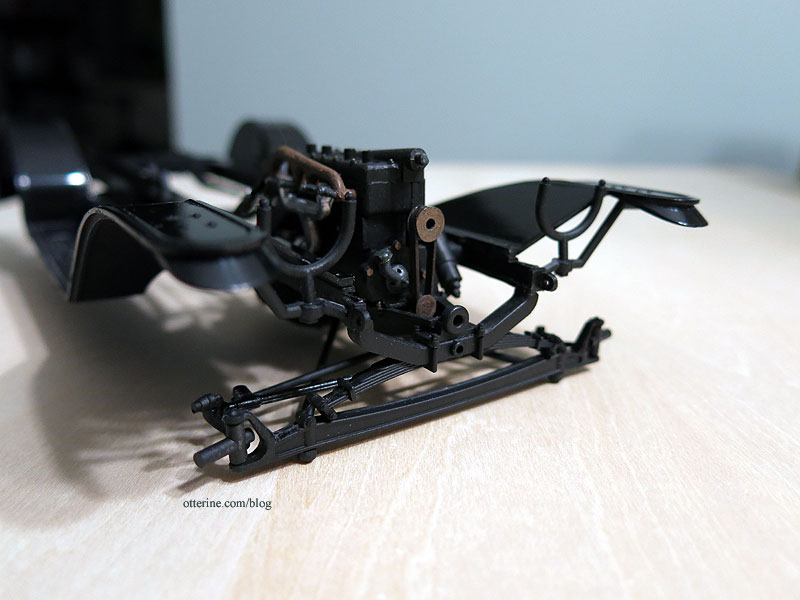
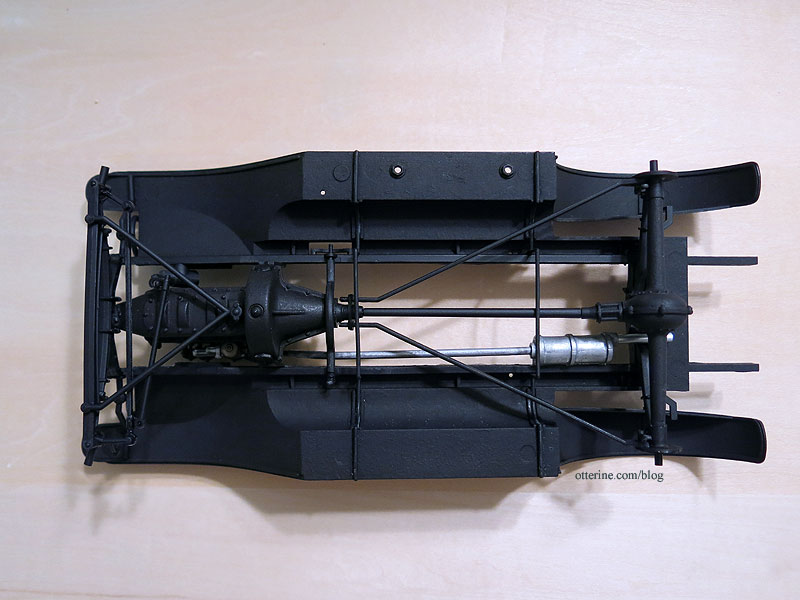
Part 3 – metal gas tank and exhaust system
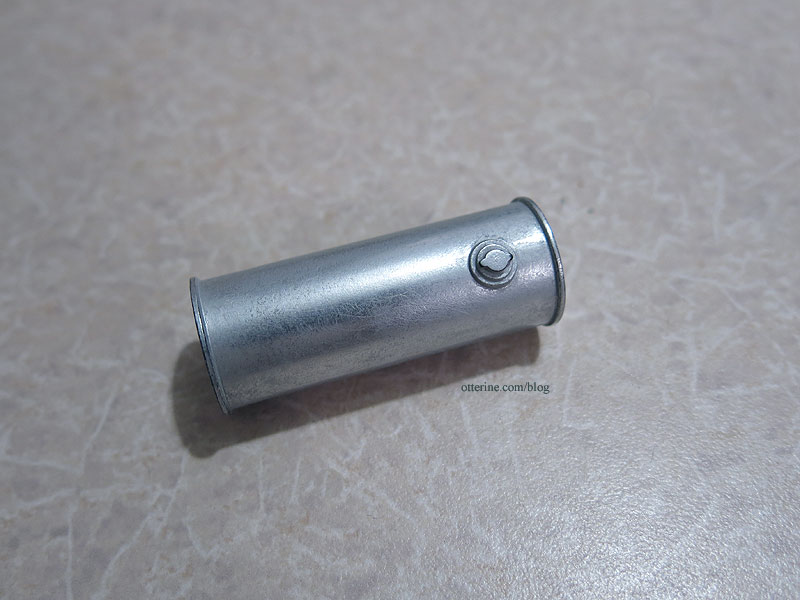
Part 2 – painting the chassis and getting those fenders to shine
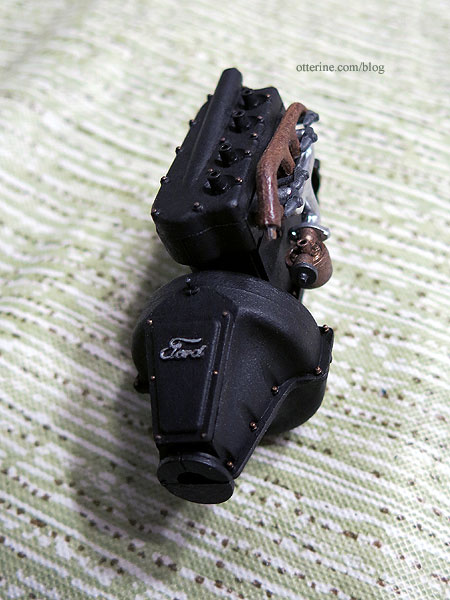
Part 1 – the beginning of the engine build
