Grey button-front skirt
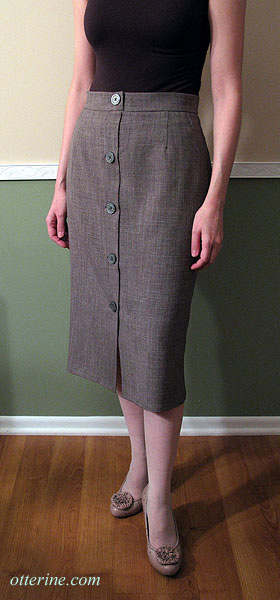
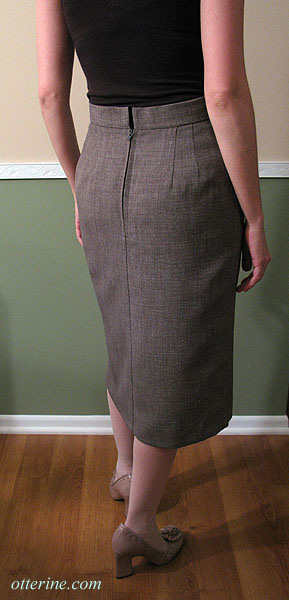
I made this skirt from Vogue 8363 - using a combination of pattern pieces from Views C and D. The fabric is a heathered grey woven suiting from Joann's.

I adore pencil skirts! I also love button detailing. Combine the two into a buttoned front pencil skirt, and I'm over the moon. Well, that is until I sit down and the whole thing bunches up and the fabric gapes between the buttons and I spend more time making sure I'm not flashing anyone than looking smart in the marvelous new skirt I just made. :[
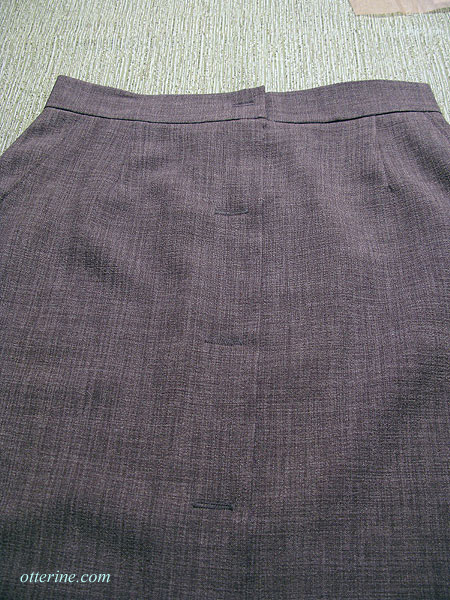
To fix this problem, I stitched the buttoned front closed between the waistband and the bottom button and put in a zippered back instead. :D Here's how I made the changes to this pattern:
I sewed the back of View C with a zipper, but excluded the back vent. Before attaching the back to the front, I prepared the front pieces from View D with faux pockets. Pockets also tend to gape when sitting, but I liked the visual interest they added.
I cut two partial pocket pieces from fabric scraps to obtain the sides of the skirt that complete the front. I marked the two circles and then set these aside.
I basted the main front along the pocket seam. This edge would have been lined by another pocket piece if I had kept the pockets intact.
I clipped to the lower circle and pressed the basted edge.
I pinned the partial pocket piece behind the pressed edge of the front, matching the two circles.
I edgestitched along the pressed edge to join the two pieces together and removed the basting threads.
On the wrong side, I cut the partial pocket piece along the edge of the seam allowance.
I then bound the unfinished edges together with a zigzag stitch.
So, I ended up with the pocket details without the nuisance of gaping pockets!
I then prepared the front facings before sewing the skirt together at the side seams. Lapping the right front over the left, I pinned the center fronts together from the waist to the bottom buttonhole marking and tried the skirt on for fitting before proceeding. I didn't end up having to adjust the fit at all.
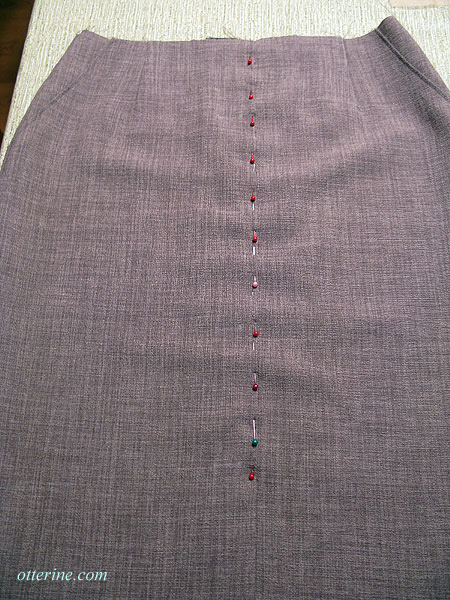
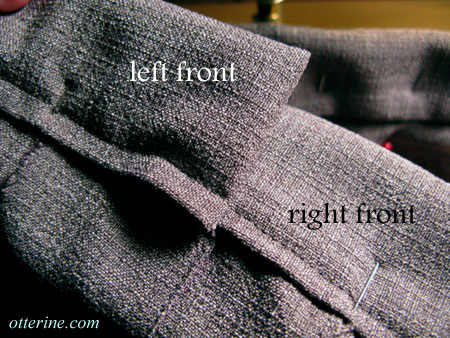
I turned the skirt wrong side out. I opened out the right front facing and edgestitched the fold of the left front facing to the right front facing, making sure to not catch the right front in the stitching. (I hope the next photo helps, because I am having a hard time putting into words what I am talking about! Hahahaha.)
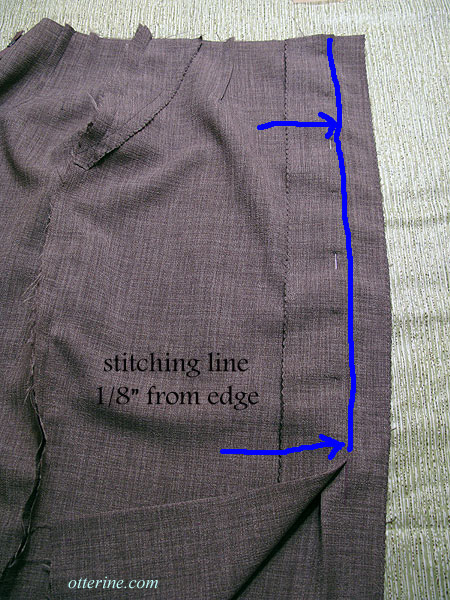
I turned the skirt right side out and blind stitched close to the edge of the right front facing from the waist to the bottom button hole.
I had cut out the pattern piece for the front-opening skirt waistband to get the lapped front with a button, so I had to modify it in the back to accommodate the zipper. I cut the View D waistband one size larger than the waist size, applied the interfacing and turned under the unnotched edge per the original instructions. I sewed both front edges of the waistband and pinned the waistband to the assembled skirt from the front around both sides to the back.
Since I had cut a larger waistband size, there was enough extra to split the waistband piece at the center back. I could then finish the back of the waistband per the original instructions for View C.
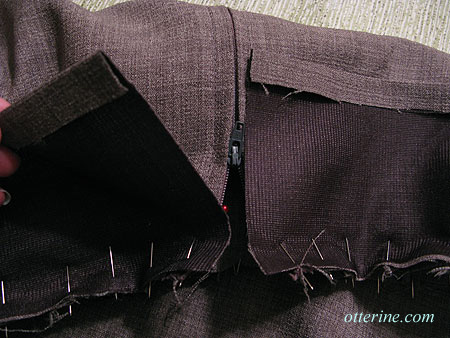
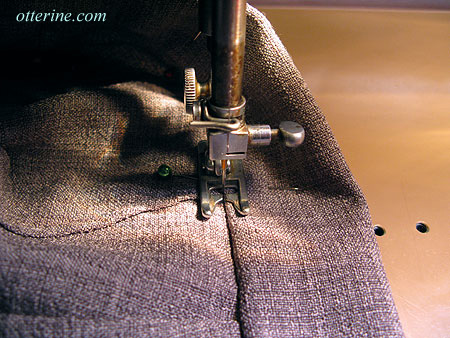
I "stitched in the ditch" to catch the facing of the waistband.
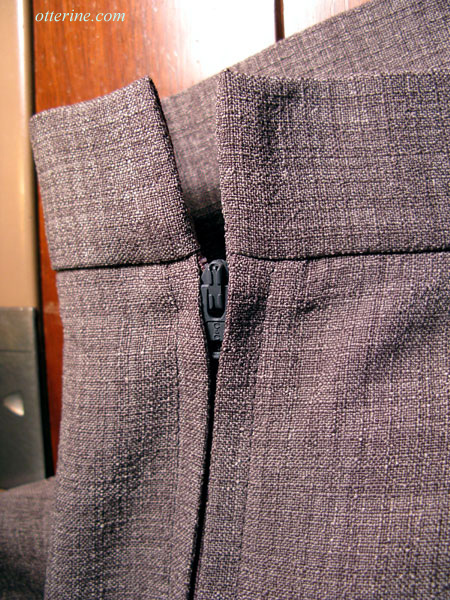
I left the back edges open above the zipper so the waistband wouldn't bind when sitting.
After attaching the waistband, I sewed the mock buttonholes (leaving them uncut). The waistband isn't perfect but it worked fairly well for figuring it out as I went along.
Now, I can sit comfortably and not worry about the fabric gaping between the buttons. :D
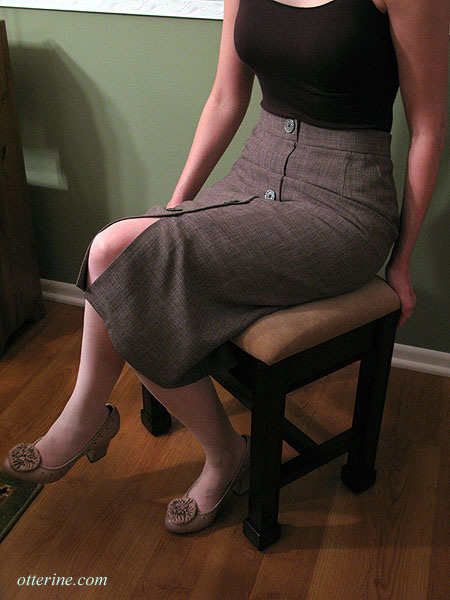
shoes: B. Makowsky 'Sindy'


