Walnut Bay Light - the spiral staircase
This post has moved to the new blog.

24 comments
MAH-velous! It was so amazing to watch this take place!!!! It turned out flawless and beautiful, just like everything else in this build!!
So proud of you!
01/15/14 @ 17:04
It's really wonderful and so realistic! I love the step-by-step instructions and visuals!
01/15/14 @ 17:41
Such amazing project, Brae! Thanks for sharing the process.
01/15/14 @ 17:44
Brae,
The staircase is phenomenal. The use of plastrux to create the right sort of tread was brilliant, as was the use of eyelets for the railing. You have a knack for the details which is why the finished product stands out! One question: what camera do you use? The use of a good camera clearly gives proper homage to your work.
01/15/14 @ 18:36
Amazing! I wish I could shrink myself down to fit in there and climb those stairs :-)
01/15/14 @ 19:47
Hi Brae,
It's so perfect and just seems to flow so easily belying how difficult it really was for you to build. Wow! So impressive. I think my favorite part is the elegant upper railing. So beautiful. It all looks so realistic.
Susan
01/16/14 @ 00:07
Wonderful! At first I thought it was a real building, then I read it was made of beads, jewelry findings, etc, ... Very beautiful!
Marit
01/16/14 @ 00:36
It is fabulous. I want to do a smaller spiral staircase in my Timeless Toys. Your post will give me an idea of how to go about it.
01/16/14 @ 01:08
That really is one of the cleverest miniature creations I have seen - very well done. It's a credit to you.
01/16/14 @ 05:06
Wat een mooie manier om je trap te maken.
Super gelukt.
Groetjes Thea
01/16/14 @ 06:09
This work is fantastic. It's obvious miniatures are in your dna 
01/16/14 @ 11:08
Dear Brae, you are Amazing! This is a Great example of your Simple Genius! You find the parts and make them work... and they end up looking Perfect! And not only are your projects elaborate and original and detailed to perfection.... but you share your methods and materials!!! I learn so much from you... and I always find your ideas and sources Inspiring!!!
Thank you for being a Shining Beacon for me in the Mini World!!! 

01/16/14 @ 16:52
Thank you, Brae! This is so very well explained. It's insane the amount of work you put into this. It must have taken hours and hours of arduous work. Those stairs are sheer genius!
01/17/14 @ 10:32
I think that you deserve an award for this spiral staircase!
The commitment to Quality and Authenticity as well as the enormous amount of detail that has made this project such a wonderful focal point, is to be highly commended! Well done!
01/17/14 @ 22:59
01/21/14 @ 12:01
I've been going through your blog again after a long time hardly seeing any blogs, but what a lot of work you've done! I love all that your doing with the brownstone, very nice plans you have there. And then I went further back and just have to compliment you on these stairs (the whole project, but those stairs are especially great!). You make wonderful things and I always look at what you make with great pleasure!
02/18/14 @ 03:38
Hi Brae
I was looking for a spiral staircase to use in my "Bunkie" and couldn't find one so I am making my own and then I discovered your "blog'. It was a great help in finishing up what I had started. Great work.
Liz
06/03/14 @ 14:59
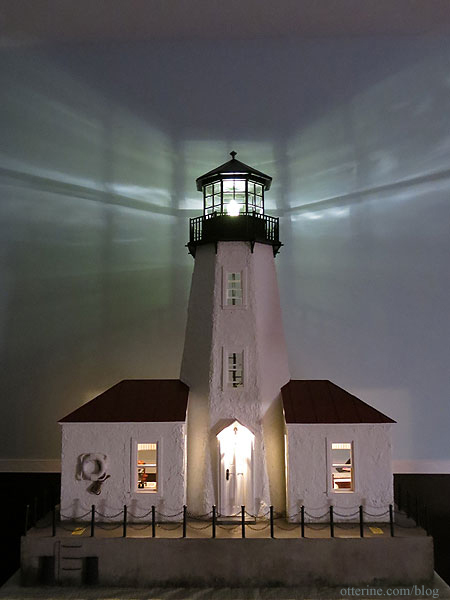
I have just bought a nearly complete Dollhouse kit, I think someone just got fed up of trying to complete it. It has a Hansard roof at the very top, which I have now hacked in to, I wanted a spiral staircase for this section, but did not know how to do it, after seeing this post and the detailed instructions I am starting the stairs quite soon, I love your Lighthouse, I have a 'thing' about them too.
11/08/15 @ 07:21
Just read this tutorial for spiral stairs! You did a fantastic job! I see this project was a few years ago, and I’m hoping you’ll see this. What was the length of your stair pieces?
01/23/19 @ 17:10
Thank you!! 
It's not a precise measurement since it's hard to get in there with it assembled, but each tread is roughly 2 3/4" long.
It's not a precise measurement since it's hard to get in there with it assembled, but each tread is roughly 2 3/4" long.
01/24/19 @ 15:57

 Find me on Instagram
