Popular tutorials
UPDATE 2024 -- this post is under construction so many links are broken right now. Please check back later.
Here is a recap post of the more popular tutorials I've done. I thought this might make it easier to find than searching each time, though this is definitely not a complete list of all the tips and tricks on my blog. Unfortunately, many suppliers from my older posts are either no longer in business or the links have gone dead.
--------------------
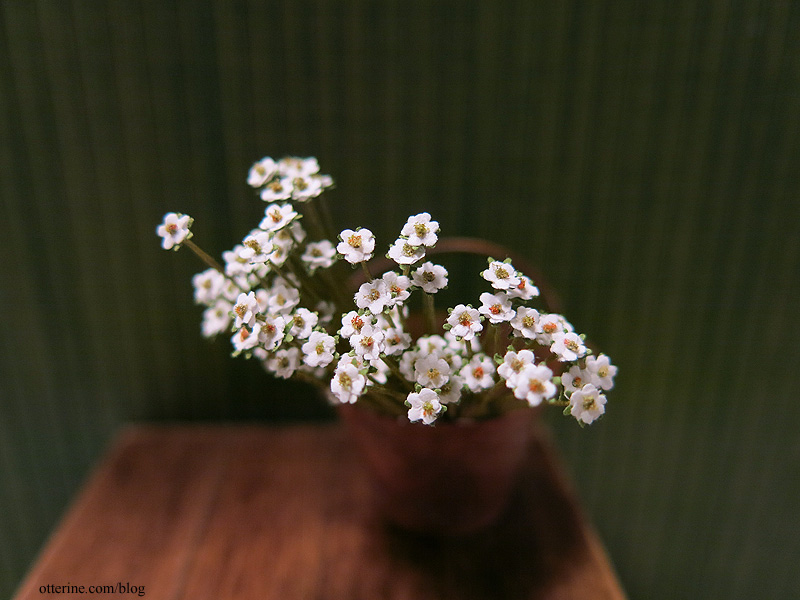
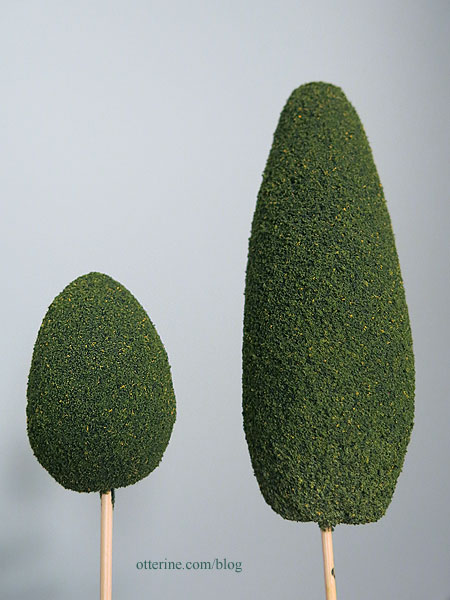
Homemade shrubbery - tutorial available in my etsy shop
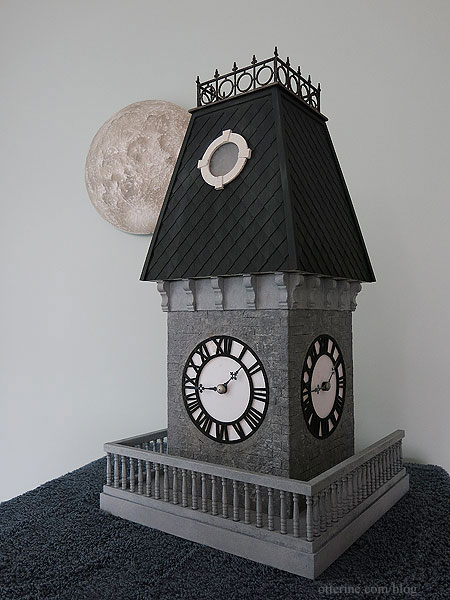
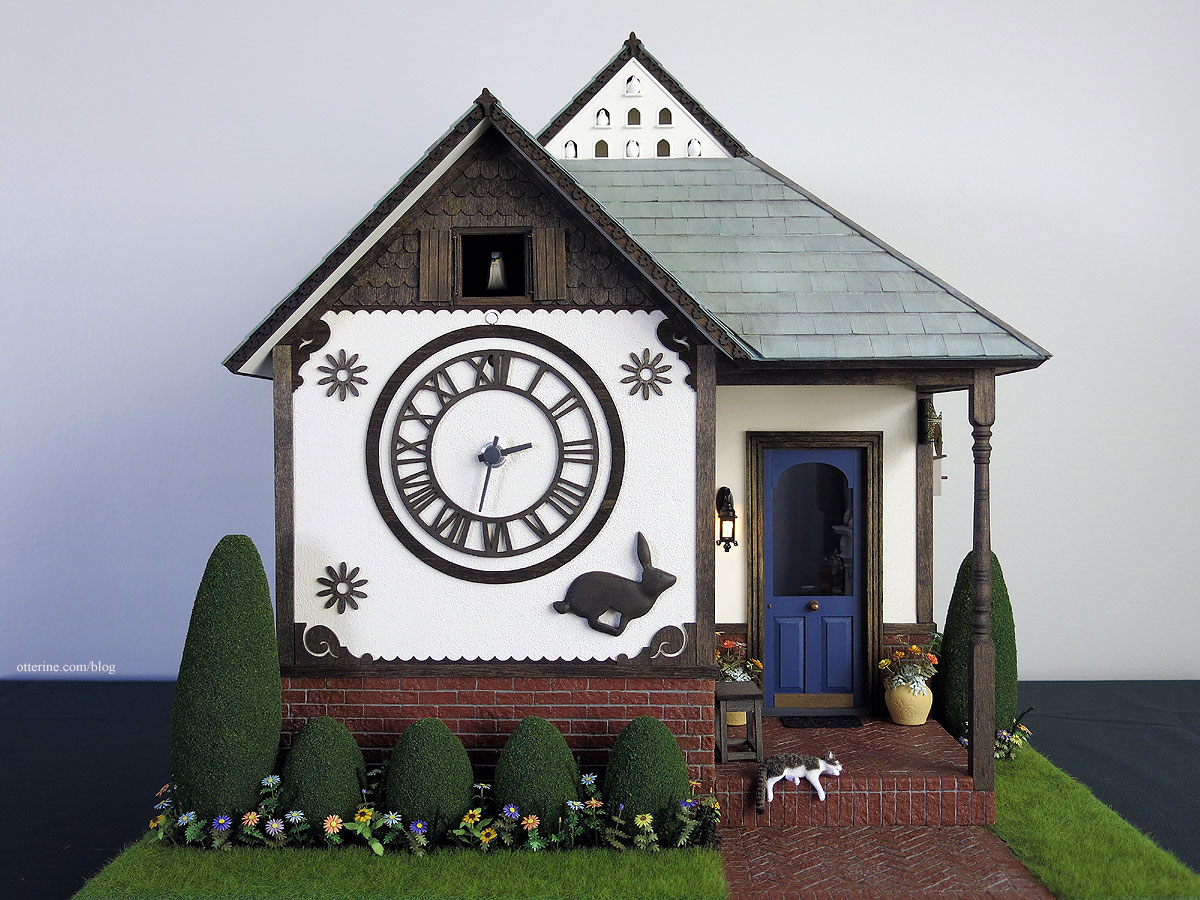
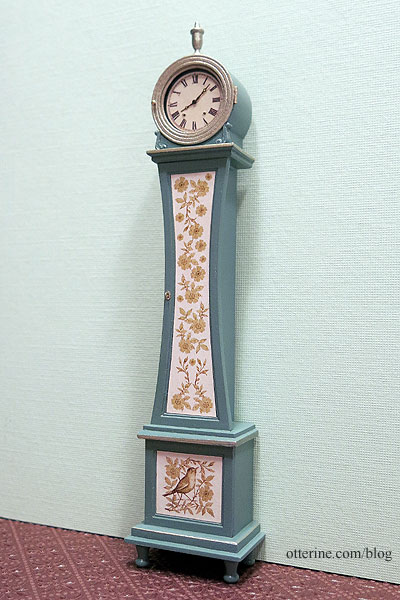
Miss Lydia Pickett Cottage Clock in 1:12 scale (the process ends here, but you can click back through the links at the beginning of each post to see the full process)
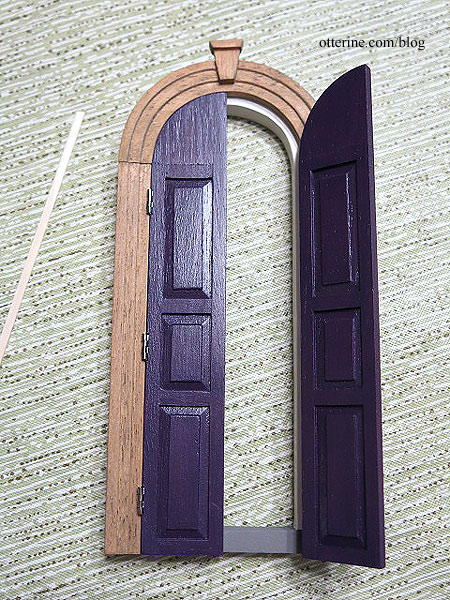
Setting hinges - Watson Mill
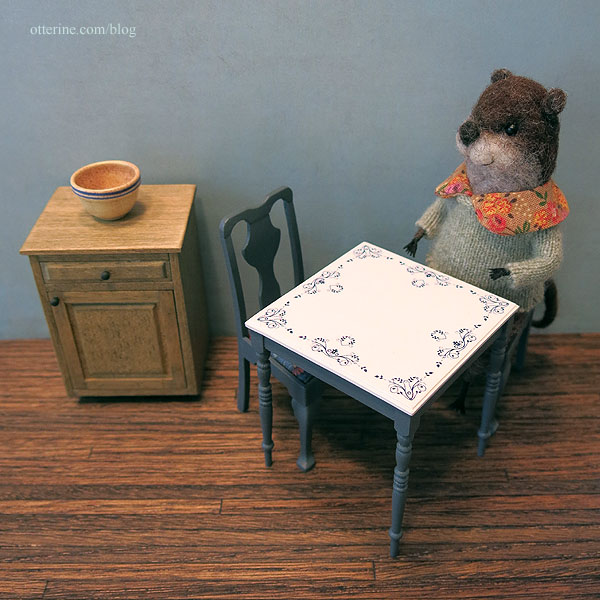
Enamel tabletop - Watson Mill
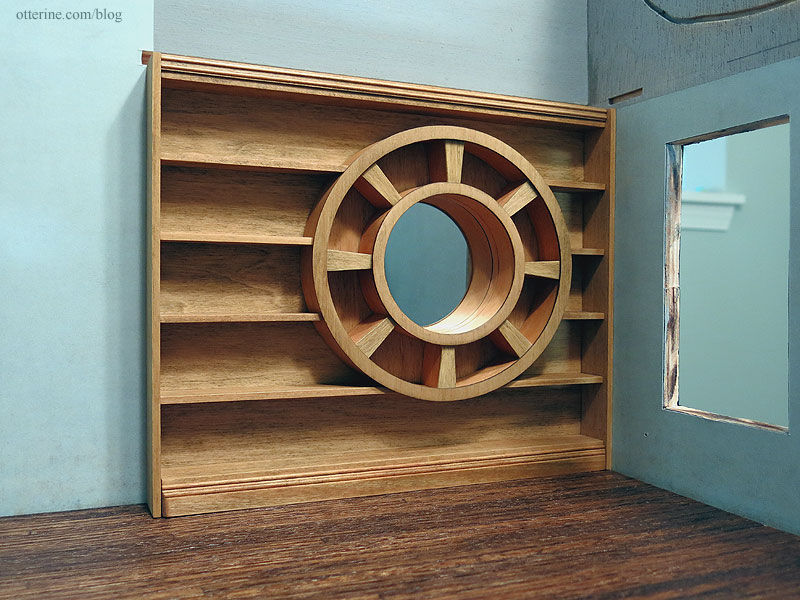
Circle library - Watson Mill (the process ends here, but you can click back through the links at the beginning of each post to see the full process)
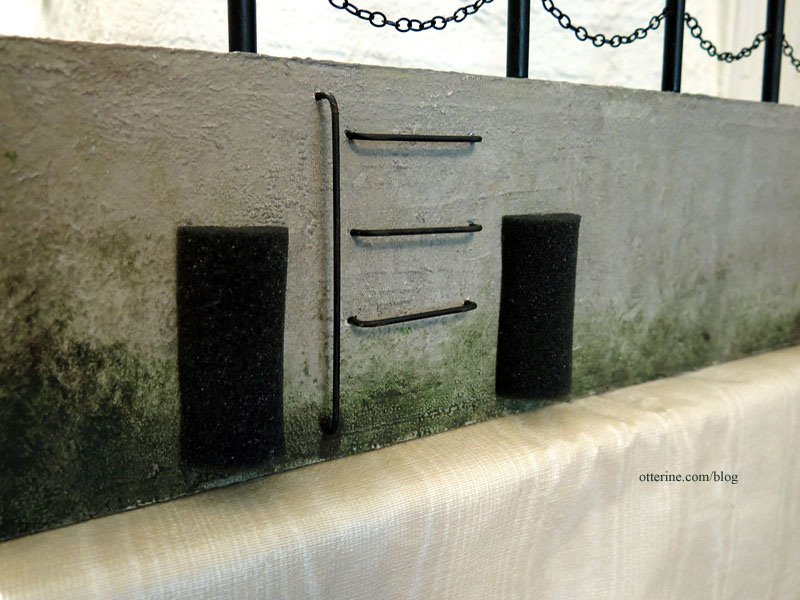
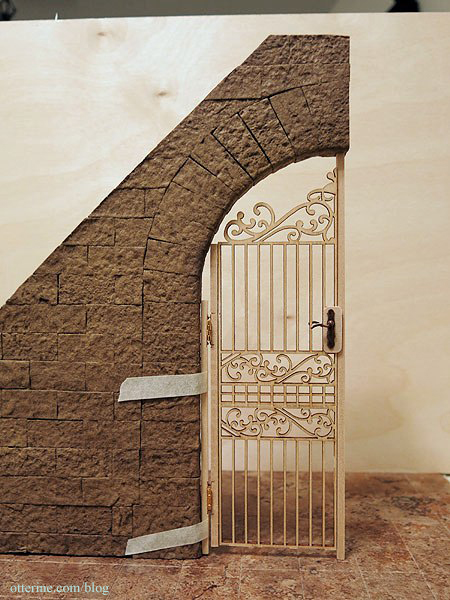
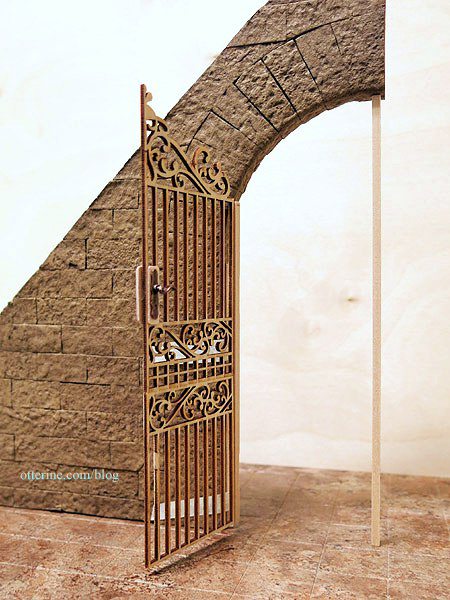
Security gate - The Brownstone (work in progress)
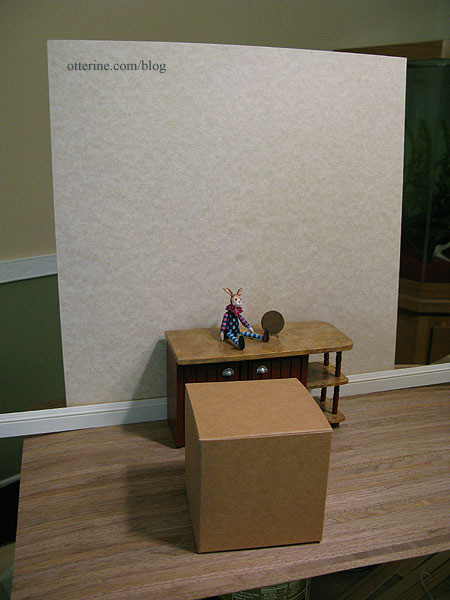
Photographing minis without a room box
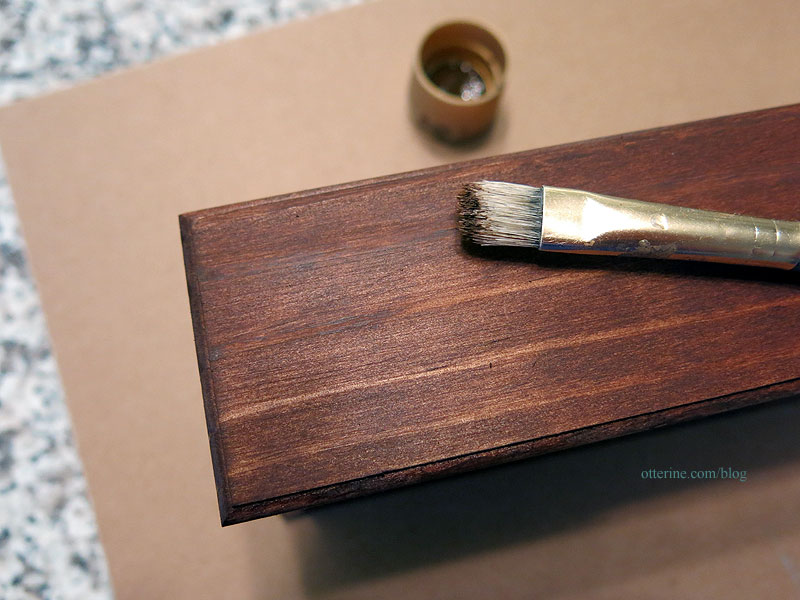
Staining and painting unfinished/bare wood furnishings - covering glue marks and uneven grain
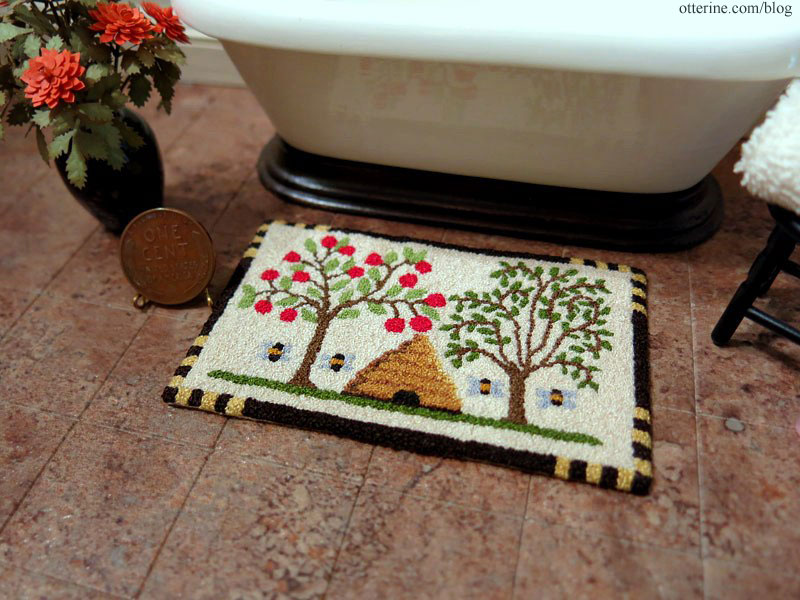
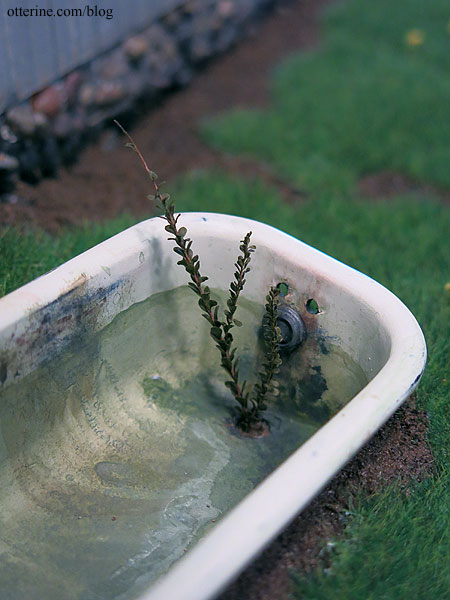
Abandoned bathtub - Milo Valley Farm (the process ends here, but you can click back through the links at the beginning of each post to see the full process)
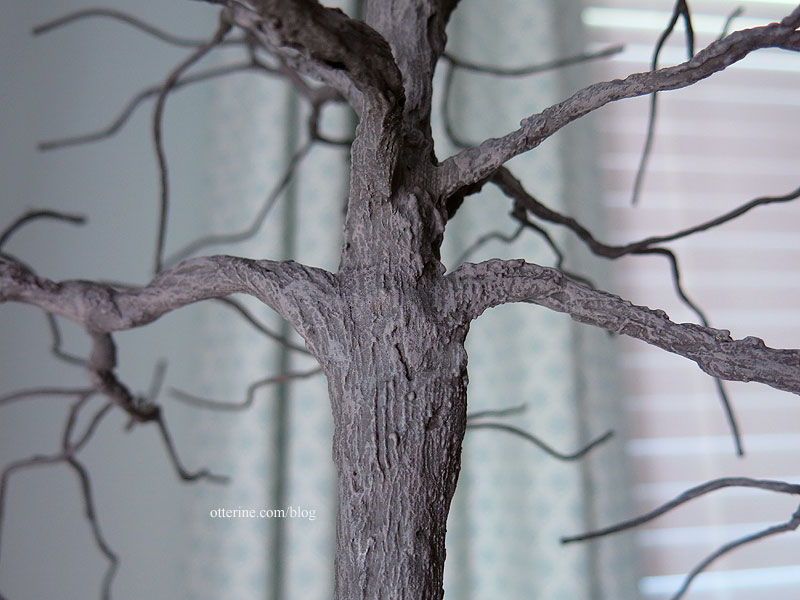
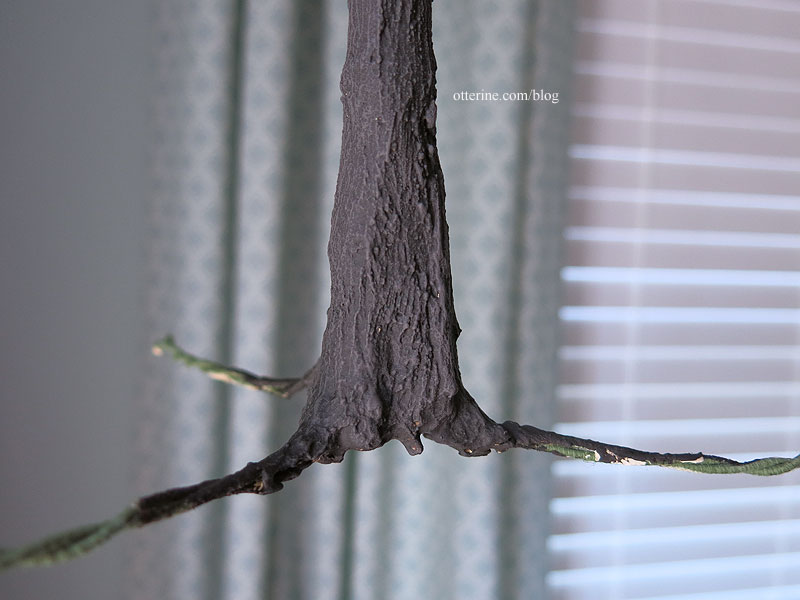
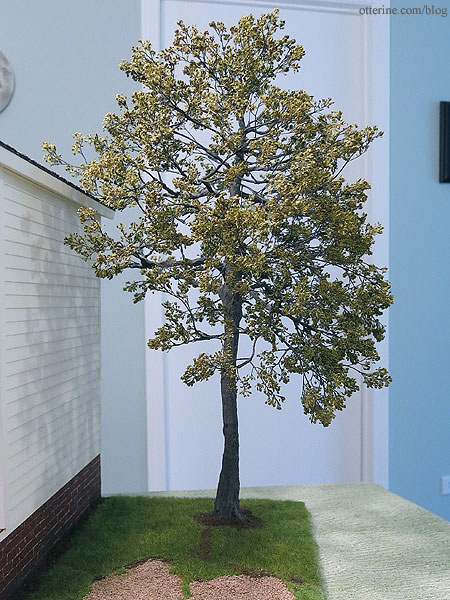
Realistic tree (the process ends here, but you can click back through the links at the beginning of each post to see the full process)
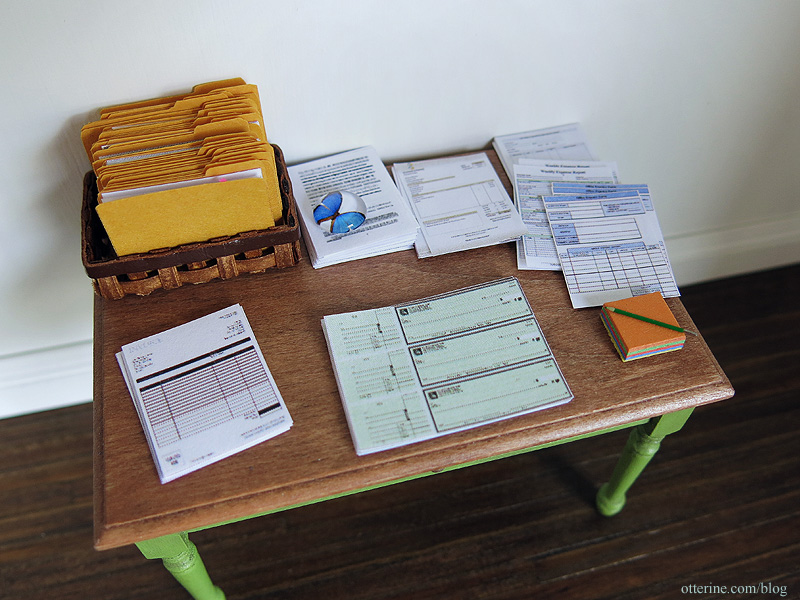
Mini paperwork, checks and invoices
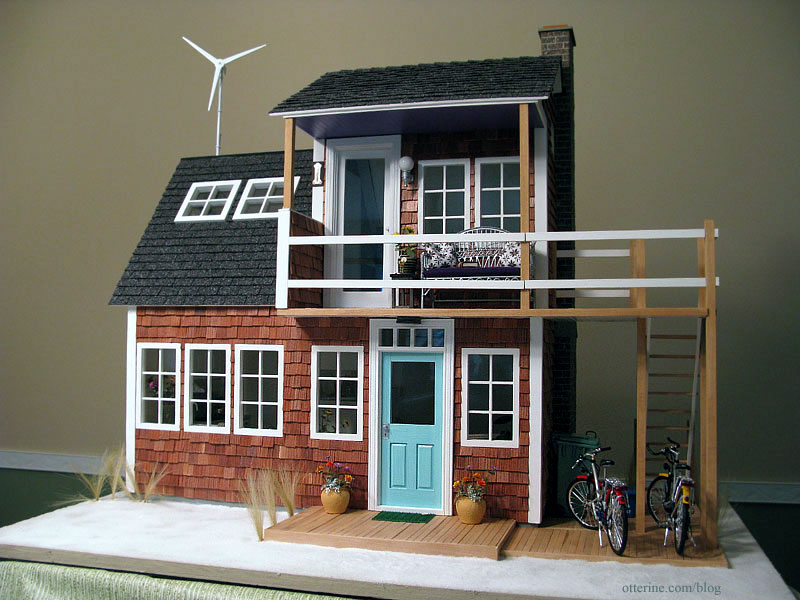
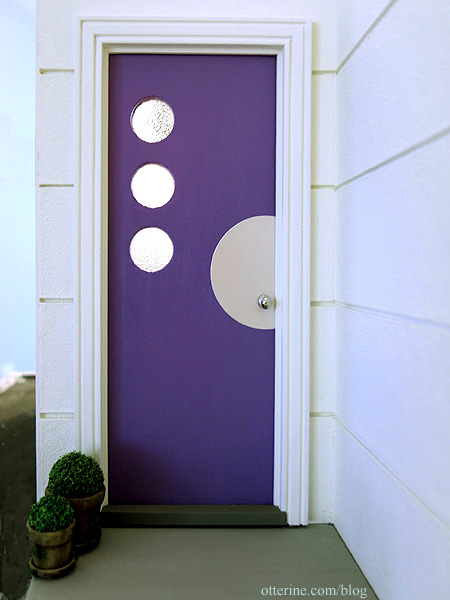
Making a custom door - Otter Cove (the process ends here, but you can click back through the links at the beginning of each post to see the full process)
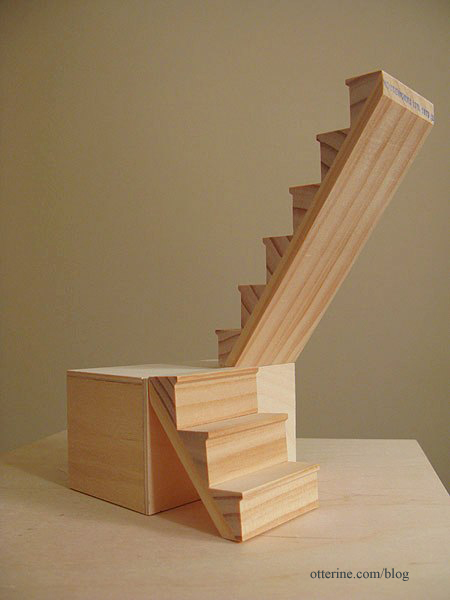
Spiral staircase - Walnut Bay Light
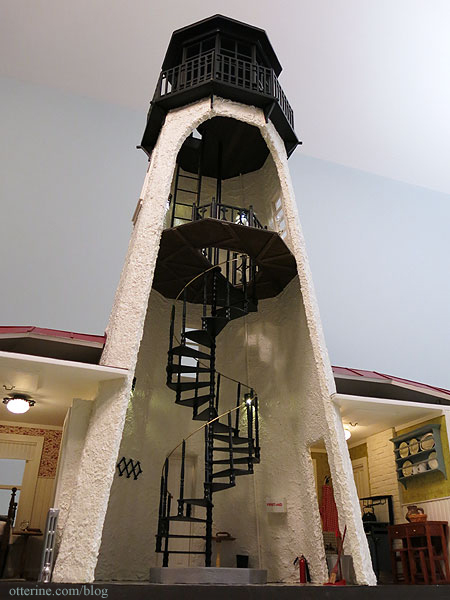
Turning wood into concrete - Walnut Bay Light
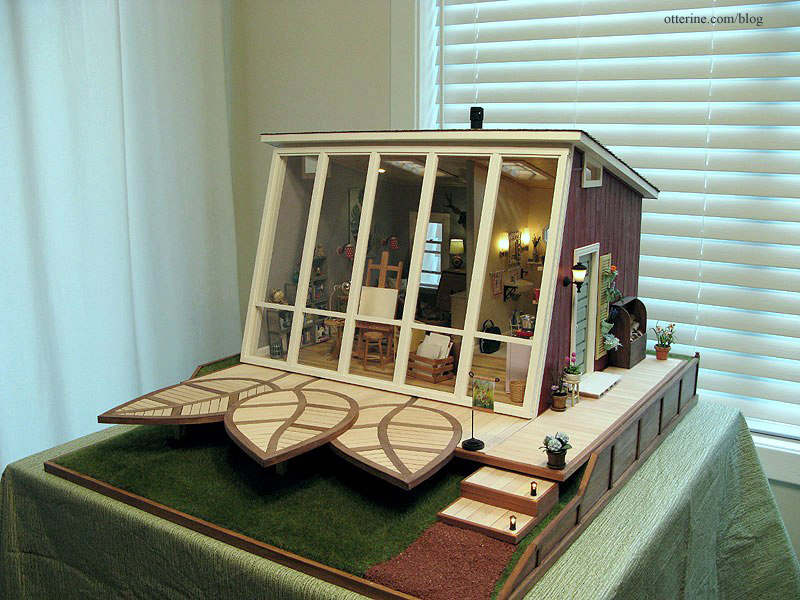
Hummingbird shower - The Artist's Studio (the process ends here, but you can click back through the links at the beginning of each post to see the full process)

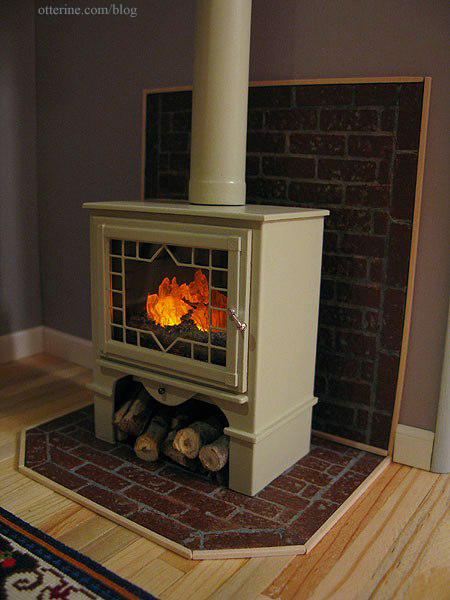
Wood stove - The Artist's Studio (the process ends here, but you can click back through the links at the beginning of each post to see the full process)
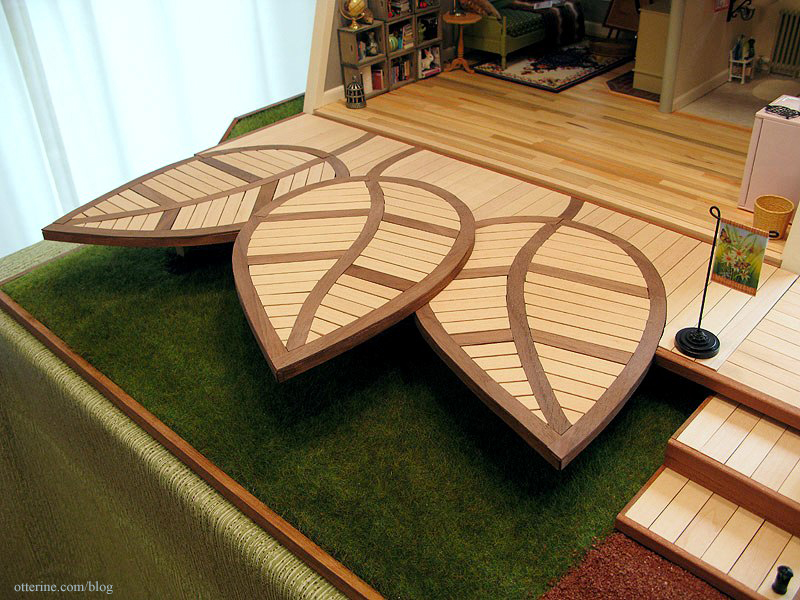
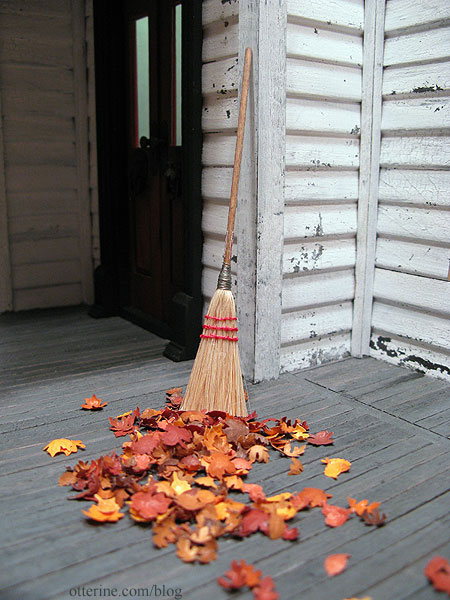
The leaf deck - The Artist's Studio (the process ends here, but you can click back through the links at the beginning of each post to see the full process)
Cutting plywood without power tools

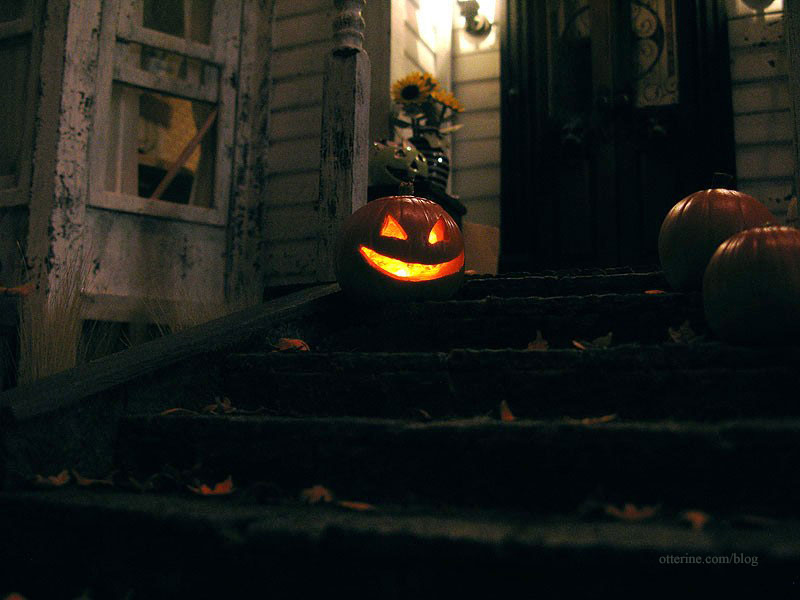
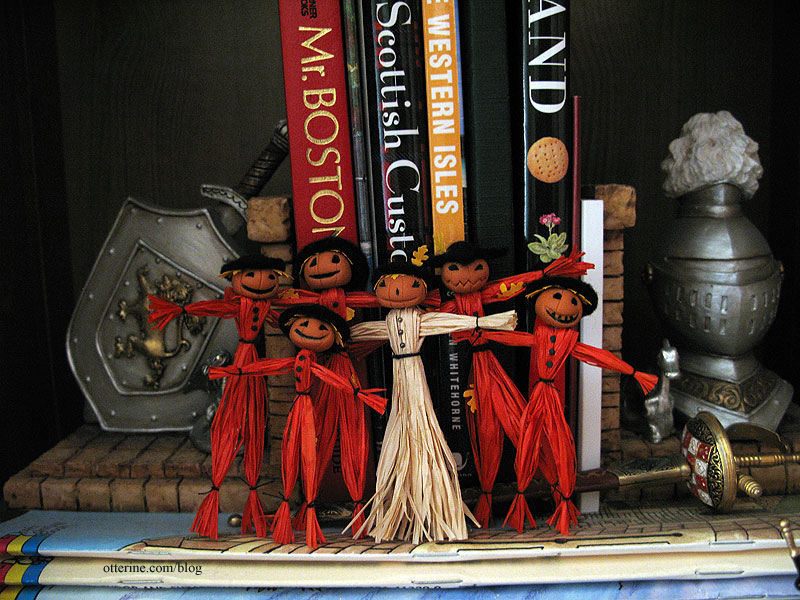
Flickering jack-o'-lantern - Haunted Heritage
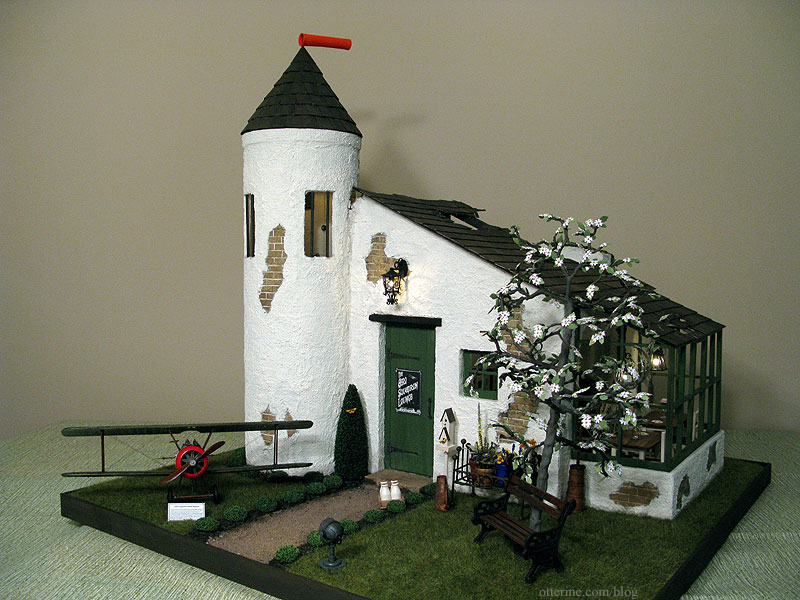
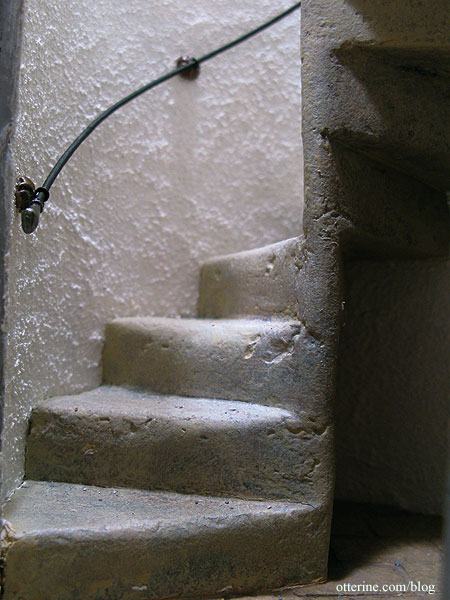
Stone spiral stairs - Aero Squadron Lounge
Cutting egg carton bricks with links on finishing
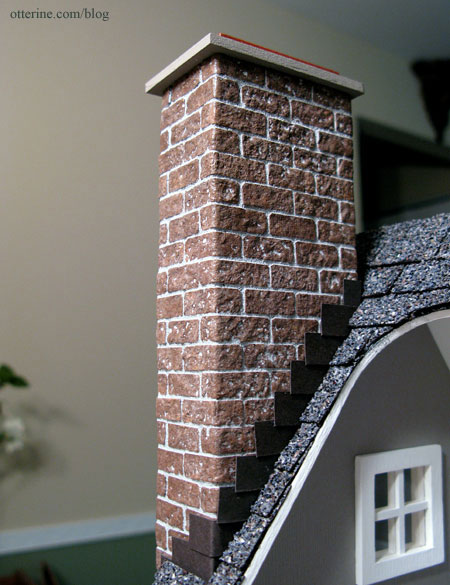
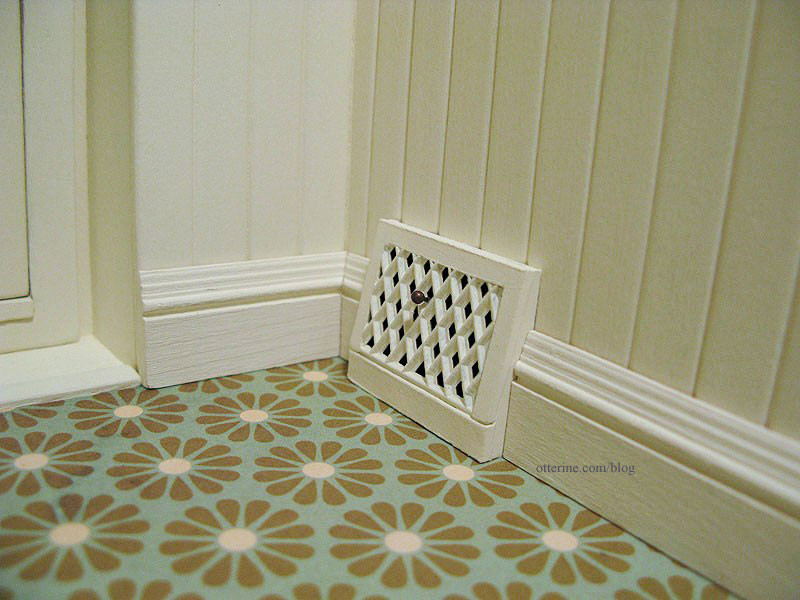
Heat registers - Haunted Heritage (adapted from a Kris Compas tutorial)
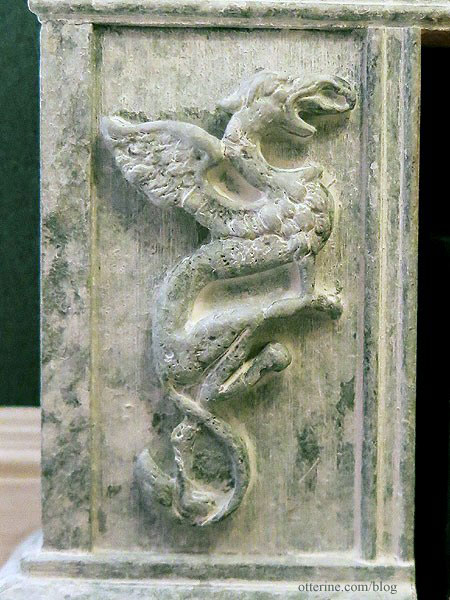
Stone fireplace - The Haunted Heritage (the process ends here, but you can click back through the links at the beginning of each post to see the full process)

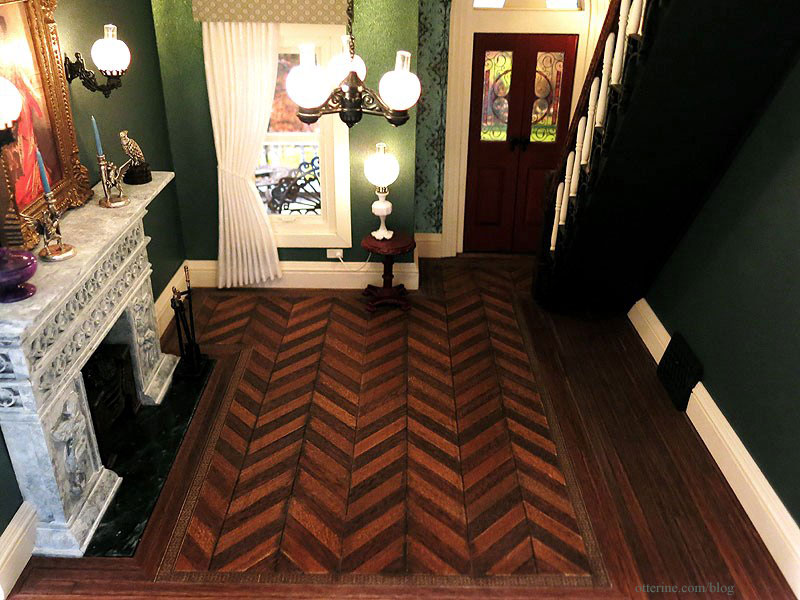
Fancy parlor floor - The Haunted Heritage (part one, two, three, four, five, six, seven and eight)
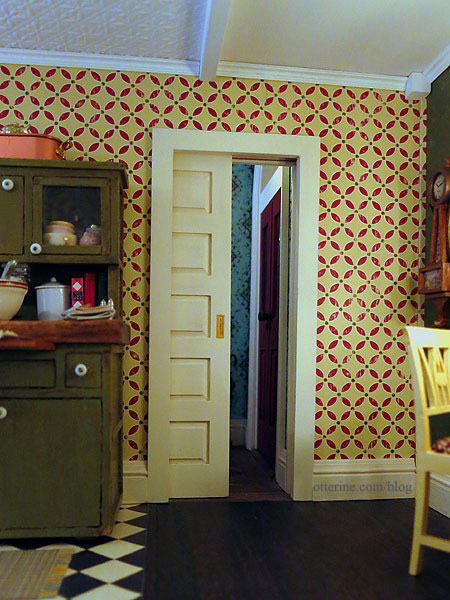
Working pocket door - Haunted Heritage (post one, two, three, four)
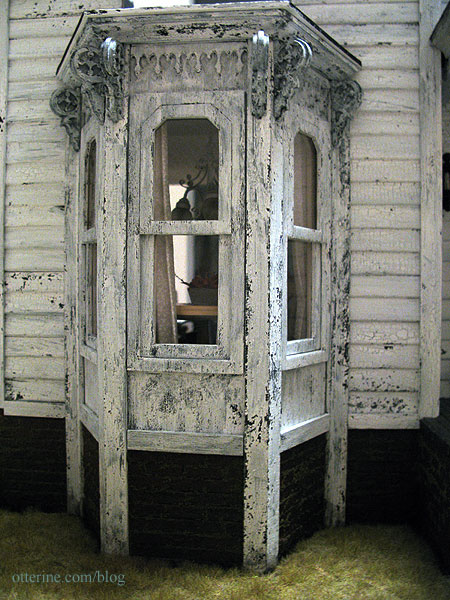
Weathered wood (part one and two)
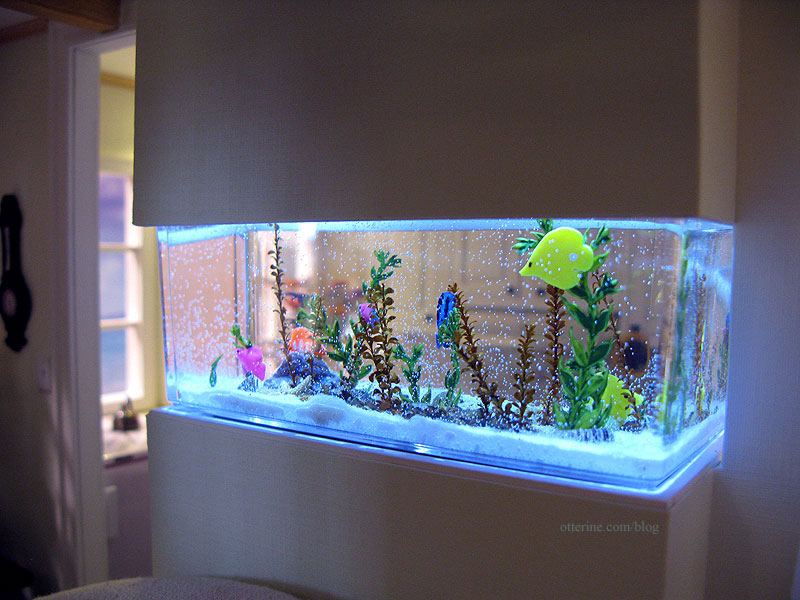
Saltwater aquarium - Baxter Pointe Villa
Fitting Houseworks components - when doors and windows are too thick for dollhouse walls
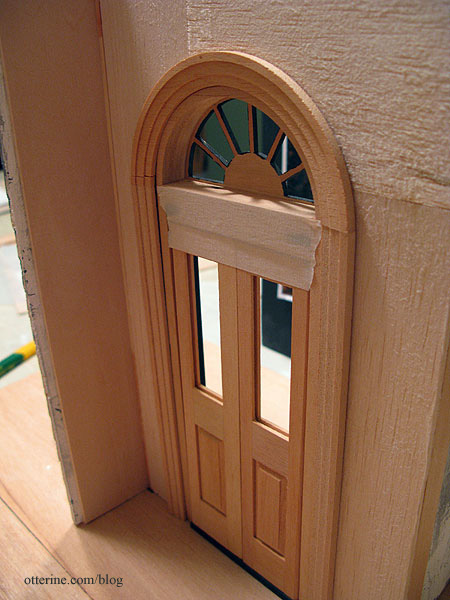
Fixing gaps in purchased doors - when light shows through the edges around the door
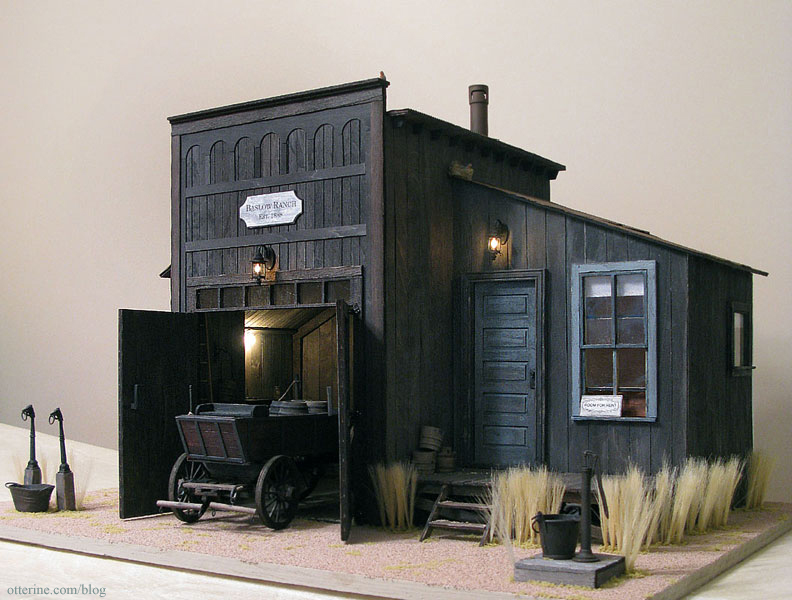
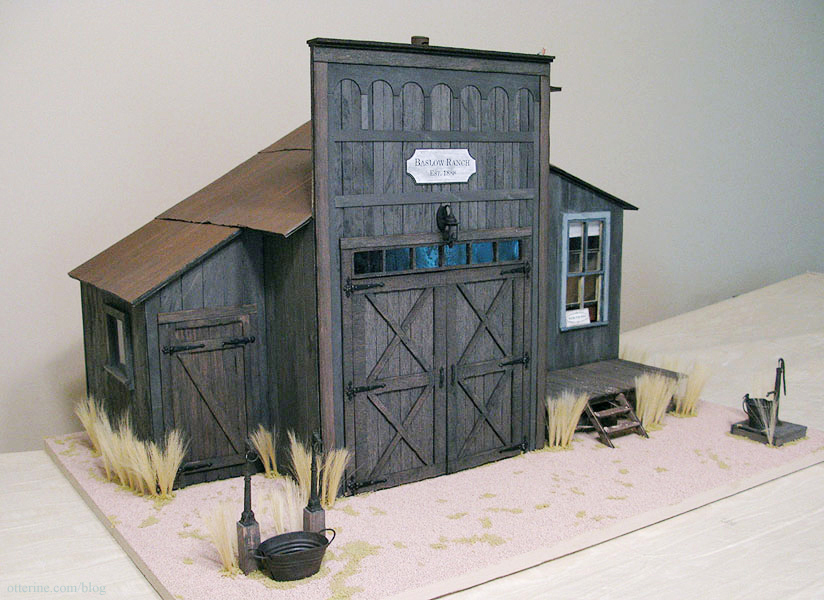
Rusted tin roof - Baslow Ranch
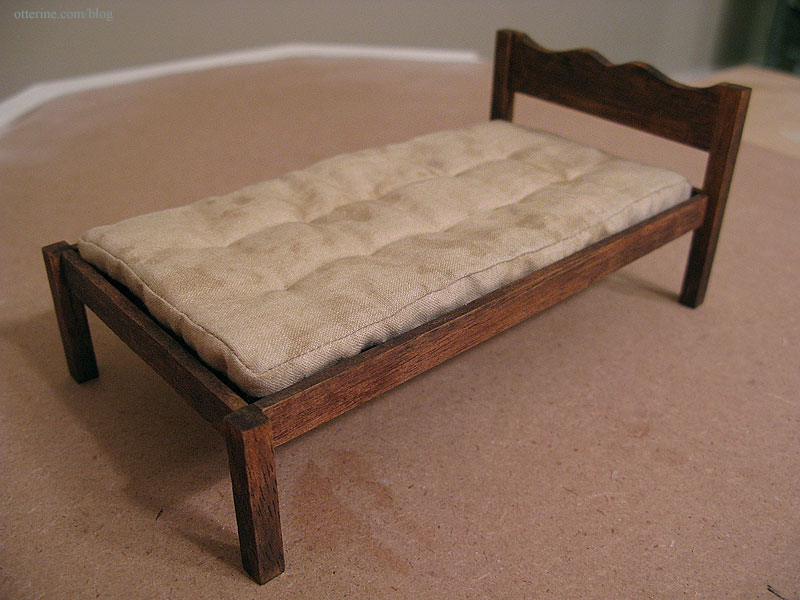
Old worn out mattress - Baslow Ranch
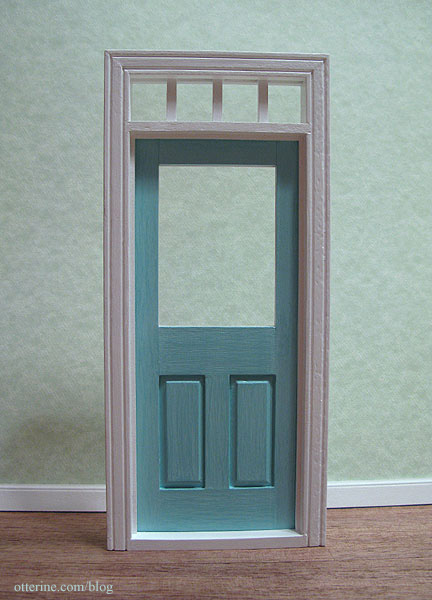
Flipping the opening direction of a Houseworks door

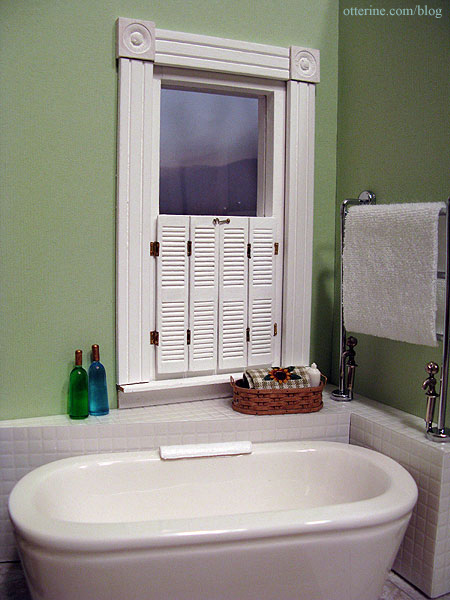
Working café shutters - The Newport
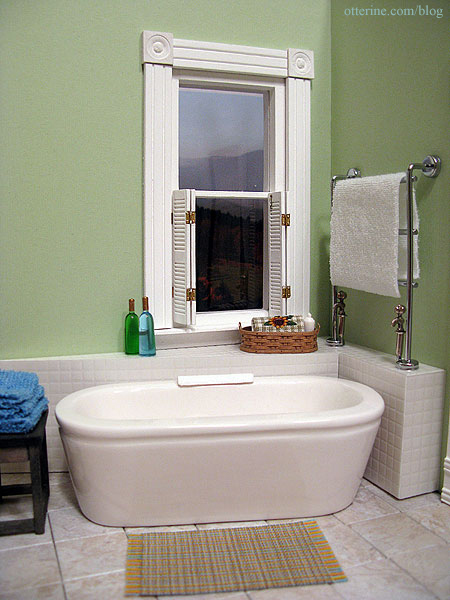
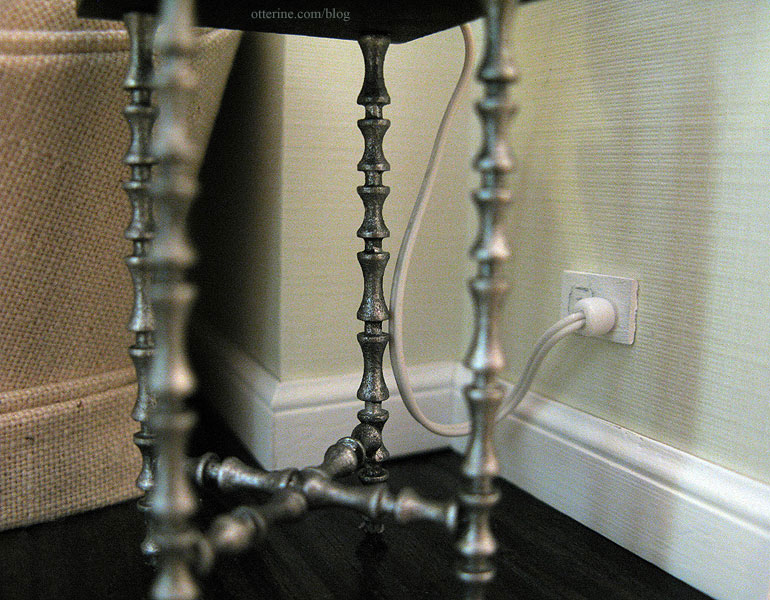
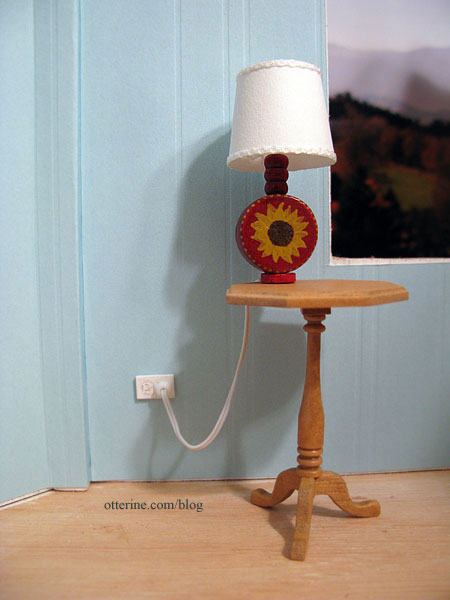
Hard wiring table lamps with faux outlets
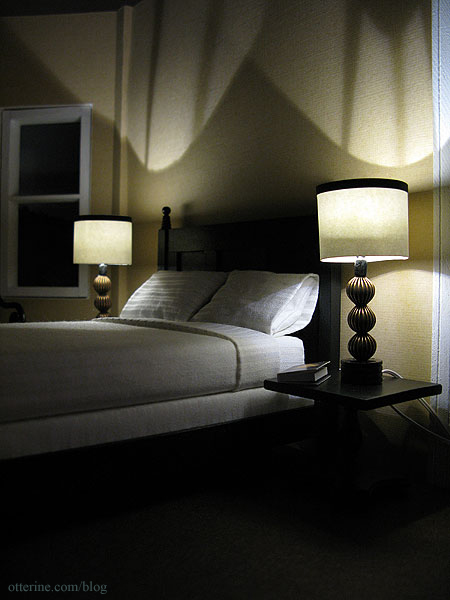
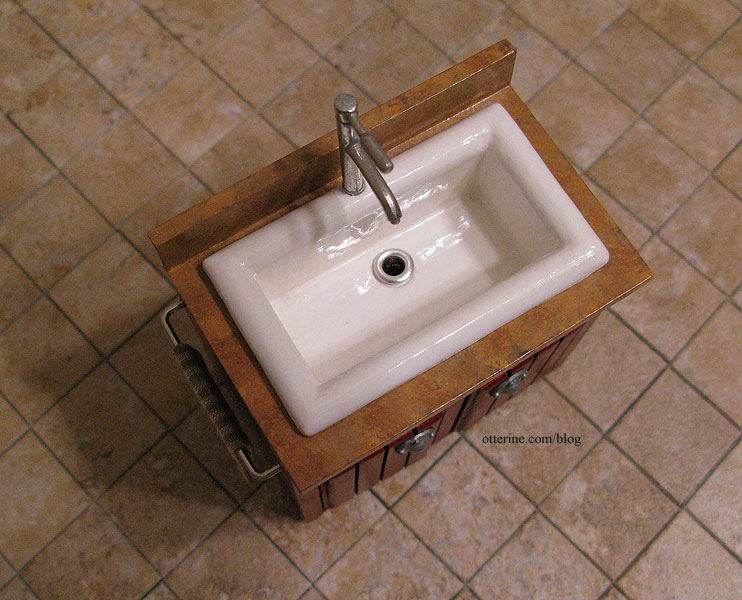
Wood porcelain sink - The Newport
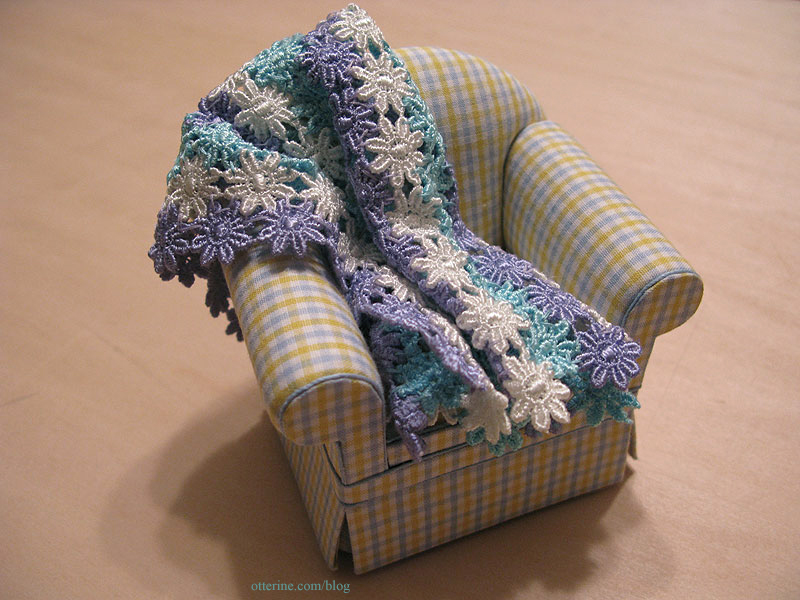
Faux crochet throw blanket - tutorial available in my etsy shop.


 Find me on Instagram
