Category: "Miniatures"
The new blog is live - please update your links!
After a number of years of not being able to update the current blog platform, I have moved to a new format. Considering the years worth of work involved, migrating the old content into the new format is no small or easy task. For now, the old blog stays put as is but I am moving the old content, as well as removing a lot of irrelevant or outdated posts.
While I clean up the older posts, the new blog has launched here. Please visit either otterine.com or return to the old blog (where you are right now) for future visits.
Anytime you want to visit this old blog, there is a link in the top menu of the new blog to lead you back here. Anytime you want to visit the new blog, just visit otterine.com directly or click the link next to the logo at the top of the side bar.
I expect some growing pains with broken links here and there as I move old content to the new blog (this will be in my spare time, so glacial pace). Thank you for the support over the years!
Popular tutorials
UPDATE 2024 -- this post is under construction so many links are broken right now. Please check back later.
Here is a recap post of the more popular tutorials I've done. I thought this might make it easier to find than searching each time, though this is definitely not a complete list of all the tips and tricks on my blog. Unfortunately, many suppliers from my older posts are either no longer in business or the links have gone dead.
--------------------
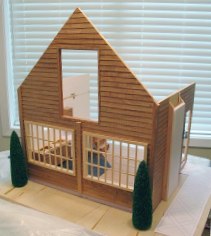
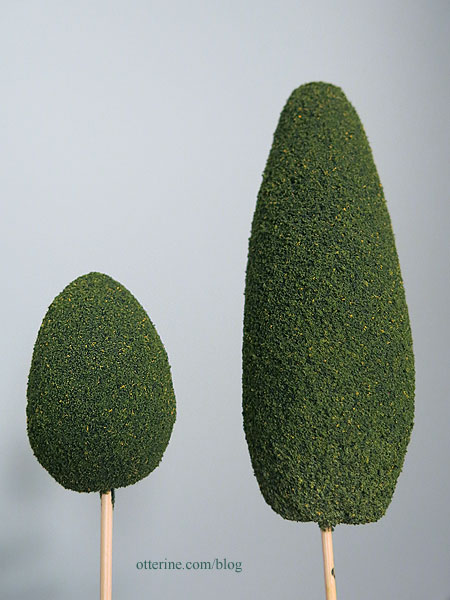
Homemade shrubbery - tutorial available in my etsy shop
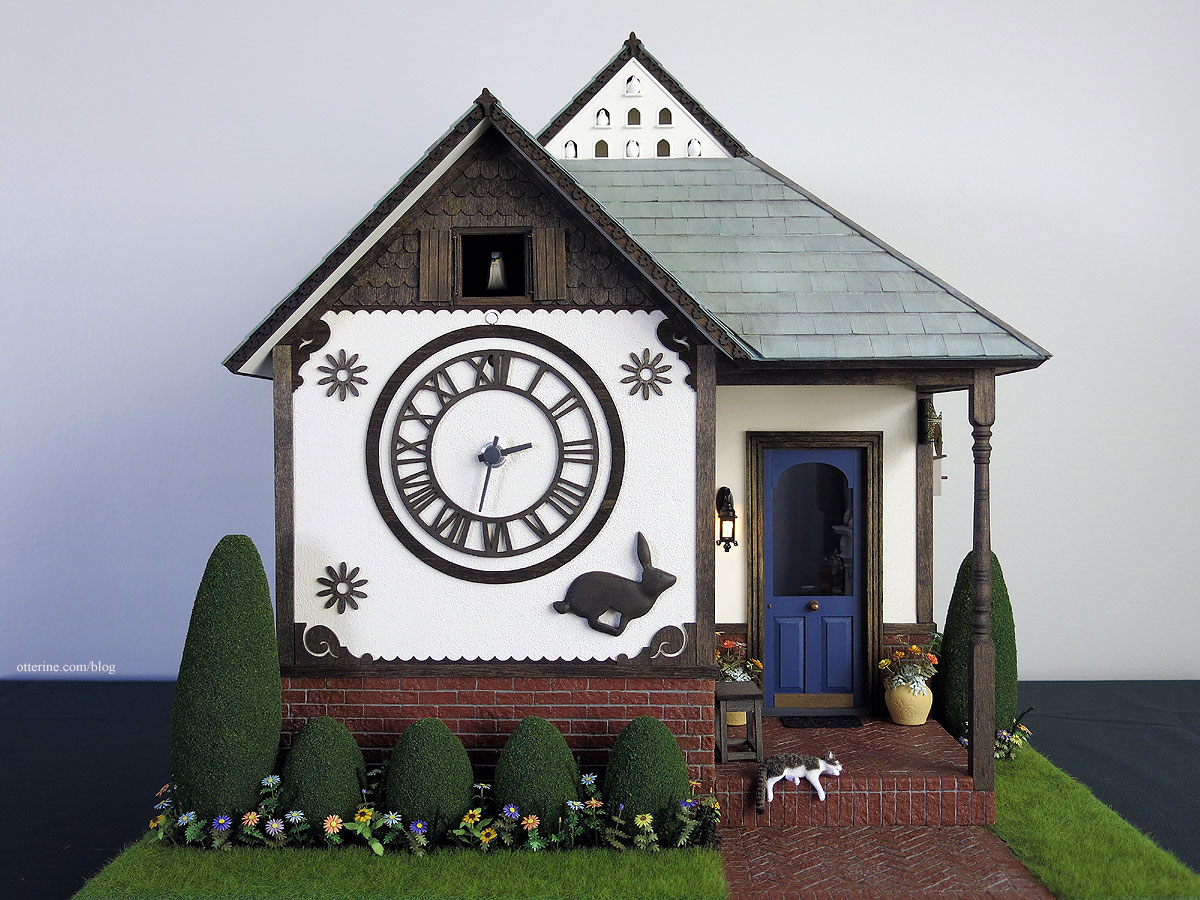
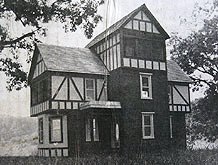
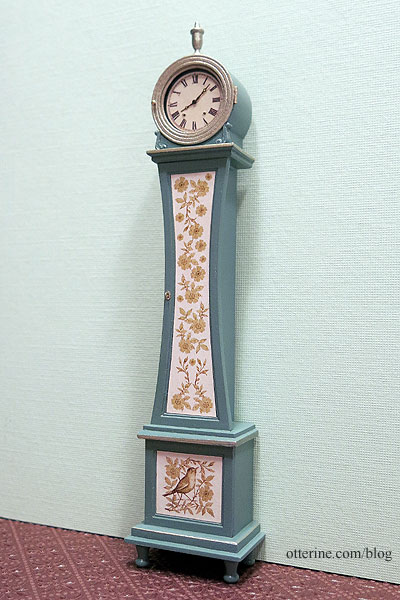
Miss Lydia Pickett Cottage Clock in 1:12 scale (the process ends here, but you can click back through the links at the beginning of each post to see the full process)
Setting hinges - Watson Mill
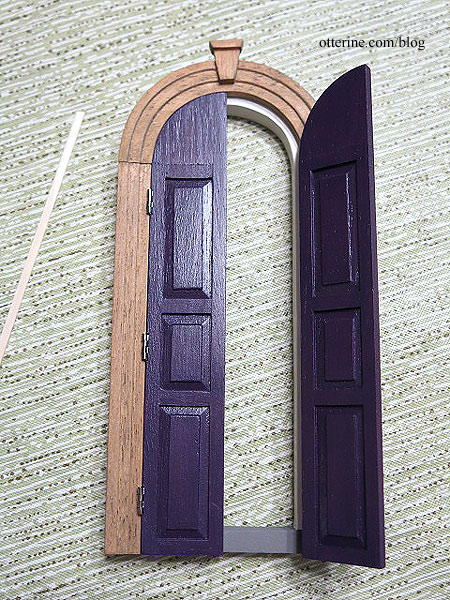
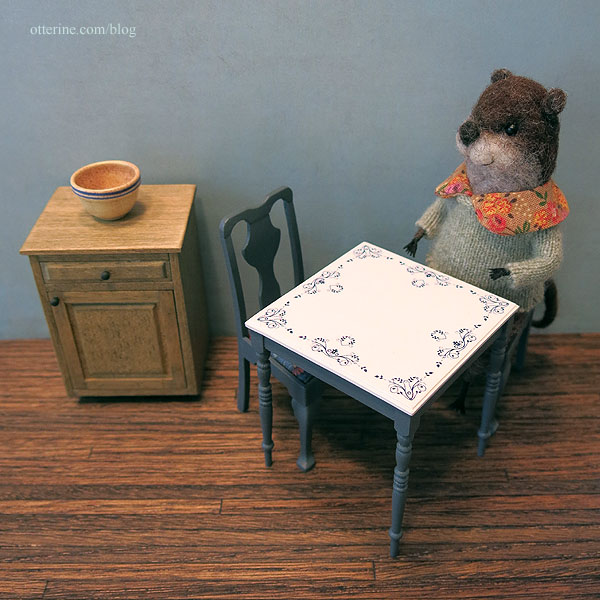
Enamel tabletop - Watson Mill
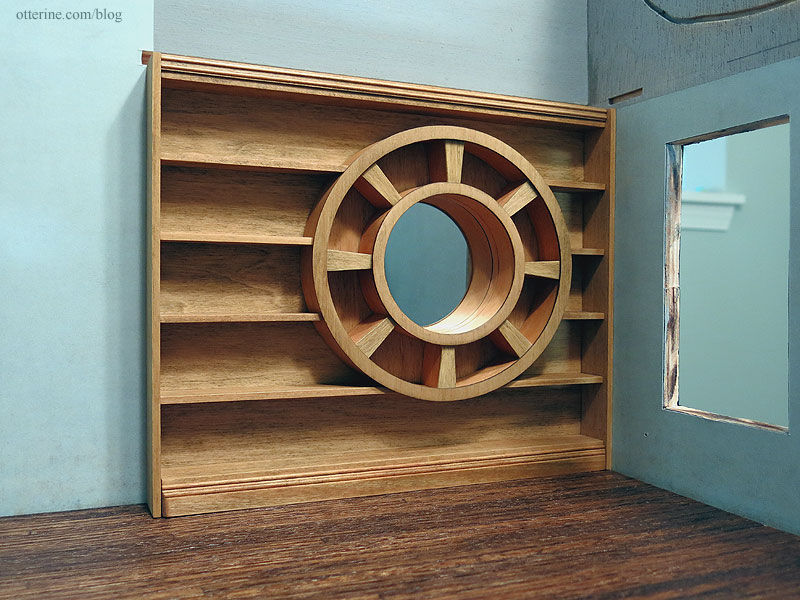
Circle library - Watson Mill (the process ends here, but you can click back through the links at the beginning of each post to see the full process)
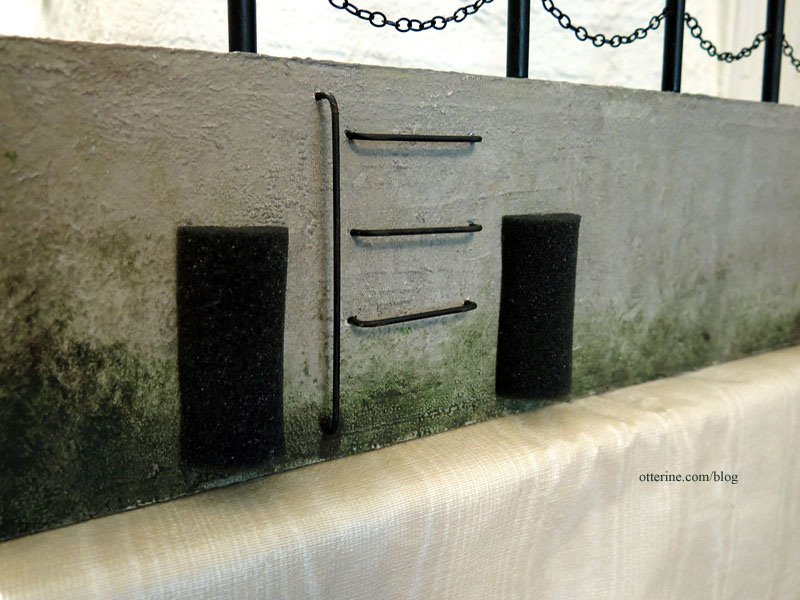
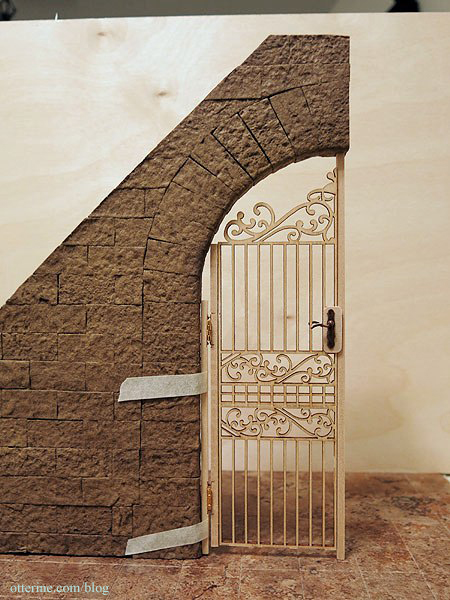
Security gate - The Brownstone (work in progress)
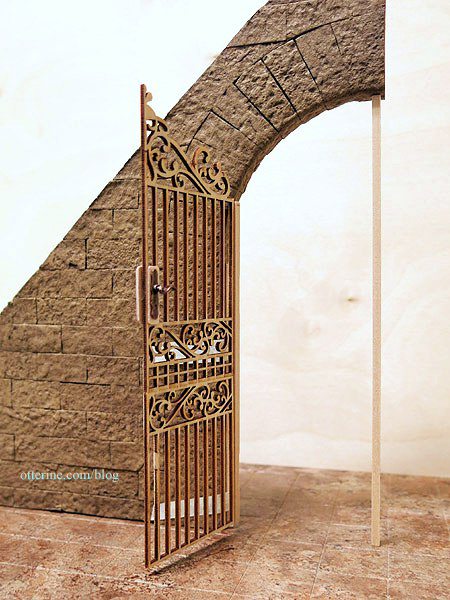
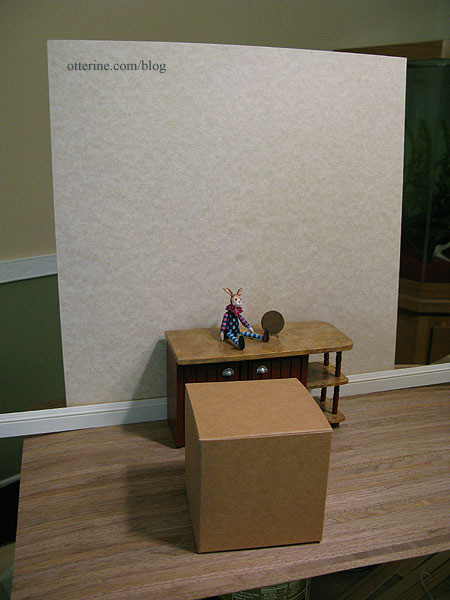
Photographing minis without a room box
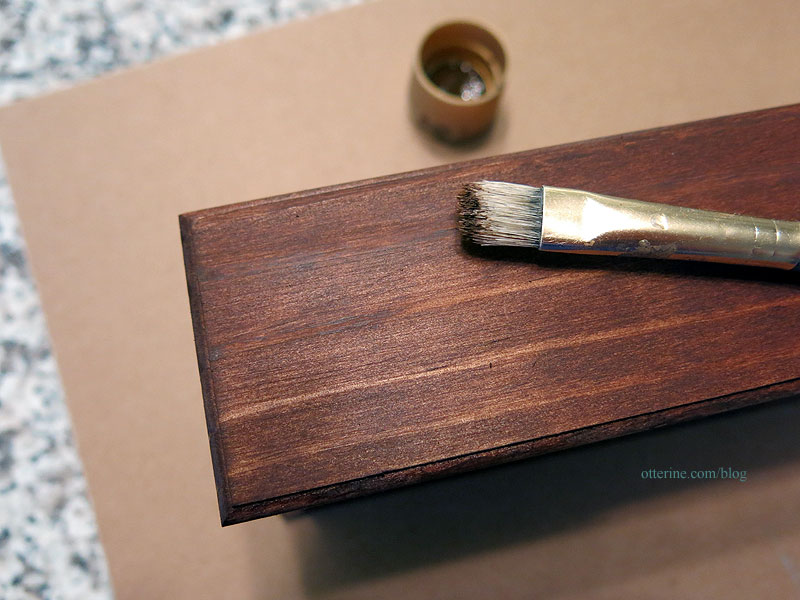
Staining and painting unfinished/bare wood furnishings - covering glue marks and uneven grain
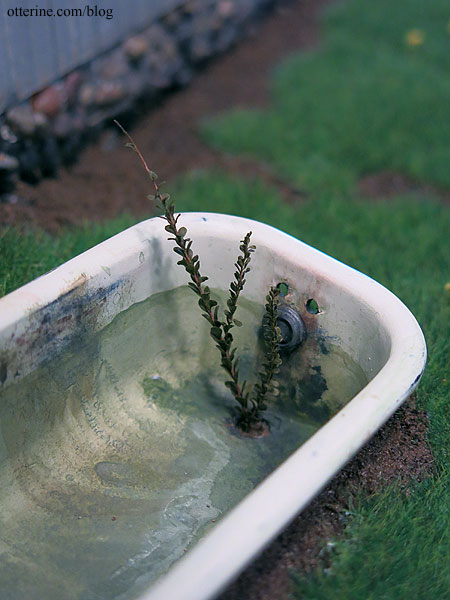
Abandoned bathtub - Milo Valley Farm (the process ends here, but you can click back through the links at the beginning of each post to see the full process)
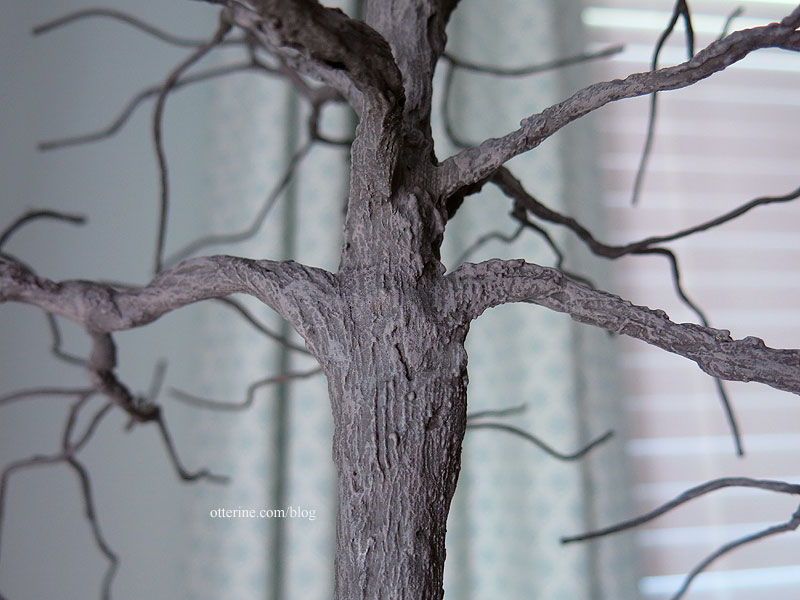
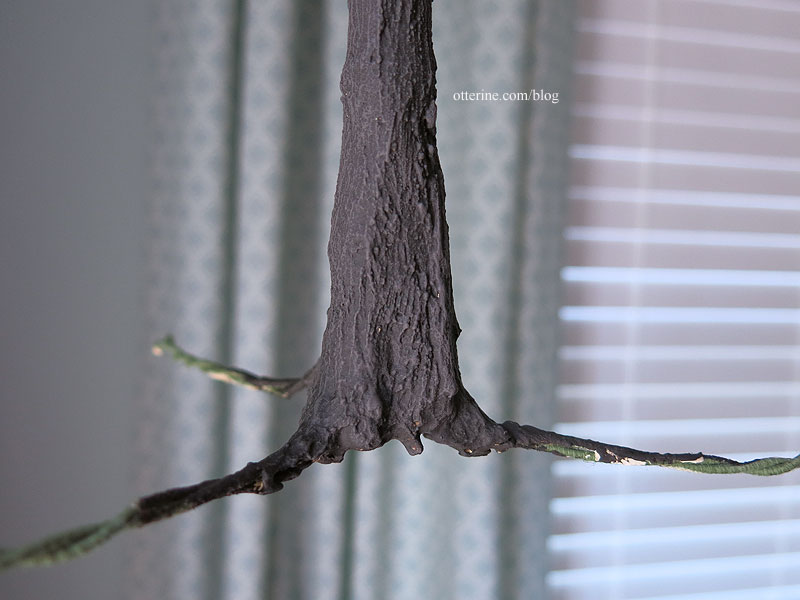
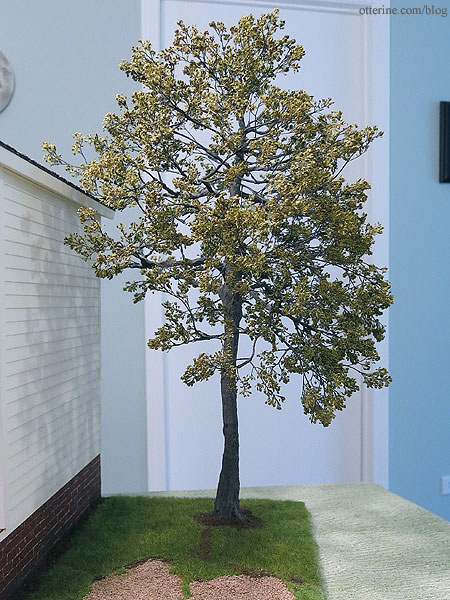
Realistic tree (the process ends here, but you can click back through the links at the beginning of each post to see the full process)
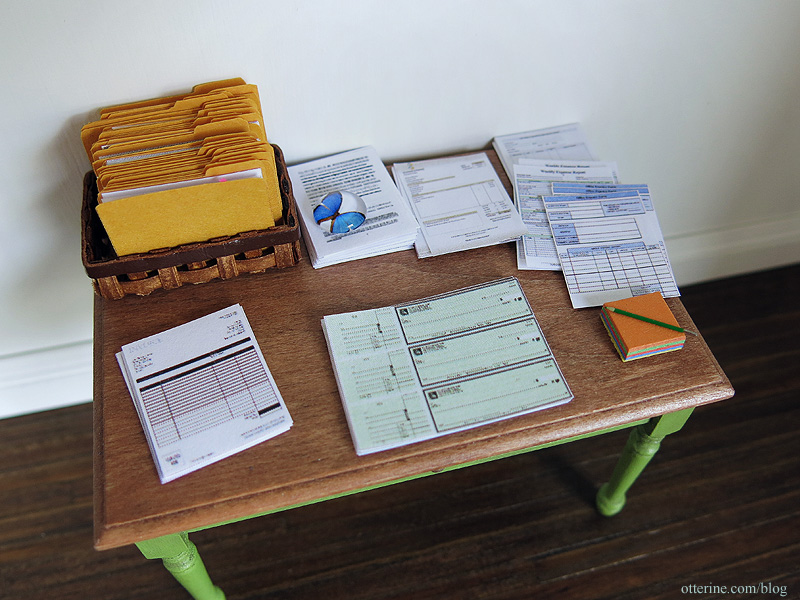
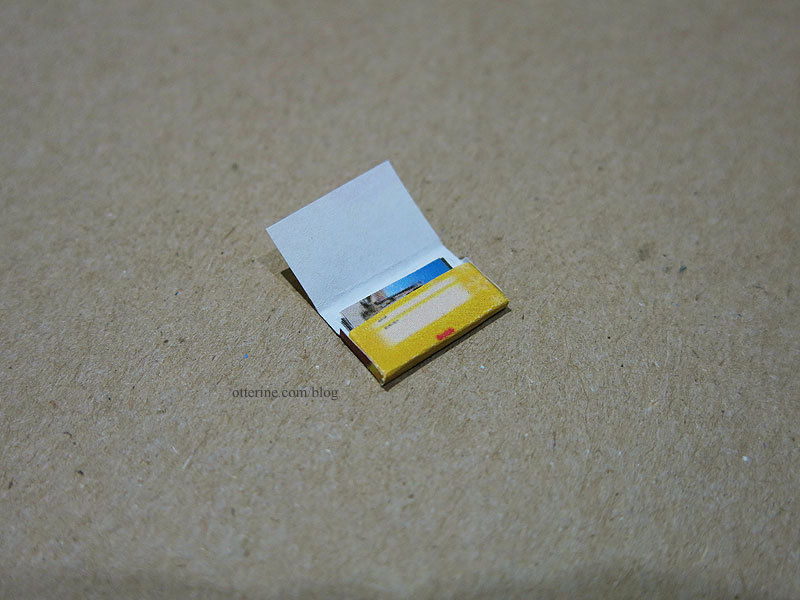
Mini paperwork, checks and invoices
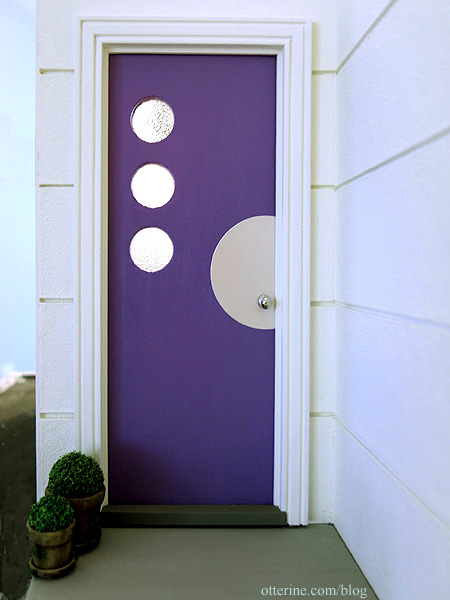
Making a custom door - Otter Cove (the process ends here, but you can click back through the links at the beginning of each post to see the full process)
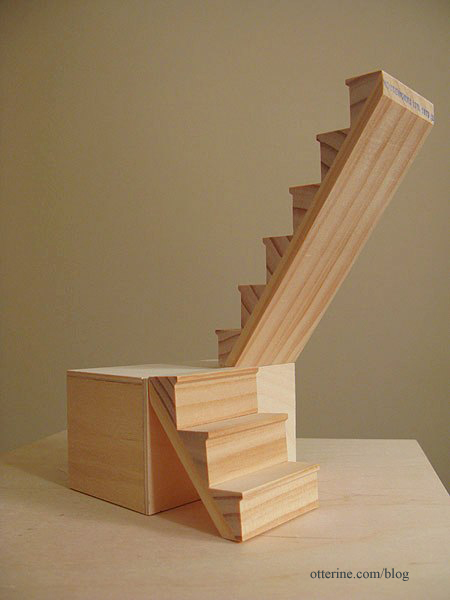
Spiral staircase - Walnut Bay Light
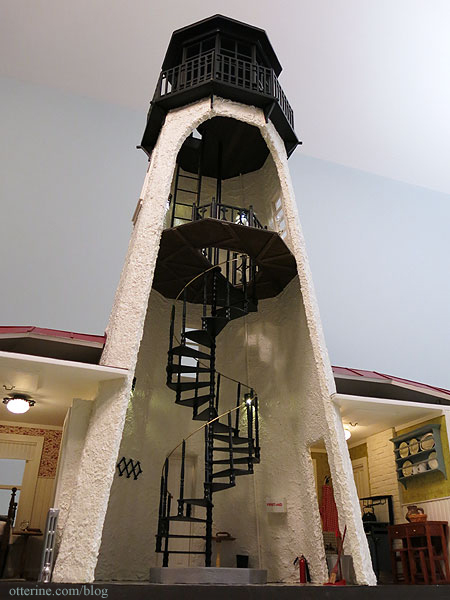
Turning wood into concrete - Walnut Bay Light
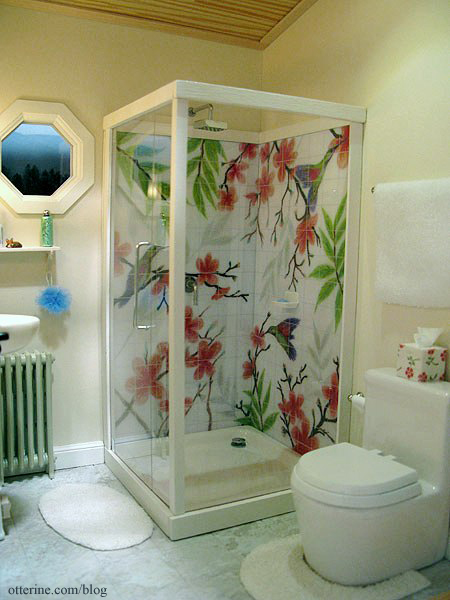
Hummingbird shower - The Artist's Studio (the process ends here, but you can click back through the links at the beginning of each post to see the full process)
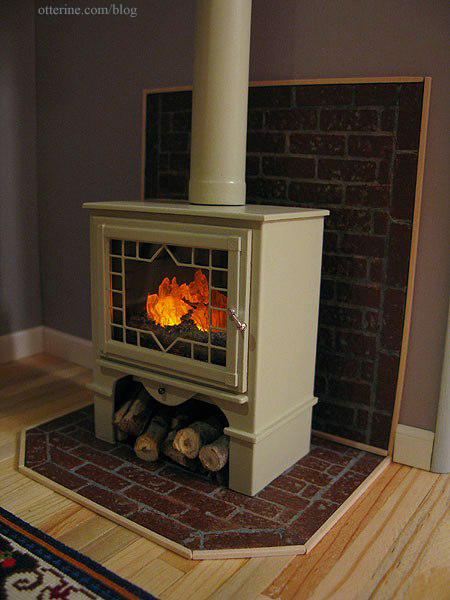
Wood stove - The Artist's Studio (the process ends here, but you can click back through the links at the beginning of each post to see the full process)
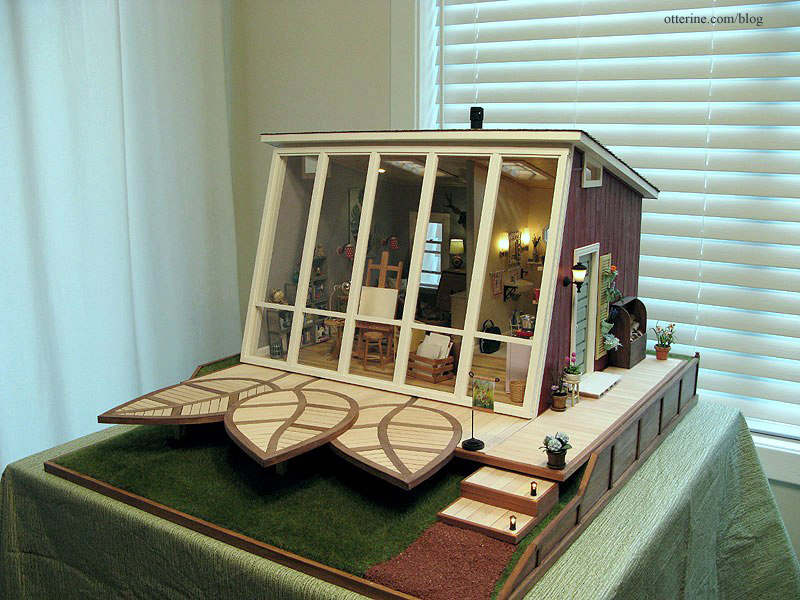
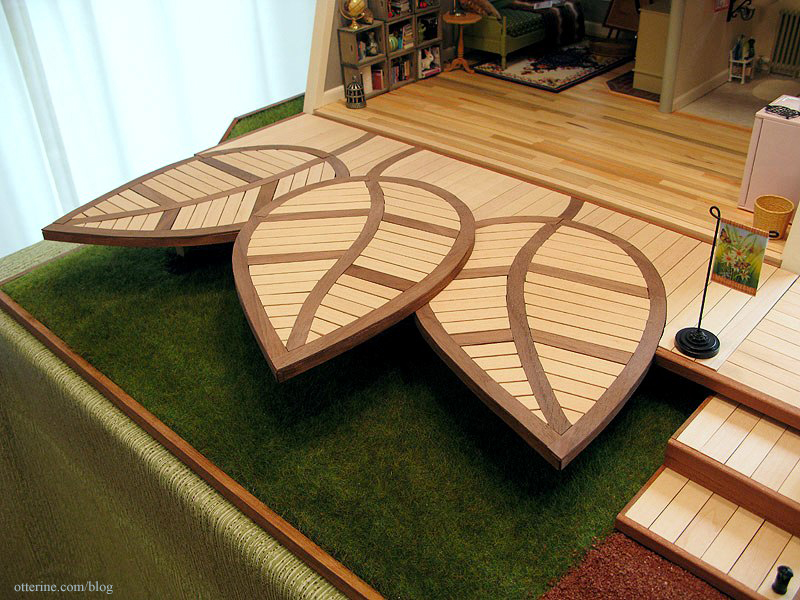
The leaf deck - The Artist's Studio (the process ends here, but you can click back through the links at the beginning of each post to see the full process)
Cutting plywood without power tools

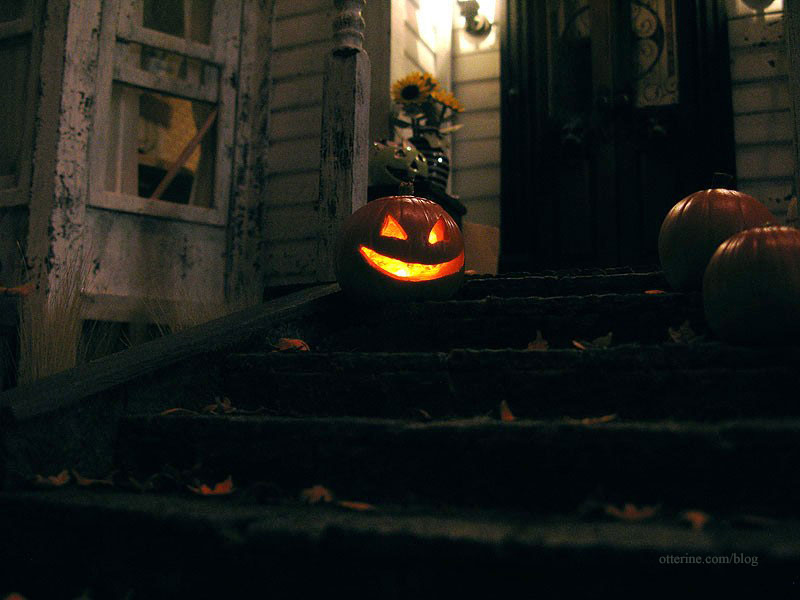
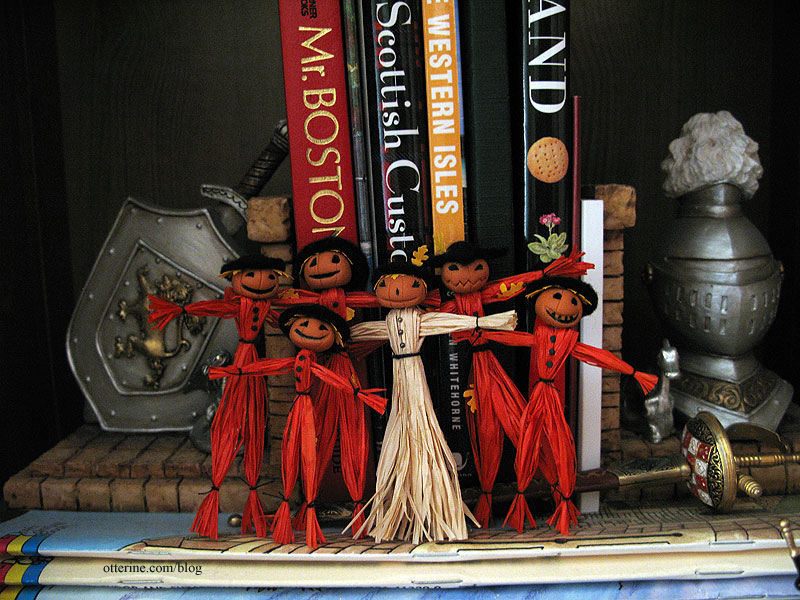
Flickering jack-o'-lantern - Haunted Heritage
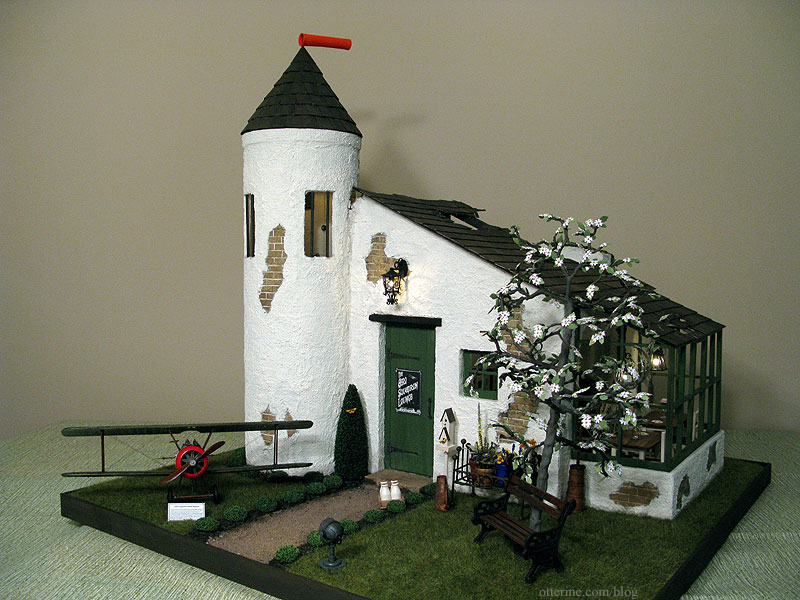
Stone spiral stairs - Aero Squadron Lounge
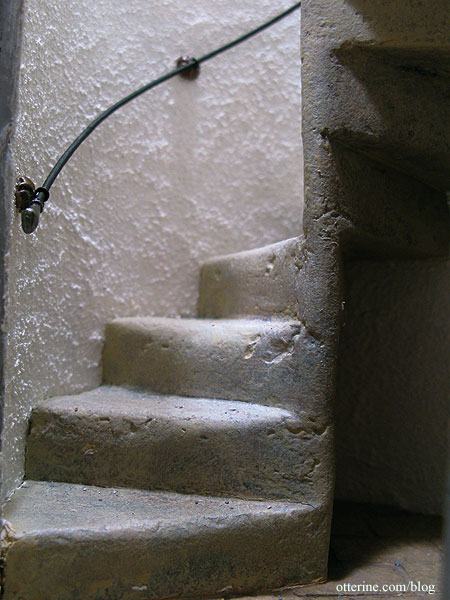
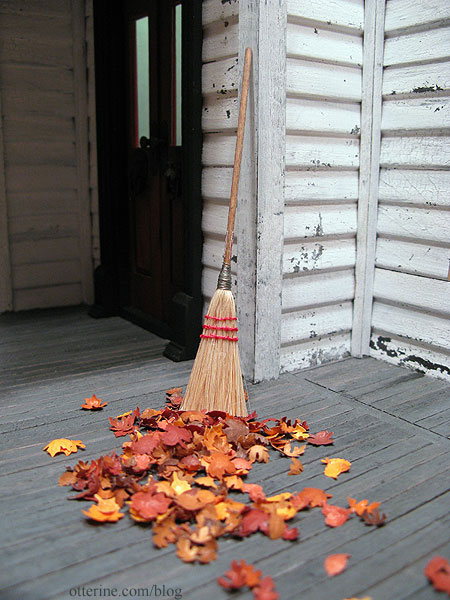
Cutting egg carton bricks with links on finishing
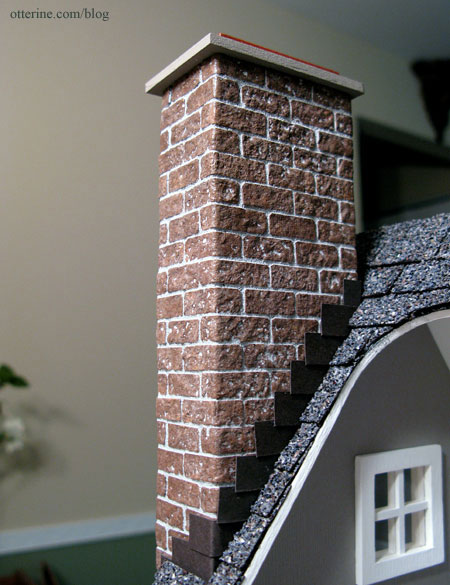
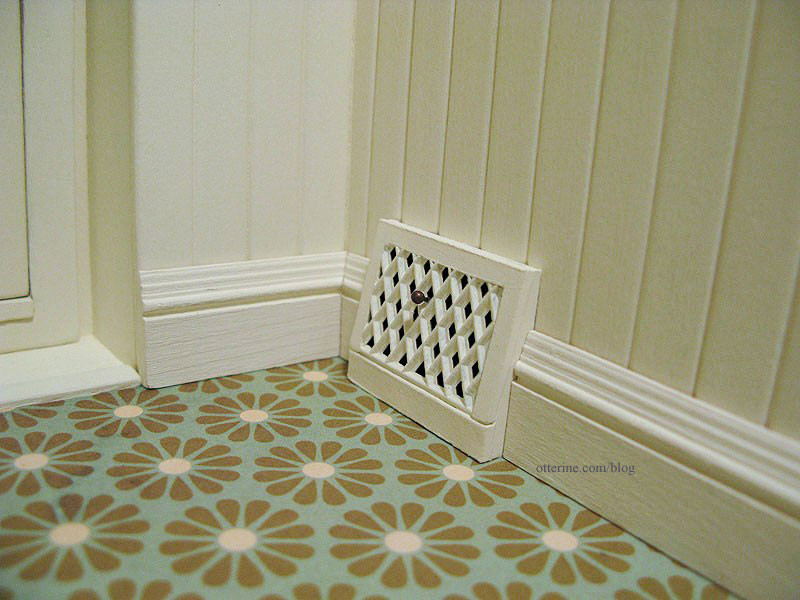
Heat registers - Haunted Heritage (adapted from a Kris Compas tutorial)
Stone fireplace - The Haunted Heritage (the process ends here, but you can click back through the links at the beginning of each post to see the full process)

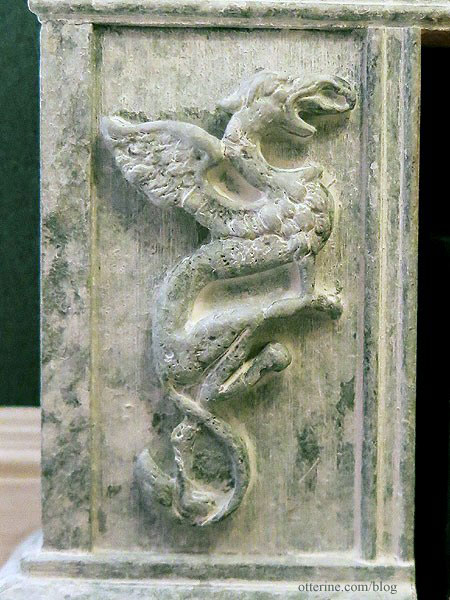
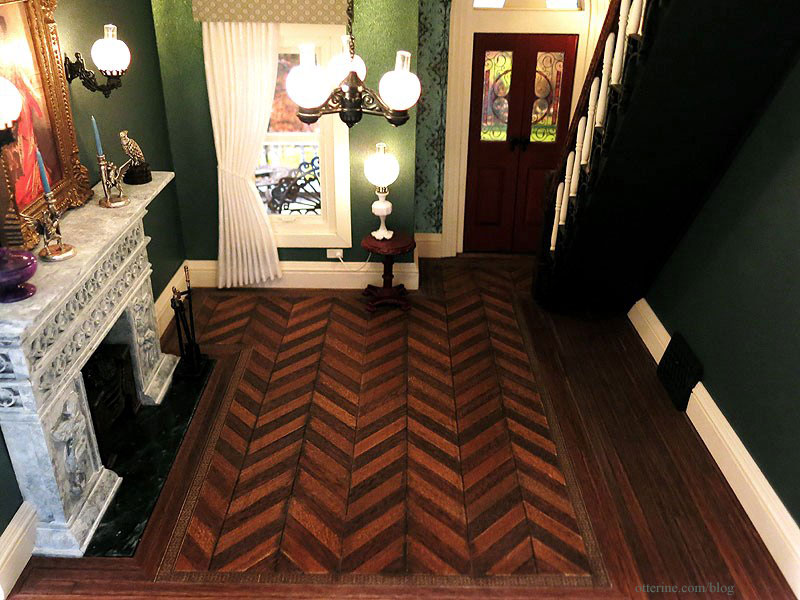
Fancy parlor floor - The Haunted Heritage (part one, two, three, four, five, six, seven and eight)
Working pocket door - Haunted Heritage (post one, two, three, four)
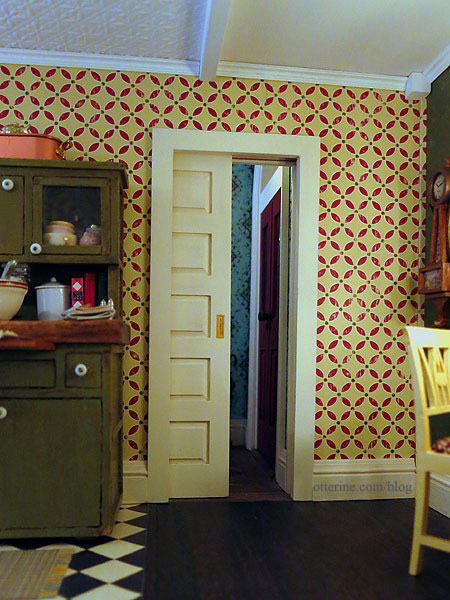
Weathered wood (part one and two)
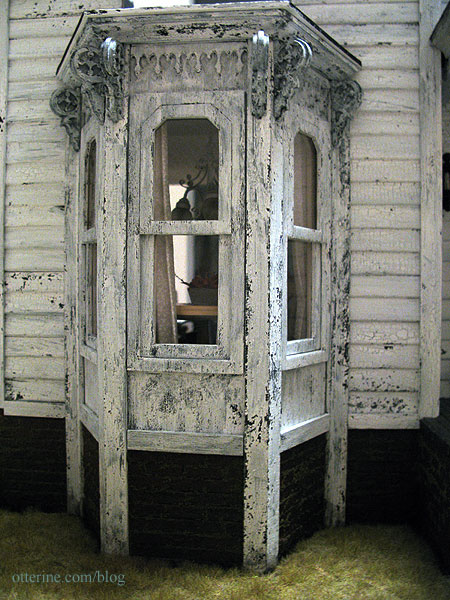
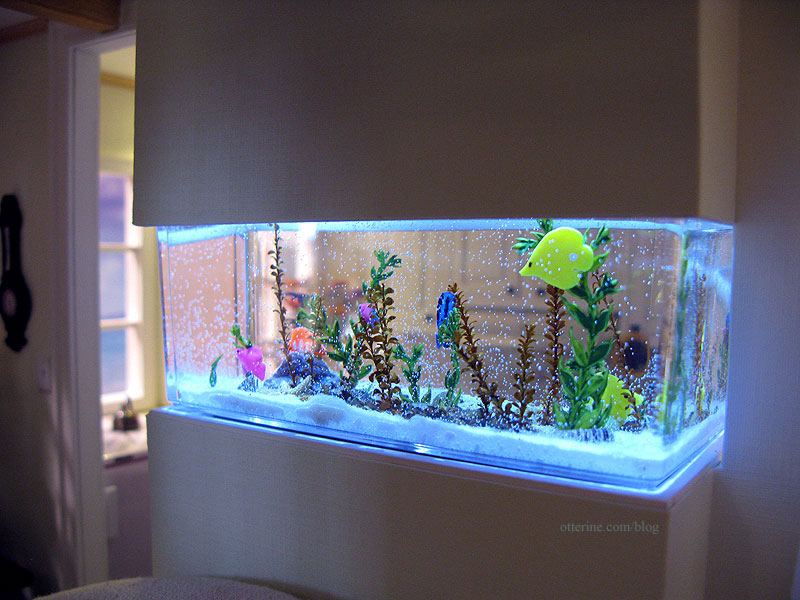
Saltwater aquarium - Baxter Pointe Villa
Fitting Houseworks components - when doors and windows are too thick for dollhouse walls
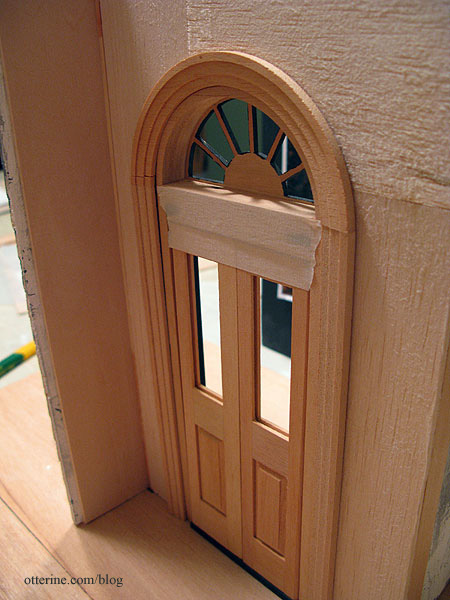
Fixing gaps in purchased doors - when light shows through the edges around the door
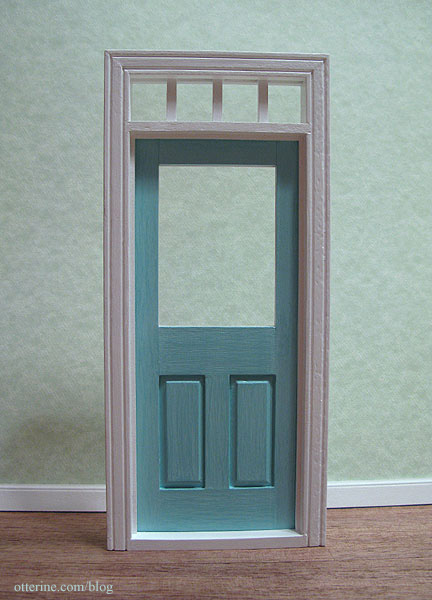
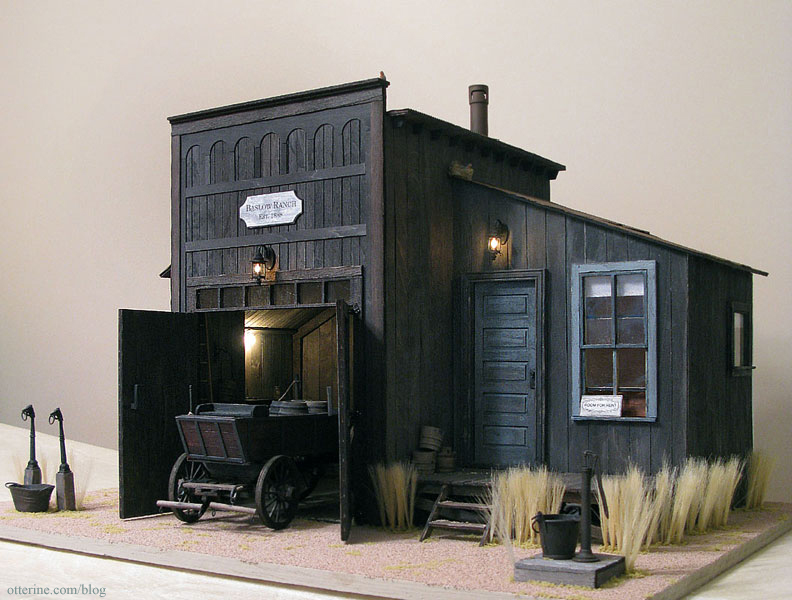
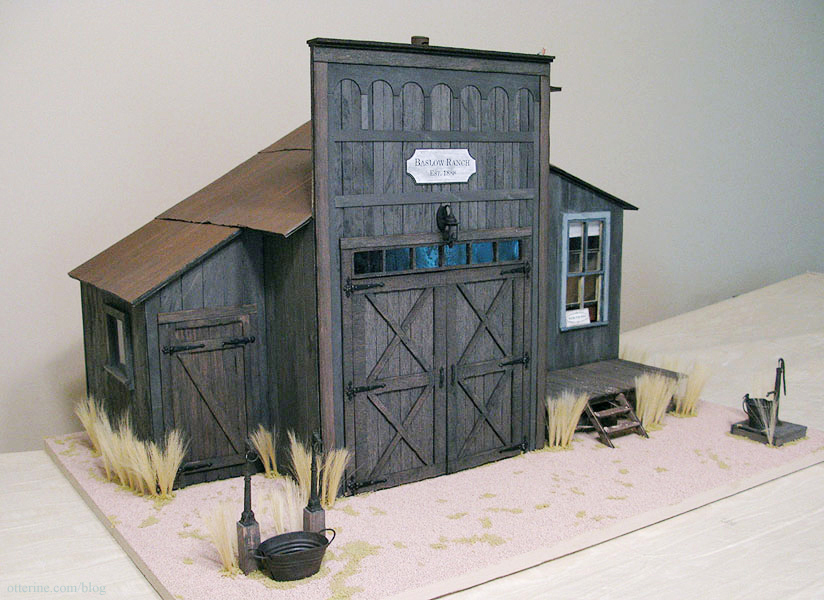
Rusted tin roof - Baslow Ranch
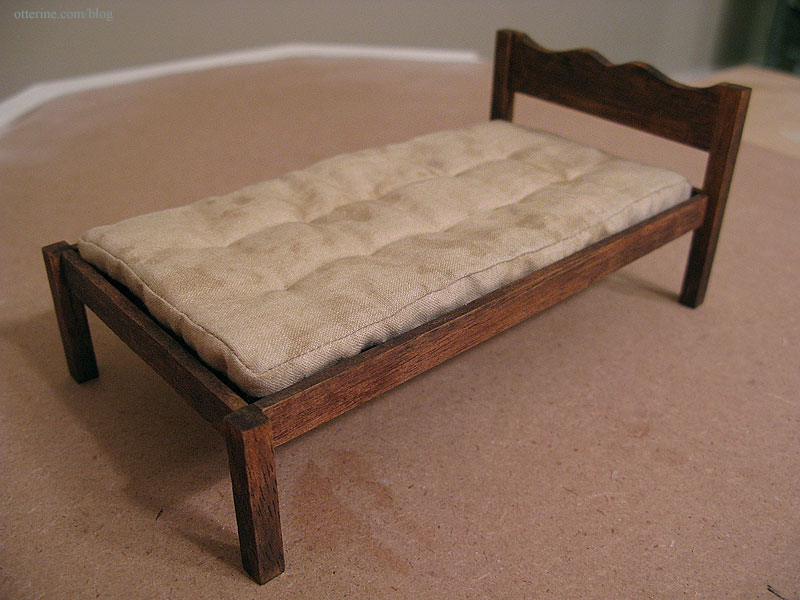
Old worn out mattress - Baslow Ranch
Flipping the opening direction of a Houseworks door

Working café shutters - The Newport
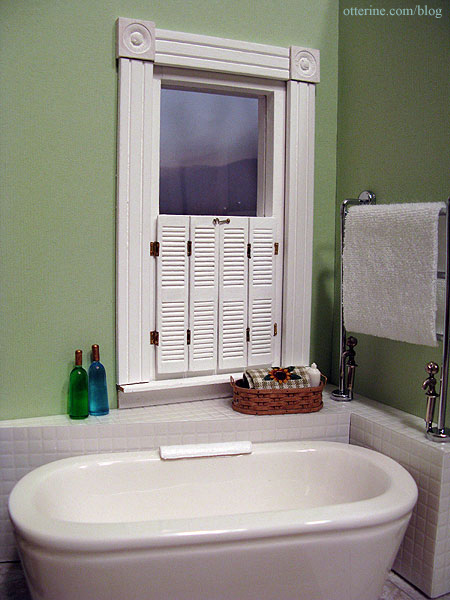
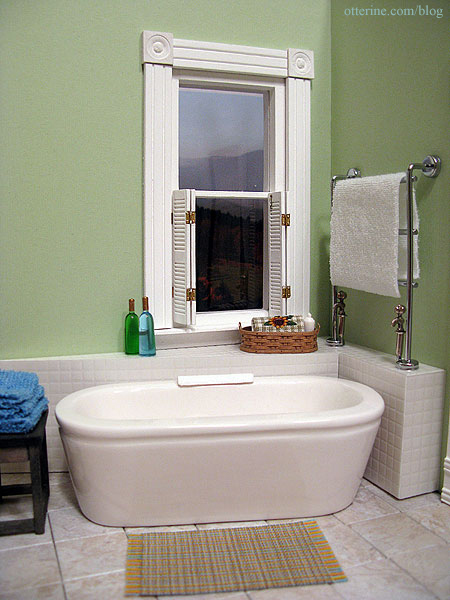
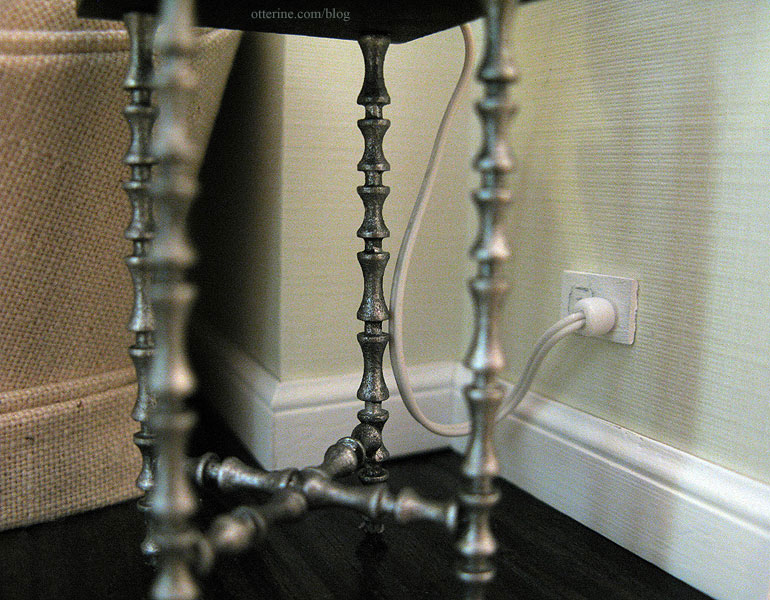
Hard wiring table lamps with faux outlets
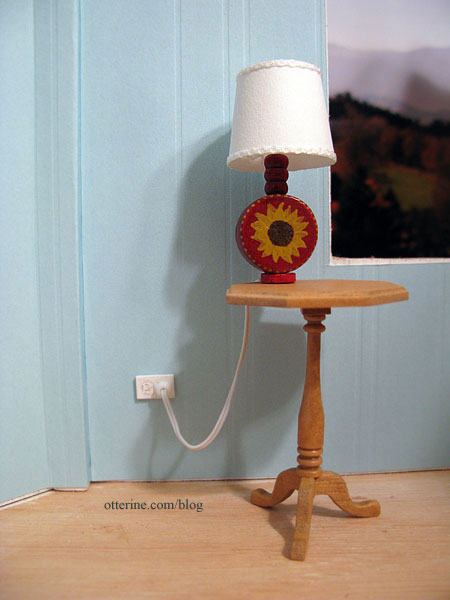
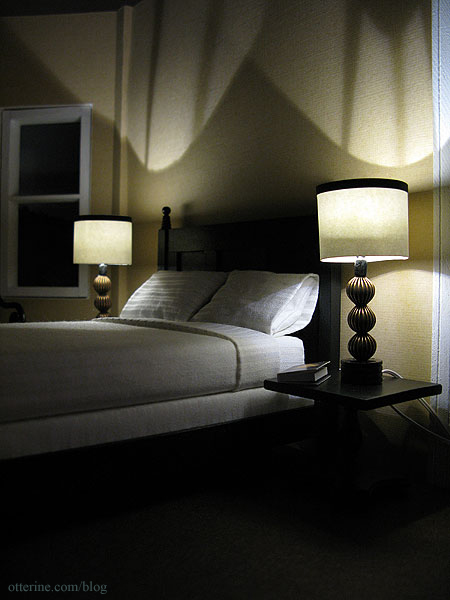
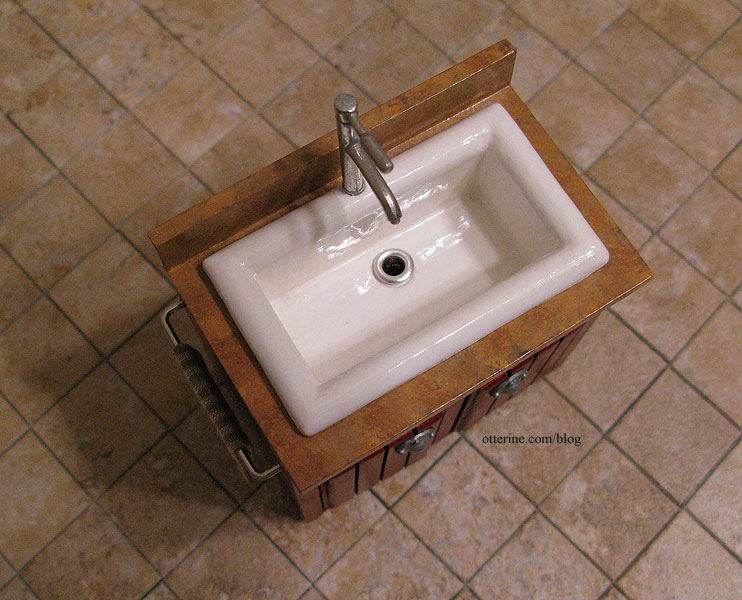
Wood porcelain sink - The Newport
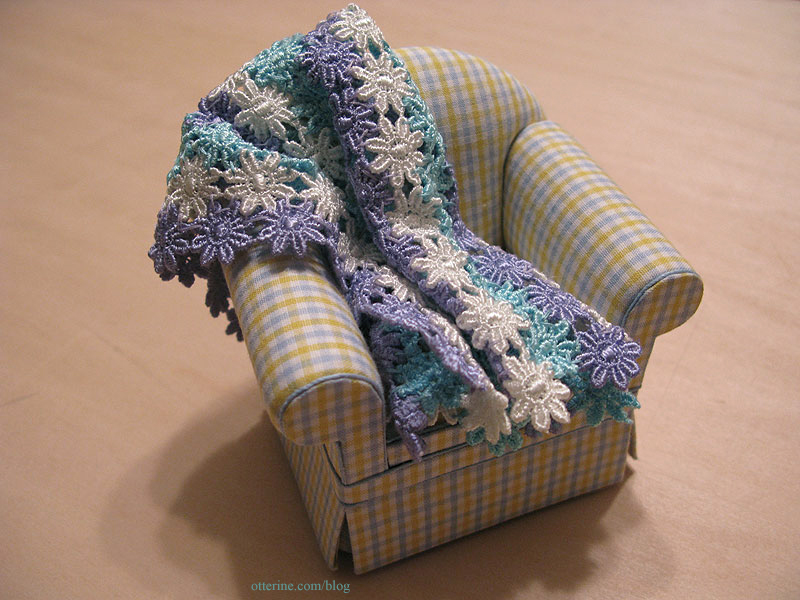
Faux crochet throw blanket - tutorial available in my etsy shop.

The Haunted Heritage - Entry, staircase and hallway
The entryway and upstairs hallway are relatively small and minimally decorated, but I thought they deserved their own post.
First up is the elegant entryway. It's a small area but there is just enough room for some fancy miniatures.

Here are a couple of work in progress shots before the permanent installation of the final floor and staircase.

The lion doorknockers are from Sussex Crafts. The doorknobs and plates were originally brass.


The stained glass inserts are printed designs from MD Doors. They are printed on transparency film, which was slid into the openings with the original door inserts right behind them. It's not a tight fit but it works well enough to keep them in place.

Adjacent to the front door is the working pocket door that leads to the kitchen.

I had had other stairs in mind at first, but this is the final mockup I decided on.
The entryway floor was planned and installed to coordinate with the parlor.
I assembled and painted a Phoenix Model umbrella stand kit to hold the two beautiful umbrellas by Fran and a walking stick.

The wall vase is a cornucopia shaped jewelry finding with Bonnie Lavish flowers. Any artwork added to this side wall would have been hard to see, so I thought a three-dimensional piece would suit the space best.

To give Fran a sense of what I was looking for with the umbrellas, I had to give her the backstory on the Heritage build. I told her I was leaning toward an old woman living in the house she's always loved, but she can't get around as well anymore and the place has fallen into disrepair. I didn't want the umbrellas to be crazy tattered, just maybe a bit worn and well loved. I was thinking the umbrellas would be treasures in the house, even with - or especially because of - their age. One would be her lost love's umbrella that didn't feel right being anywhere else but still waiting by the door and the other would be the one he bought for her.

The stand has so many beautiful details - a true quality kit.
Just enough minis to make the entry inviting....

The kit staircase was meant for the right back of the house, but took up a lot of space and blocked the view of the lower room.
I didn't use the kit parts and installed a Houseworks narrow staircase instead. I added laser cut trim, dry brushed bronze paint and stenciled detailing.
I upgraded the stair railing, painting the spindles and staining the railing to match the floors. Assembling the railing was a huge challenge, but it all worked out in the end. :D

The stair assembly fits so snugly that I didn't bother with glue along the wall. I did glue the foyer newel post to the floor and the railing.

I think it suits the entry and parlor very well.
My favorite part? Something that can be seen only with the camera...the way the stringer meets the baseboard trim at the base of the stairs.

I used anaglypta -- paintable textured wallpaper -- to create the trim between the foyer and the upstairs hallway papers. It's not a perfect solution, but I needed something flexible and fancy to finish the seam between the papers.

I glued the foyer light in place with the bulb facing downward. With the light on, the bulb would be distractingly bright when viewed through the open stairwell. I can still reach the fixture to remove the shade and change the bulb as needed. It's just enough illumination without looking out of place. :]

Come on upstairs...

The cameos that hang in the stairway are pendants from Fairy Tale Fantasies. One is a retro kitty and the other a beautiful vintage lady. I cut the loops from the tops to use them as framed art. I love their ghostly appearance.

The upstairs hallway is large enough for only a modest table, some artwork and a mirror.

The original plan was what I stuck with in the end.
The balcony railing was challenging but I love the way it turned out.
And, from overhead.

There was a lot of customization between the parlor ceiling, the new stairs and the balcony, but it all came together in the end.

There's a simple vignette that occupies the area to the left of the bathroom door.

The table is a House of Miniatures Hepplewhite Side table with hand painted designs and added elements inspired by a real life sized antique table.

I added some books from the many I made while filling the parlor bookcase.

The vase and bird figurine were purchased awhile ago, but I'm no longer sure of the vendor. The flowers are Bonnie Lavish red dahlias.

I made the tiny red alarm clock from a rounded wood cap from Hobby Lobby, two silver brads and a gunmetal head pin. The feet are Tiny Turnings. The face is a printed image from The Graphics Fairy with a clear cabochon sticker to simulate glass. I had made a set of vintage table clocks for another miniaturist through my etsy shop, and I liked the red one so well I knew I would need one for the Heritage.

The artwork is a photograph from artisan Natasha Fadeeva. She makes the most amazing little animals. I just swoon over her mice!!! :D I contacted her about using the vintage mice photos in the Heritage, and she graciously gave me her permission. I haven't yet framed the other.

To the right of the door is a House of Miniatures Chippendale Pier Glass painted ivory with a tan aging wash to give it an heirloom quality. I replaced the mirror with Darice plastic mirror sheet since the original glass was in poor condition and rather heavy to hang on the wall. It is a large piece, but the space needed something and mirrors tend to add to a space instead of subtracting from it.

You know me; I am all about the realism. So, I added some 1:12 scale insects inside the globe. :D Lyssa egged me on when I joked about it to her, so she is to blame! It's just a little dry-brushed brown and black paint, but it's rather convincing. ;]
------
For The Haunted Heritage pictorial recap post, please click here. Click here for a full list of Heritage posts, including how I made things and the materials used.

 Find me on Instagram
