The Haunted Heritage - Vintage farmhouse bathroom
As of 2024, this post is in the process of being recreated on the new blog. Most links are broken, but the related posts have been moved to the new blog. Please check back later.
_____
The bathroom is one of two rooms on the second floor of The Haunted Heritage. It's a small room but just right for an old farmhouse.

The initial dry fit had the cabinet and toilet reversed.

Two major structural changes were made to this room. First, the outside wall on the left originally had a swinging window. I eliminated this window when I removed the bay window on the first floor to make room for the fireplace and chimney. I replaced the swinging window with a small round window to keep some light flowing into the room.
The second modification involved the front dormer window. Since I made changes to the ceiling height in the parlor below, the dormer had to be modified from the original kit instructions. It's similar but is even with the floor in my version.
A small portion of the chimney continues through this room with most of the inner portion in the attic. I formed the inside chimney from a double layer of 1/2" thick foam core board and cut it to align with the outer chimney.

I cut wallpaper to cover the portion in the bathroom. Now, that's a nice seam, don't you think? :D I'm rather proud of it! I guess all those years of sewing come in handy for pattern matching.
The beadboard treatment around the lower portion of the walls coordinates with the pale patterned paper above.

I made a heat register for the bathroom like the one in the kitchen, again modifying the tutorial by Kris at 1 Inch Minis. With the addition of water pipes for the sink, there wasn't room for the register on that side of the room. The remaining portion of the inside wall had the tall tank toilet, so I placed the register near the corner there. This one I painted Vintage White by Folk Art to match the trim.
The bird and bee design by Flora for the bathroom window really sets the room apart. After Flora graciously permitted me to use her artwork, I edited the image in PhotoShop, turning the bird more grey and removing all stray spots. The white in the bird wouldn't print on transparency and any spots would be magnified in this small scale. I bumped up the coloration since printing on transparency usually results in some color loss. Beautiful.

I built a Chrysnbon bathroom kit to furnish the room. I painted the tub to look like an old copper claw foot tub.

I love this style of vintage tub!
The inside of the tub is also aged, with a custom made overflow drain made from a pen cap.

Grandma's white fuzzy slippers are from The Dolls House Emporium. They're quite cute. :D
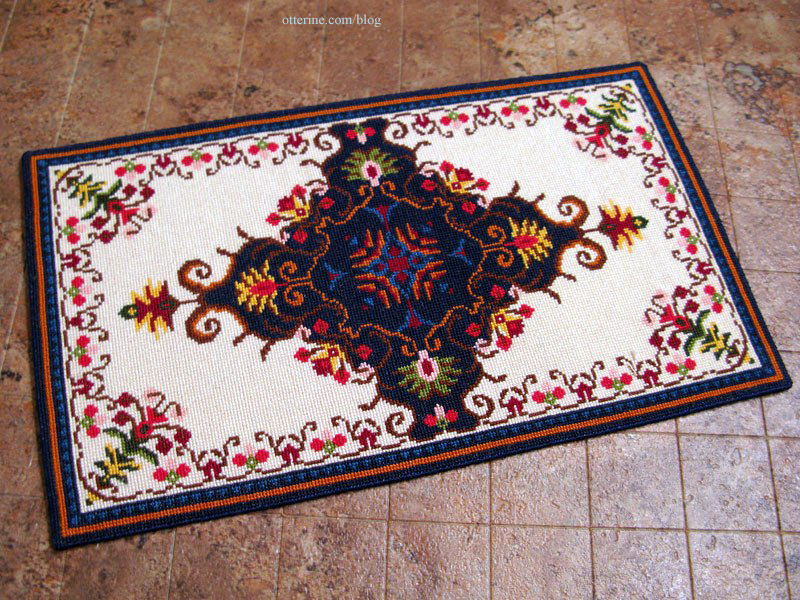
The Bees and Trees rug made from a Teresa Layman French knot kit sits in front of the tub.
I'm not sure if it will stay here permanently, though it does coordinate well with the bird and bee window.
I added a small shelf with a towel bar and two knob hooks. The pot was a gift from Jeannette. I made the shower cap from a scrap of floral fabric...a better version than the mockup I made for The Artist's Studio gag. The bath brush is from a Chrysnbon kit with an added cord for hanging. The two bead bottles are from Gypsy Boudoir Miniatures. The soap holder is from the Chrysnbon bath accessories kit. The bar of soap is borrowed from Baxter Pointe Villa.

Here's a view of the items outside of the bathroom.

I painted the bath brush to look like wood.
The sink is from the same Chrysnbon kit.

The pipe included with the bathroom kit would have made the wall sink too low, so I used a spare pipe I purchased from Sussex Crafts. It also bothered the realist in me that there was no way for the water to get to the taps. So, I added two lines of aluminum tubing from the sink to the floor.
I added tiny washers for these new pipes as well as little valve knobs so grandma can turn off the water in an emergency. :D I know these are typically oval, but all I could find were round ones in my box of watch parts. I drilled holes into the aluminum tubing and glued them in place with super glue gel.

It might not be up to code, but I love the way it looks!

I added a washer to the sink bowl and drilled out a hole for the overflow. I placed a piece of black paper behind the overflow so no light would show through. I added a couple of brown paint washes but didn't dirty it up too much...just enough to tone down the shine and make it look like it has been there awhile.
Keli sent me some fabulous soap bottles, so I've put one here on the sink. The towels are fine cotton sateen, pressed into shape and with a few rows of thread removed to make the fringed edge.

They have perfect pump dispensers!
The medicine cabinet is also from the Chrysnbon kit. I painted it with Krylon Almond in satin finish. I like that it matches somewhat but I didn't want a glossy finish to compete with the sink. The hinges and knob are painted with Liquitex Iridescent Bronze. The wall sconces are Chrysolite kits, though I left off the reflectors.

I painted the brass parts of the sconces copper to match the bathroom colors and switched out the included wires for replaceable bulb sockets. I painted the wires black to make them less obvious.

I also added a water line with a shutoff valve to the toilet tank, though I didn't think to take a better picture of it before I had the loo in place. Because the beadboard wall treatment adds some thickness, I had to glue the loo to the floor and the tank to the wall.

I shortened the chain that came with the kit, because it was nearly hitting the floor. I figured the handle has been hitting the wall for years, so I dragged it across the beadboard to transfer some of the paint. :D

The toilet paper holder is modeled after the one I have in my real life home. It's a fun and interesting alternative to a wall mounted holder. I'll wind some more tissue on here later...it got late, and I needed to get to bed! :D

I made the small stool from the bath kit, too. I sprayed it flat black, but the top was rough so I had to follow up with acrylic paint. I topped it off with satin varnish, and now it looks like a vintage piece that's been painted and painted and painted.
For the flooring, I used spray adhesive to mount the Flower Frenzy paper by We R Memory Keepers onto a sheet of regular drawing paper for stability and then sprayed it with matte sealer. I didn't want it to be shiny, just a little deeper in color and not so paper-y. ;] I like the way it looks like worn down linoleum.

Opposite the loo sits a bath cabinet made from a House of Miniatures kit. I've taken it out of the room to photograph the details.
The owl wall art is a jewelry finding with the loops removed.

It's a small piece but it has a lot of detail. It's so hard to see in the room, unfortunately.
The tissue box is a wood block covered with Martha Stewart sticky ribbon and a bit of real tissue glued to the top. The mirror is a jewelry charm with the loop removed. The doily is from Stewart Dollhouse Creations, and the tray is a jewelry finding. The purple bottle and powder are Gypsy Boudoir Miniatures. The other two bottles were purchased blanks for which I made the labels.
I lined the drawer with a scrap of Cute Little Diamonds paper by The Paper Studio, the same paper used for the wallpaper. Grandma is frugal and has found a use for her leftover wallpaper scraps!
The African violets were made from a kit from Georgie at The Miniature Garden. The kit makes three colors of violets, but I chose the darkest purple since those are the ones my great grandma kept.
The overhead light casts a wonderful glow with the sconces. Though it's nearly impossible to tell now that it's installed, I added some 1:12 scale insects inside the globe. :D Lyssa egged me on when I joked about it to her, so she is to blame! It's just a little dry-brushed brown and black paint, but it's rather convincing in person.
------
For The Haunted Heritage pictorial recap post, please click here. Click here for a full list of Heritage posts, including how I made things and the materials used.
22 comments
The wallpaper is Cute Little Diamonds paper by The Paper Studio. The floor paper is Flower Frenzy paper by We R Memory Keepers. Both were purchased from local stores - Michaels, Hobby Lobby or Joann.

 Find me on Instagram
